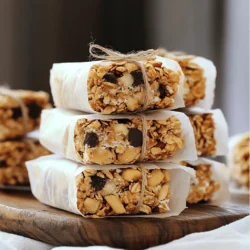
Making your own granola bars at home is quick and easy! With just a few simple ingredients, you can create tasty snacks that are perfect for on-the-go. Whether you enjoy crunchy nuts or gooey chocolate, this guide covers everything you need to know. Learn how to mix, bake, and store your bars with expert tips to ensure they come out perfectly each time. Get ready to satisfy your cravings and impress your family!
Ingredients for Homemade Granola Bars
To make delicious homemade granola bars, you need the right ingredients. Here’s the list you’ll need:
– 2 cups rolled oats
– 1 cup mixed nuts (almonds, walnuts, pecans, roughly chopped)
– ½ cup unsweetened shredded coconut
– ½ cup honey or maple syrup
– ¼ cup almond butter (or any nut butter of your choice)
– 1 teaspoon vanilla extract
– ½ teaspoon sea salt
– ½ cup dark chocolate chips (or chunks)
– ¼ cup dried fruits (such as cranberries, apricots, or raisins)
Each ingredient plays a key role in flavor and texture. The rolled oats form the base, giving the bars their hearty feel. Mixed nuts add crunch and healthy fats. Shredded coconut brings a touch of sweetness. Honey or maple syrup acts as a natural binder. Almond butter enhances creaminess and adds protein.
Vanilla extract brings warmth, while sea salt balances the sweetness. Dark chocolate chips melt slightly and add rich flavor. Dried fruits offer bursts of sweetness and chewiness.
Using these ingredients, you can create a tasty snack that fuels your day.
Step-by-Step Instructions
Preparation Steps
1. Preheat your oven to 350°F (175°C). Get a baking pan ready by lining it with parchment paper. Leave some paper hanging over the edges for easy removal later.
2. In a large bowl, mix the dry ingredients. Add 2 cups of rolled oats, 1 cup of chopped mixed nuts, ½ cup of shredded coconut, and ½ teaspoon of sea salt. Stir them well so they blend together.
3. In a small saucepan over medium heat, combine ½ cup of honey (or maple syrup) and ¼ cup of almond butter. Stir for 2-3 minutes until the mixture becomes smooth. Remove from heat and add 1 teaspoon of vanilla extract.
4. Pour the warm wet mixture into the bowl with dry ingredients. Use a spatula to mix everything together. Make sure all the oats and nuts get coated well.
5. Gently fold in ½ cup of dark chocolate chips and ¼ cup of dried fruits. Be careful not to melt the chocolate during this step.
Baking Process
1. Transfer the mixture into your prepared pan. Spread it out evenly and press it down firmly. This helps the bars hold their shape when cool.
2. Place the pan in the oven and bake for 20-25 minutes. Look for a golden brown color around the edges.
3. Once done, take the pan out of the oven. Let the granola bars cool in the pan for about 10 minutes. After that, use the parchment paper to lift the whole block out and move it to a wire rack to cool completely.
Final Touches
1. Once cooled, use a sharp knife to cut the block into bars. You can make them as big or small as you like.
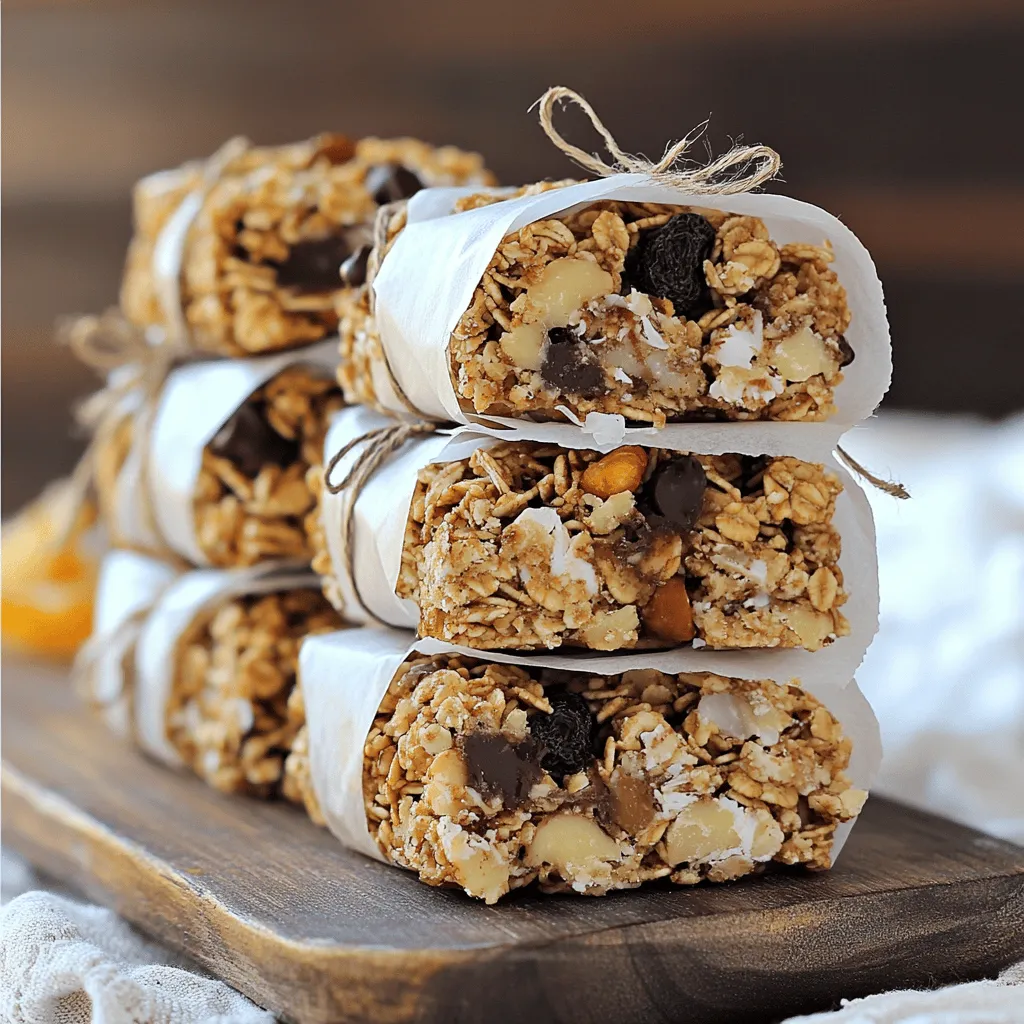
2. For a nice touch, wrap each bar in parchment paper and tie with twine. You can also stack them neatly on a plate for serving. These granola bars make a great snack or breakfast on the go.
Tips & Tricks for Perfecting Granola Bars
Consistency Tips
To get the right texture, press the mixture firmly in the pan. This step is key. It helps the bars hold together when you cut them. Don’t skip this part! If you want sweeter bars, adjust the sweetness to your taste. You can add more honey or maple syrup. Just remember that too much can make them too sticky.
Flavor Enhancements
Add some spice to your bars for extra flavor. Cinnamon and nutmeg are great choices. They add warmth and depth. You can also mix in different ingredients. Try seeds like sunflower or pumpkin seeds. Nut butters can add richness, too. Peanut butter or cashew butter work well. These enhancements make your bars unique.
Troubleshooting Common Issues
If your bars are crumbly, don’t worry. You can fix this! Simply add a bit more honey or nut butter. This will help bind the ingredients. For bars that are too sticky, you can try baking them a little longer. Also, let them cool completely before cutting. This helps them firm up.
Variations of Granola Bars
Vegan Options
You can make your granola bars vegan by swapping honey for maple syrup. Maple syrup adds a nice, sweet flavor. It blends well with other ingredients. Also, try using plant-based nut butters, like cashew or sunflower seed butter. They keep the bars moist and tasty.
Gluten-Free Variants
For gluten-free granola bars, use gluten-free oats. They look and taste just like regular oats. You can also use alternative flours like almond or coconut flour for binding. These flours help hold the bars together while keeping them gluten-free.
Flavor Combinations
You can mix flavors to make your bars exciting. A popular combo is chocolate and peanut butter. They create a rich, satisfying taste. Another great mix is tropical fruits with coconut. This gives your bars a sunny, fresh flavor that will brighten your day.
Storage Information
Best Practices
Store your granola bars in an airtight container. This keeps them fresh for longer. Before you store them, let the bars cool completely. If you don’t cool them, they might become soggy.
Storage Duration
At room temperature, these bars will last about one week. If you want to keep them longer, freezing is a great option. Wrap each bar in plastic wrap and place them in a freezer bag. They can stay fresh for up to three months in the freezer.
Reheating and Enjoying
If you like warm bars, you can reheat them. Just pop them in the microwave for about 10-15 seconds. You can also crumble the bars on top of yogurt or mix them into oatmeal. They make a tasty addition to many recipes.
FAQs About Homemade Granola Bars
Common Questions
How long do homemade granola bars last?
Homemade granola bars last up to two weeks when stored in an airtight container. If you freeze them, they can last up to three months. Just make sure they are cool before you pack them up.
Can I use different nuts or seeds?
Yes, feel free to swap nuts or seeds. Use your favorites like cashews, sunflower seeds, or pumpkin seeds. Try to keep the total amount the same for the best texture.
Are these bars kid-friendly?
Absolutely! Kids love the sweet taste and chewy texture. You can customize the mix-ins to suit their taste preferences, making them more appealing.
How do I make these granola bars protein-rich?
To boost protein, add protein powder to the mixture. You can also include ingredients like hemp seeds or substitute some oats with quinoa. This way, you enhance nutrition without changing the flavor.
Need-to-Know Queries
What if I don’t have almond butter?
If you lack almond butter, you can use peanut butter or sunflower seed butter. Each type gives a unique taste, so pick one you enjoy.
How can I reduce sugar content?
You can reduce sugar by using less honey or maple syrup. Try replacing some syrup with mashed bananas or unsweetened applesauce for sweetness without the extra sugar.
Can I include chocolate in different forms?
Yes, you can add cocoa powder for a chocolate flavor or use chocolate chips. You may even melt chocolate to drizzle on top for a fun touch.
Concerns and Considerations
Are granola bars healthy for everyday snacks?
Granola bars can be healthy if made with wholesome ingredients. They provide fiber, healthy fats, and energy. Just watch out for added sugars.
Can I make these without baking?
Yes, you can make no-bake granola bars! Just mix all ingredients and press them into a pan. Chill in the fridge until firm. This method is quick and still delicious!
Homemade granola bars are easy to make and tasty. With simple ingredients, you can customize flavors and textures. Remember to press the mixture firmly to get the right consistency. Try different nuts or fruits to enhance your bars. Store them properly for the best taste. These snacks can fit many diets, like vegan or gluten-free. In the end, you control the sweetness and ingredients. Enjoy your homemade bars as a healthy snack or a fun treat!