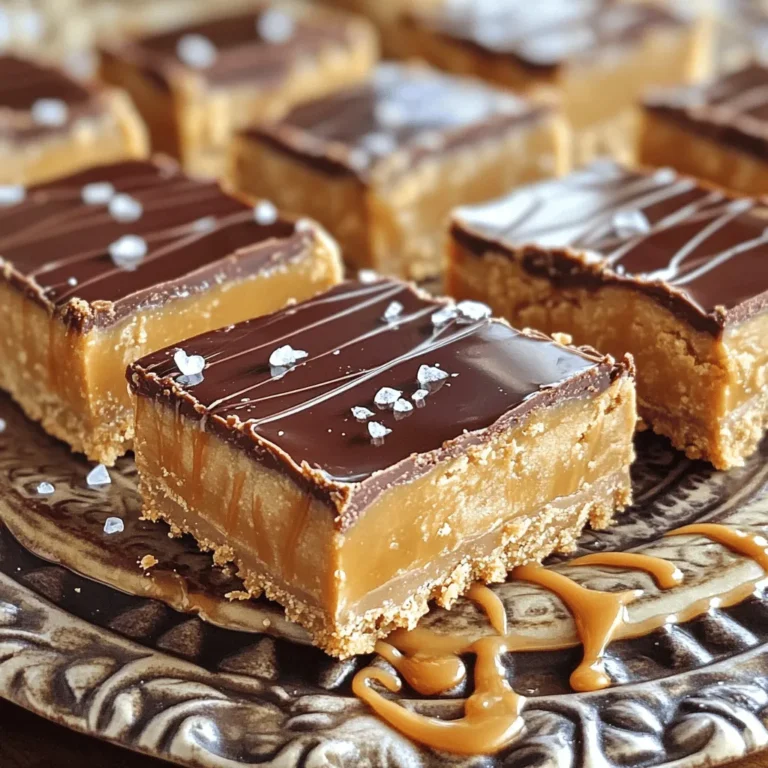
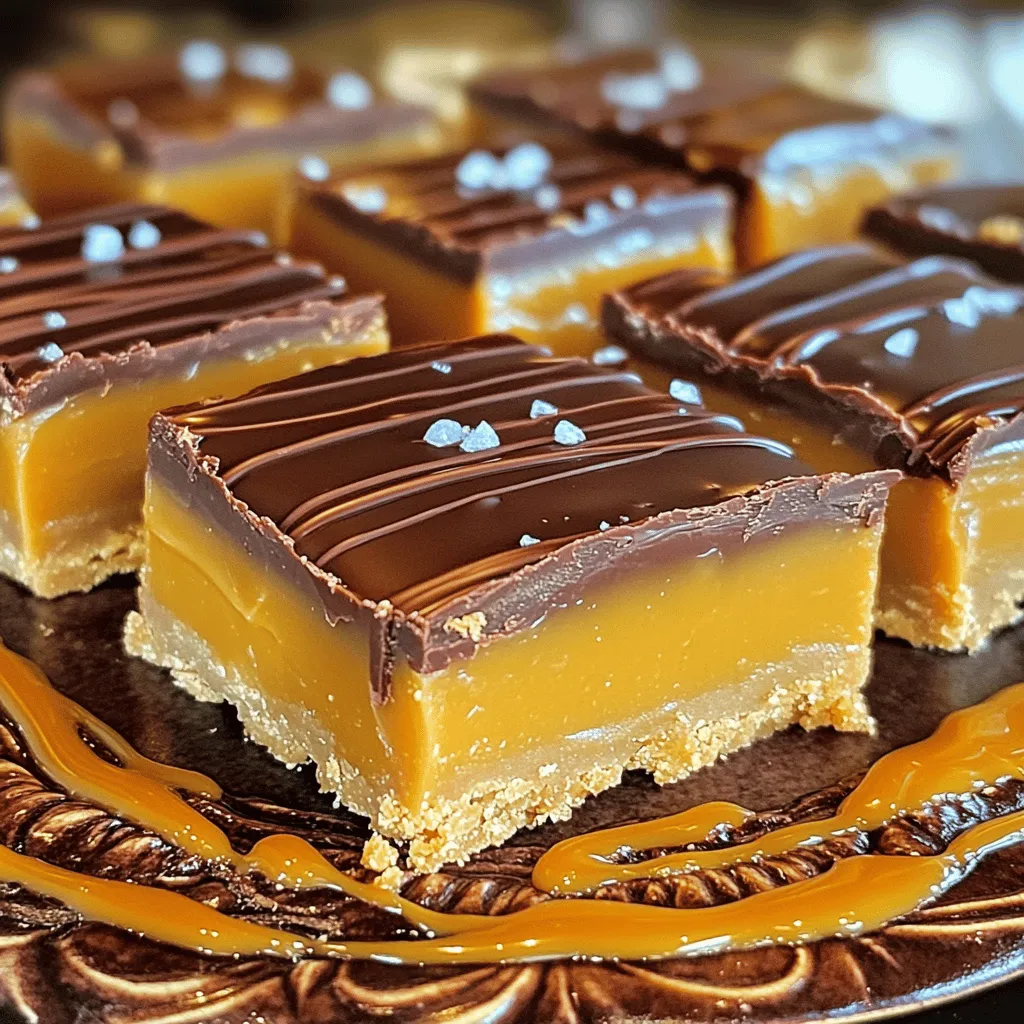
Are you ready to make a treat that’s hard to resist? These Salted Caramel Peanut Butter Bars combine creamy peanut butter with rich salted caramel for a sweet delight. I’ll share easy steps and tips to help you create the perfect dessert. Whether you’re a baking pro or a beginner, you’ll find everything you need right here. Let’s dive into the scrumptious world of salted caramel and peanut butter goodness!
Ingredients
List of Ingredients
– 1 cup creamy peanut butter
– 1/2 cup unsalted butter, melted
– 1/2 cup packed brown sugar
– 1/2 cup granulated sugar
– 1 teaspoon pure vanilla extract
– 1 1/2 cups graham cracker crumbs
– 1/8 teaspoon fine sea salt
– 1/2 cup salted caramel sauce (store-bought or homemade)
– 1/2 cup semi-sweet chocolate chips
– Flaky sea salt for topping
Ingredient Substitutions
You can swap creamy peanut butter for crunchy peanut butter. This gives your bars extra texture. If you need a dairy-free option, use coconut oil instead of unsalted butter. Maple syrup can replace brown sugar for a different flavor. You can also use almond flour instead of graham cracker crumbs for a gluten-free bar.
Key Ingredient Tips
Use creamy peanut butter for a smooth mix. It blends well with the other ingredients. When choosing your caramel sauce, go for high-quality brands for the best taste. Flaky sea salt adds a lovely contrast to the sweet bars. Always melt your chocolate in short bursts to avoid burning. This keeps it smooth and easy to drizzle.
Step-by-Step Instructions
Preheat and Prepare the Baking Pan
First, set your oven to 350°F (175°C). This helps the bars bake evenly. Take an 8×8 inch baking pan and grease it lightly. You can also line it with parchment paper. This way, your bars will come out easily once they cool.
Mixing the Peanut Butter Mixture
In a large bowl, combine 1/2 cup of melted unsalted butter and 1 cup of creamy peanut butter. Add in 1/2 cup of packed brown sugar and 1/2 cup of granulated sugar. Don’t forget to add 1 teaspoon of pure vanilla extract. Mix everything until it is smooth and well combined. You want a nice, creamy texture for the base.
Layering the Bars
Gradually add 1 1/2 cups of graham cracker crumbs and 1/8 teaspoon of fine sea salt into the peanut butter mixture. Stir until you have a thick, cohesive mix. Next, pour half of this mix into your prepared pan. Press it down firmly to form the base layer. Now, drizzle half of the 1/2 cup of salted caramel sauce over the base. Use a spoon to spread it evenly. Then, add the remaining peanut butter mix over the caramel. Press it down again to smooth it out.
Melting and Drizzling Chocolate
In a small bowl, add 1/2 cup of semi-sweet chocolate chips. Microwave them in 30-second bursts. Stir between each burst until the chocolate is fully melted. Drizzle this melted chocolate over the top layer of the bars. For a fun effect, gently swirl it with a spatula to mix it with the caramel below.
Baking and Cooling
Bake your bars in the preheated oven for 25-30 minutes. Look for golden edges and a set center. Once done, take the pan out and let it cool completely. This makes slicing easier. After cooling, cut your bars into equal squares. Enjoy your delicious creation!
Tips & Tricks
Best Practices for Making Bars
To make your Salted Caramel Peanut Butter Bars perfect, follow these steps:
– Use fresh ingredients. Fresh peanut butter and butter give the best flavor.
– Measure accurately. Use a proper measuring cup for both liquid and dry ingredients.
– Mix well. Ensure your peanut butter mixture is smooth for a perfect texture.
– Press firmly. When layering, press down the mixture to avoid crumbling.
– Cool completely. Allow bars to cool fully before cutting to maintain shape.
Troubleshooting Common Issues
You may face some issues while making these bars. Here are solutions:
– Bars are too crumbly. This may happen if you did not mix well. Add a bit more melted butter.
– Too sweet. If your bars taste too sweet, reduce the amount of sugar next time.
– Chocolate not melting smoothly. Heat in shorter bursts and stir often to avoid burning.
– Caramel sauce is too runny. Let it cool slightly before drizzling on the bars.
Serving Suggestions
Serve these bars in fun ways. Here are some ideas:
– Plate them nicely. Cut bars into squares and use a decorative platter.
– Add extra toppings. Drizzle more caramel or chocolate for a gourmet touch.
– Garnish with nuts. Chopped peanuts add crunch and enhance the flavor.
– Pair with drinks. Enjoy with a glass of milk or a hot cup of coffee.
These tips will help you create delicious Salted Caramel Peanut Butter Bars every time!
Variations
Nut Variations for Extra Crunch
You can add nuts to make these bars even better. Chopped peanuts or almonds work great. Just mix in 1/2 cup of your chosen nuts with the peanut butter mixture. This extra crunch adds texture and a nice nutty flavor. If you prefer, you can also use walnuts or pecans. These options will give your bars a lovely twist.
Flavor Variations with Different Caramel Sauces
Switching up the caramel sauce can change the whole taste. Try butterscotch or chocolate caramel for a fun twist. You can also use flavored caramel, like sea salt or espresso. Each sauce brings its own flair. Just make sure the sauce is thick enough to layer well.
Gluten-Free Options
To make these bars gluten-free, replace graham cracker crumbs with gluten-free options. Almond flour or gluten-free cookies can work as good substitutes. Just ensure they match the texture of regular crumbs. This way, everyone can enjoy the bars, no matter their dietary needs.
Storage Info
How to Store Leftover Bars
After making these tasty bars, let them cool completely. Cut them into squares and place them in an airtight container. Store the bars at room temperature for up to three days. If you want them to last longer, refrigerate them. They will stay fresh for about a week when stored properly.
Freezing Instructions
To freeze these delicious bars, cut them into individual pieces first. Wrap each piece tightly in plastic wrap. Then, place the wrapped bars in a freezer-safe bag or container. They can stay in the freezer for up to three months. When you want to enjoy them, let them thaw in the fridge or at room temperature.
Best Serving Timing
These bars taste best when served fresh, but they still shine after some time. For the best flavor, serve them within the first few days. If you freeze them, allow a bit of time to thaw. This way, the caramel and peanut butter flavors come alive again, making every bite a treat.
FAQs
Can I use natural peanut butter?
Yes, you can use natural peanut butter. It gives a unique taste. Just keep in mind, natural peanut butter can be runnier. You may want to chill it before use. This helps it hold its shape better in the bars.
How do I make homemade salted caramel sauce?
Making salted caramel sauce is simple. Start by melting 1 cup of sugar in a saucepan. Stir it until it turns a deep amber color. Next, add 1/2 cup of heavy cream carefully. Mix well until smooth. Finally, add 1 teaspoon of flaky sea salt. Let it cool before using.
What can I substitute for graham cracker crumbs?
You can use crushed cookies like Oreos or vanilla wafers. Almond flour or crushed nuts also work well. Just make sure the texture matches graham cracker crumbs. This keeps the bars firm and tasty.
How long do these bars last?
These bars last up to a week when stored properly. Keep them in an airtight container. If you want to keep them longer, try freezing them. They can last up to three months in the freezer.
Can I make these bars vegan?
Yes, you can make vegan salted caramel peanut butter bars. Use vegan butter instead of regular butter. Choose a vegan chocolate for the topping. For the caramel, use coconut cream instead of heavy cream for a rich taste.
You learned how to make delicious bars with simple steps and tips. Start with the right ingredients, and don’t be afraid to try substitutes. Follow the step-by-step guide for a great texture and taste. Mix your flavors with fun variations, like nuts or different sauces. Remember to store leftovers properly and enjoy your bars fresh. With these ideas, you can create amazing treats that everyone will love. Get started today, and enjoy the process!

