WANT TO SAVE THIS RECIPE?
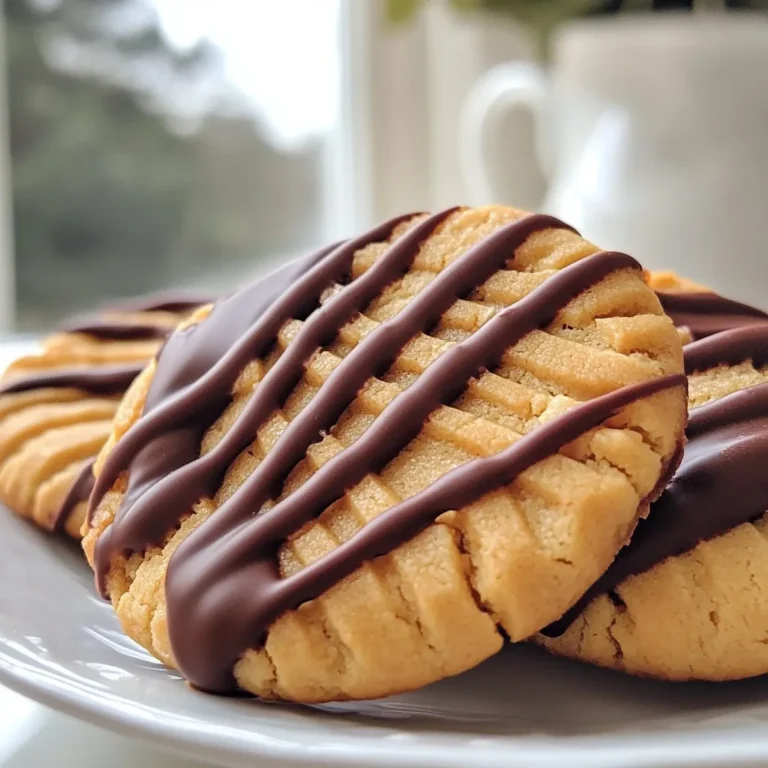
Are you ready to dive into a world of sweet delight? Chocolate-dipped peanut butter cookies are a perfect treat for every occasion. In this guide, I’ll show you the simple steps to create these tasty delights. Whether you’re a baking pro or a newbie, I’ll share tips, tricks, and mouth-watering variations that make each batch special. Let’s get started on transforming your kitchen into a cookie paradise!
Why I Love This Recipe
- Delicious Flavor Combination: The rich, creamy peanut butter pairs perfectly with the sweetness of chocolate, creating a delightful treat that satisfies both sweet and savory cravings.
- Easy to Make: This recipe requires minimal ingredients and steps, making it perfect for both beginner bakers and those short on time.
- Customizable: Feel free to add in your favorite mix-ins like chopped nuts or other chocolate varieties for a personalized touch.
- Perfect for Sharing: With about 24 cookies, this batch is ideal for gatherings, parties, or simply to enjoy with family and friends.
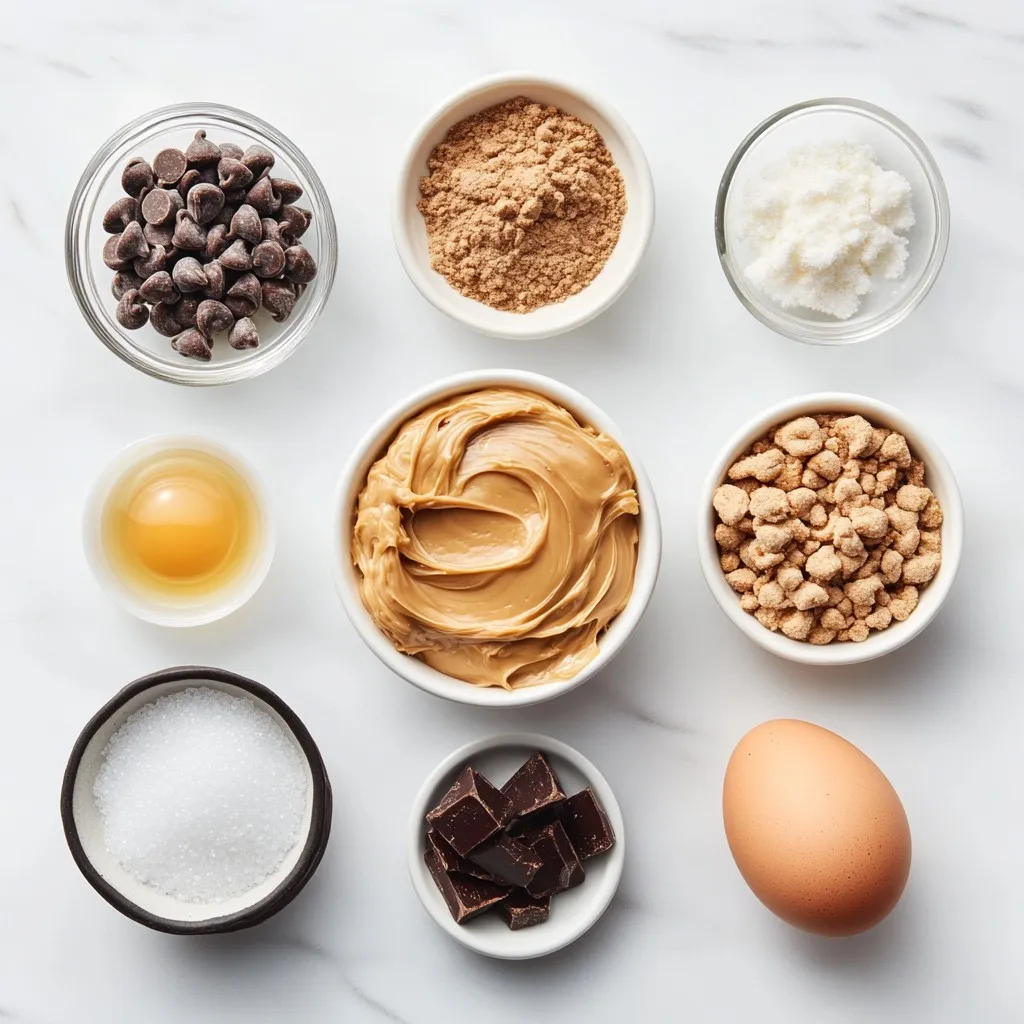
Ingredients
List of Ingredients
– 1 cup creamy peanut butter
– 3/4 cup granulated sugar
– 1/2 cup packed brown sugar
– 1 large egg
– 1 teaspoon vanilla extract
– 1 teaspoon baking soda
– 1/4 teaspoon salt
– 1 cup semi-sweet chocolate chips
– 1 tablespoon coconut oil
Ingredient Descriptions
– Creamy peanut butter: This is the star of the show. It gives cookies their rich flavor and soft texture.
– Granulated sugar: This adds sweetness and helps the cookies spread.
– Brown sugar: This brings moisture and a slight caramel taste.
– Large egg: The egg binds the dough and adds richness.
– Vanilla extract: This enhances the flavor with a sweet note.
– Baking soda: This helps the cookies rise and become fluffy.
– Salt: A small amount balances the sweetness and brings out flavor.
– Semi-sweet chocolate chips: These are used for dipping, adding a sweet, chocolatey finish.
– Coconut oil: This helps melt the chocolate smoothly and adds a hint of flavor.
Substitutions for Common Ingredients
– Peanut butter: Use almond butter or sunflower seed butter for nut-free options.
– Granulated sugar: Coconut sugar can work as a natural alternative.
– Brown sugar: You can mix granulated sugar with molasses to create a similar taste.
– Egg: Use a flax egg (1 tablespoon flaxseed meal + 2.5 tablespoons water) for a vegan option.
– Coconut oil: Any neutral oil can replace it, like canola or vegetable oil.

Step-by-Step Instructions
Preparation Steps
1. Preheat your oven to 350°F (175°C). Line a baking sheet with parchment paper to stop sticking.
2. In a big bowl, mix 1 cup of creamy peanut butter, 3/4 cup of granulated sugar, 1/2 cup of brown sugar, 1 egg, and 1 teaspoon of vanilla extract. Use a hand mixer or whisk until it becomes smooth.
3. Add 1 teaspoon of baking soda and 1/4 teaspoon of salt. Mix until everything is well combined into a dough.
4. Scoop out portions of dough with a tablespoon. Roll each into a ball and place them on the baking sheet with space between them.
5. Press down with a fork on each ball to create a crisscross pattern.
Baking Directions
6. Bake the cookies in the preheated oven for 10-12 minutes. Look for slightly golden edges. The centers will seem soft, but they will harden as they cool.
7. Take the baking sheet out of the oven. Let the cookies cool for about 5 minutes. Then, move them to a wire rack to cool completely.
Tips for Cooling and Dipping
8. While the cookies cool, prepare the chocolate dip. In a microwave-safe bowl, mix 1 cup of semi-sweet chocolate chips with 1 tablespoon of coconut oil. Heat in 30-second bursts, stirring until smooth.
9. To dip the cookies, lower the bottom half into the melted chocolate. Let extra chocolate drip back into the bowl. Place dipped cookies back on parchment paper. For quicker setting, refrigerate for a few minutes until chocolate hardens.
Tips & Tricks
How to Achieve the Perfect Texture
To get the perfect texture for your cookies, focus on three key points:
– Mixing: Blend your ingredients until smooth. This step helps create a nice dough.
– Baking Time: Bake just until the edges are golden. The centers should look soft.
– Cooling: Let them cool on a wire rack. This helps them firm up nicely.
When you follow these tips, you create cookies that are soft inside and slightly crispy outside.
Common Baking Mistakes to Avoid
Baking can be tricky, but avoiding common mistakes helps a lot. Here are some to watch for:
– Overmixing Dough: Stop mixing once the dough is smooth. Overmixing can make cookies tough.
– Not Measuring Ingredients: Use proper measuring cups. This ensures you get the right texture.
– Skipping Parchment Paper: Always line your baking sheet. This helps prevent sticking and makes cleanup easy.
By avoiding these mistakes, your cookies will turn out great every time.
Recommended Tools for Baking
Using the right tools makes baking easier and more fun. Here are some must-haves:
– Mixing Bowls: Have a few different sizes for mixing.
– Hand Mixer: This saves time when blending ingredients.
– Cookie Scoop: A scoop helps make uniform cookie sizes.
– Parchment Paper: Use this for lining your baking sheets.
– Wire Rack: This is great for cooling cookies evenly.
These tools can make your baking experience smooth and enjoyable.
Pro Tips
- Chill the Dough: For a firmer dough that holds its shape better when baked, refrigerate the cookie dough for about 30 minutes before scooping and baking.
- Use Quality Chocolate: Opt for high-quality semi-sweet chocolate chips for dipping to enhance the overall flavor of the cookies.
- Experiment with Mix-ins: Feel free to add chopped nuts, chocolate chunks, or even a sprinkle of sea salt on top of the chocolate for added texture and flavor.
- Storage Tips: Store the cookies in an airtight container at room temperature for up to a week, or freeze them for longer shelf life.
Variations
Flavor Add-Ins (Nuts, Flavored Chips)
You can spice up these cookies with some fun add-ins. Try mixing in chopped nuts like walnuts or pecans for extra crunch. You can also use flavored chips, like peanut butter or butterscotch chips, to enhance the taste. Just fold in about half a cup of your chosen add-in to the dough before scooping it onto the baking sheet. This gives each bite a new twist!
Dietary Substitutions (Gluten-Free, Vegan Options)
If you want to make these cookies gluten-free, swap the regular baking soda with gluten-free baking soda. For a vegan version, replace the egg with a flax egg. To make a flax egg, mix one tablespoon of ground flaxseed with three tablespoons of water. Let it sit for about five minutes to thicken. Use this mix in place of the egg in the recipe, and you’ll have tasty vegan cookies!
Additional Topping Ideas
You can get creative with toppings to make these cookies even more special. Try sprinkling sea salt on top of the chocolate while it’s still warm for a sweet and salty bite. You could also drizzle white chocolate over the dipped cookies for a pop of color. Get creative! Add crushed candy canes during the holidays or drizzle caramel sauce for a richer flavor.
Storage Info
Best Practices for Storing Cookies
Store your chocolate dipped peanut butter cookies in an airtight container. This keeps them fresh. Place parchment paper between layers to prevent sticking. You can keep them at room temperature. Avoid storing them near heat or sunlight. If you want a longer shelf life, refrigerate them.
How Long Do They Last?
These cookies stay fresh for about a week. If you store them in the fridge, they last a bit longer. You might notice the chocolate hardening if chilled, but it will still taste great. Always check for any signs of spoilage, like a strange smell or appearance.
Freezing Instructions
You can freeze these cookies for up to three months. First, let them cool completely. Then, place them in a single layer on a baking sheet. Freeze them for about an hour until firm. After that, move them to a freezer bag. Be sure to remove as much air as possible. When you’re ready to enjoy, let them thaw at room temperature.
FAQs
Can I make the dough ahead of time?
Yes, you can make the dough ahead of time. Just cover it tightly with plastic wrap and store it in the fridge. This keeps the dough fresh for up to three days. When you’re ready to bake, let it sit at room temperature for about 15 minutes. This helps it soften, so it’s easy to scoop.
How do I know when the cookies are done?
To check if the cookies are done, look for golden edges. The centers may seem soft, but that’s okay! They will firm up as they cool. If you press lightly on a cookie, it should spring back. If it stays flat, it needs more time. Bake for 10-12 minutes for the best results.
What to do if the chocolate dip is too thick?
If your chocolate dip is too thick, don’t worry! You can fix it easily. Just add a little more coconut oil. Heat it in the microwave for a few seconds, then stir well. This will help thin the chocolate, making it easier to dip your cookies. Aim for a smooth and runny consistency for better coverage.
We explored key ingredients and their substitutes, then detailed easy steps for baking. I shared tips for perfect texture and common mistakes to avoid. You learned about delicious variations and how to store your cookies for freshness.
Baking should be fun and stress-free. With these guidelines, you’ll create tasty treats every time. Get ready to impress your friends and family with your baking skills! Enjoy every bit
Chocolate Dipped Peanut Butter Cookies
Delicious cookies made with creamy peanut butter and dipped in chocolate.
Prep Time 15 minutes mins
Cook Time 12 minutes mins
Total Time 30 minutes mins
Course Dessert
Cuisine American
Servings 24
Calories 150 kcal
- 1 cup creamy peanut butter
- 3.0 cup granulated sugar
- 0.5 cup packed brown sugar
- 1 large egg
- 1 teaspoon vanilla extract
- 1 teaspoon baking soda
- 0.25 teaspoon salt
- 1 cup semi-sweet chocolate chips
- 1 tablespoon coconut oil (to melt chocolate)
Begin by preheating your oven to 350°F (175°C). Prepare a baking sheet by lining it with parchment paper to prevent sticking.
In a large mixing bowl, add the creamy peanut butter, granulated sugar, brown sugar, egg, and vanilla extract. Use a hand mixer or whisk to blend the ingredients together until the mixture is smooth and creamy.
Sprinkle in the baking soda and salt, continuing to mix until everything is fully combined into a cohesive dough.
Using a tablespoon, scoop out portions of the dough and roll each into a ball between your palms. Place the dough balls on the prepared baking sheet, ensuring there is adequate space between them for spreading.
With a fork, gently press down on each dough ball to flatten it slightly, creating an attractive crisscross pattern on top.
Bake the cookies in the preheated oven for 10-12 minutes. You’re looking for slightly golden edges, but the centers may still appear soft – don’t worry! They will firm up as they cool.
Once baked, remove the baking sheet from the oven and allow the cookies to cool for about 5 minutes. Then, carefully transfer them to a wire rack to cool completely.
While the cookies cool, prepare the chocolate dip. In a microwave-safe bowl, combine the semi-sweet chocolate chips and coconut oil. Heat in 30-second increments, stirring well between each session until the mixture is completely melted and smooth.
To dip the cookies, take each one and gently lower the bottom half into the melted chocolate, allowing any excess chocolate to drip off back into the bowl. Place the dipped cookies back onto the parchment paper. For quicker setting, you can refrigerate them for a few minutes until the chocolate hardens.
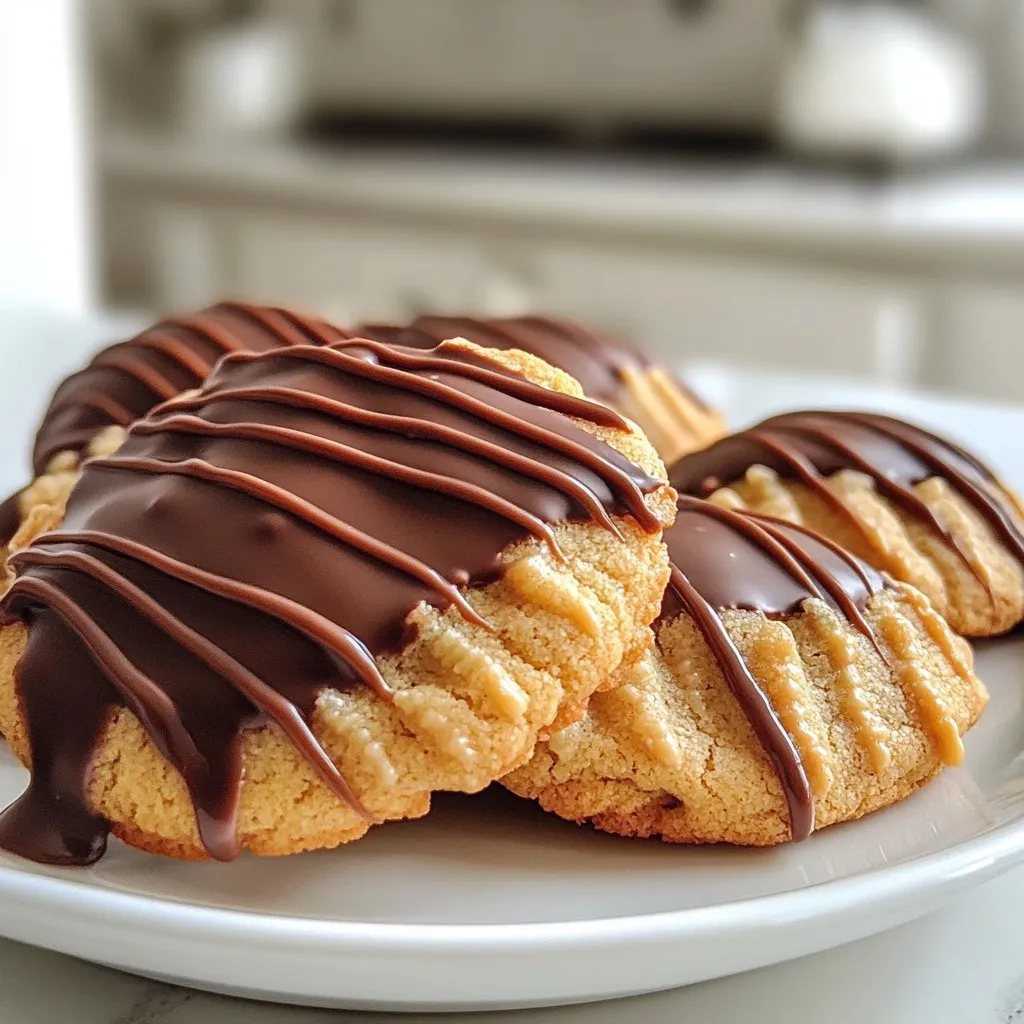
Arrange the cookies on a decorative plate and consider drizzling some extra melted chocolate over the top for an elegant finishing touch.
Keyword chocolate, cookies, peanut butter
WANT TO SAVE THIS RECIPE?