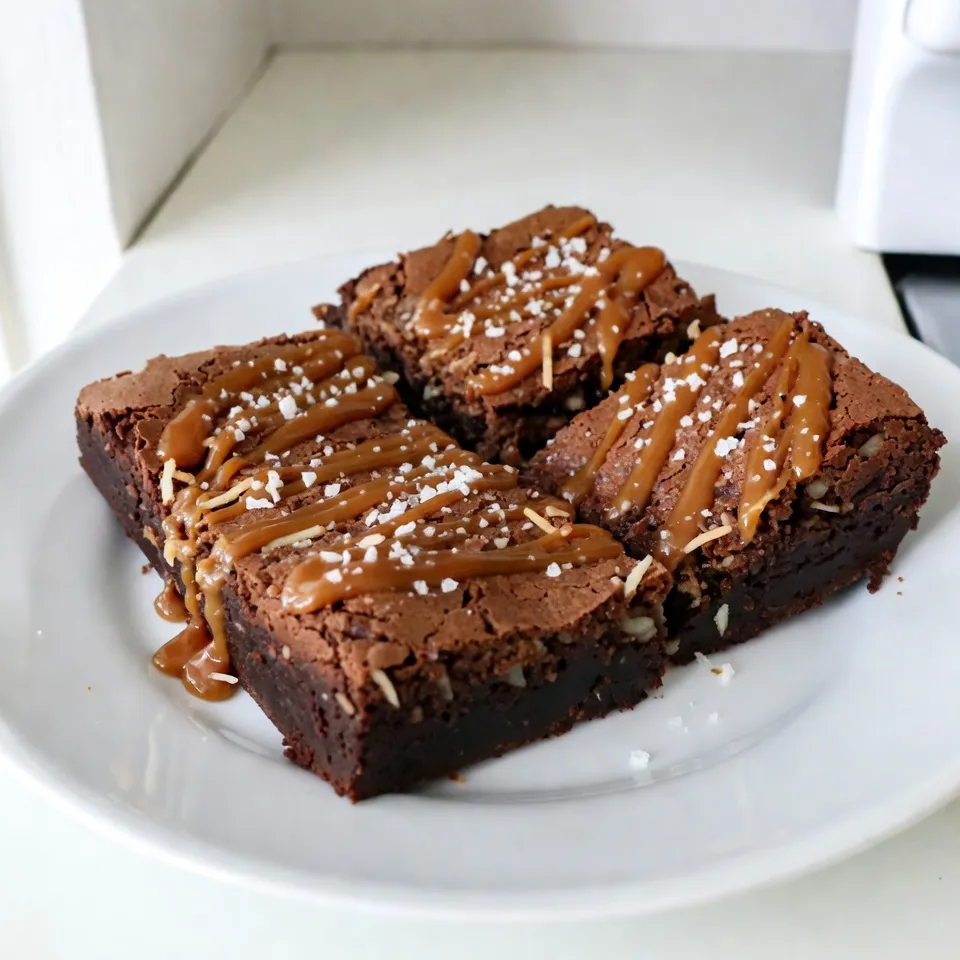
Caramel Coconut Brownies Delightful Dessert Recipe
Craving a sweet treat? Let me introduce you to Caramel Coconut Brownies. These gooey, chocolatey delights swirl together rich cocoa
Craving a sweet treat? Let me introduce you to Caramel Coconut Brownies. These gooey, chocolatey delights swirl together rich cocoa
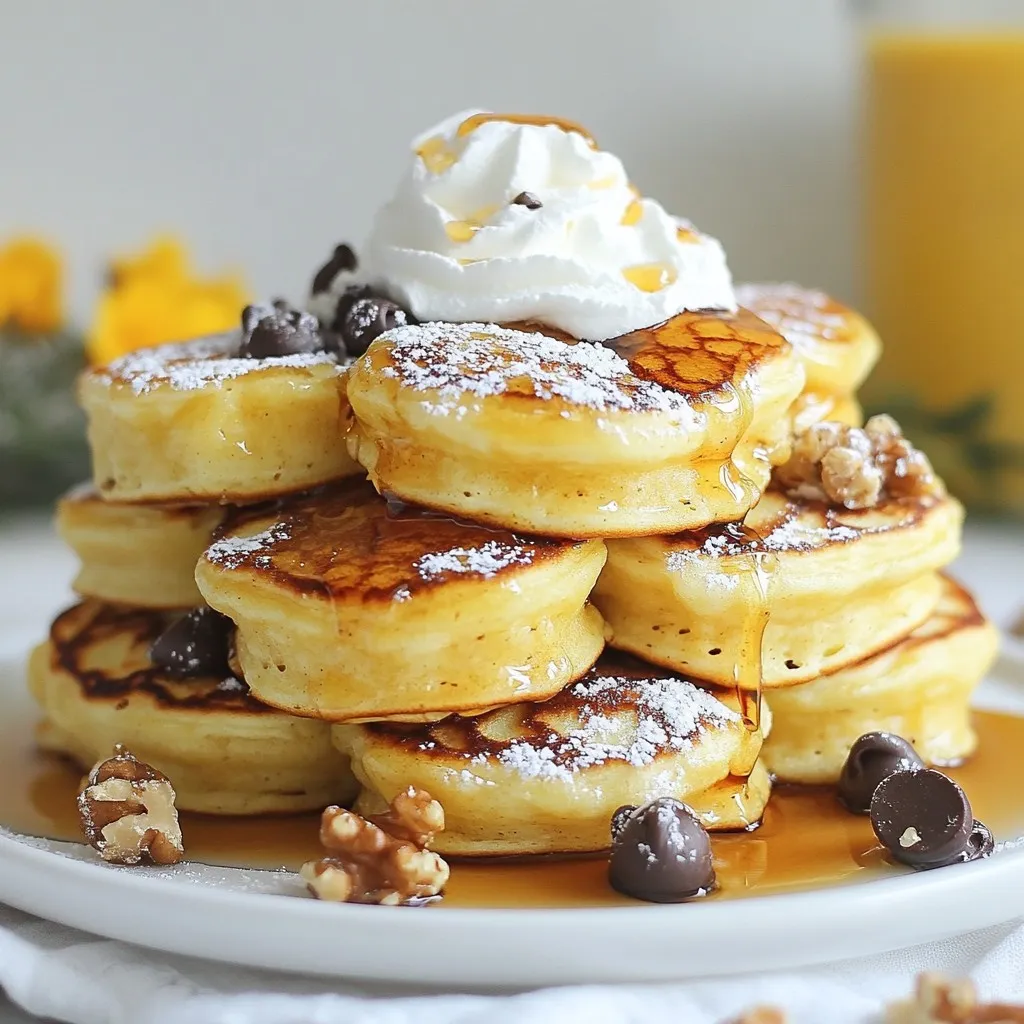
Eggnog Pancake Bites are a festive way to start your holiday mornings! These tasty treats mix the rich flavor of
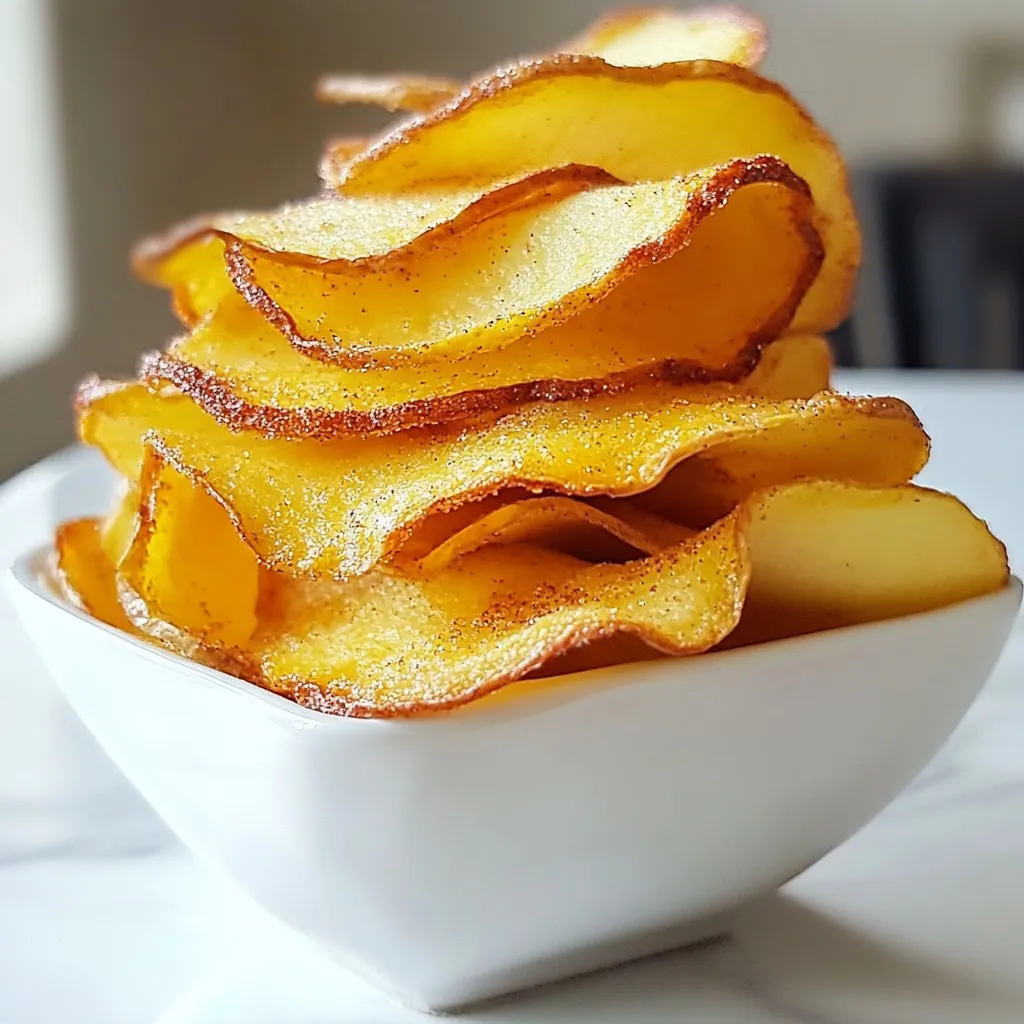
Are you ready for a delicious, healthy snack that you can easily make at home? These Cinnamon Sugar Baked Apple
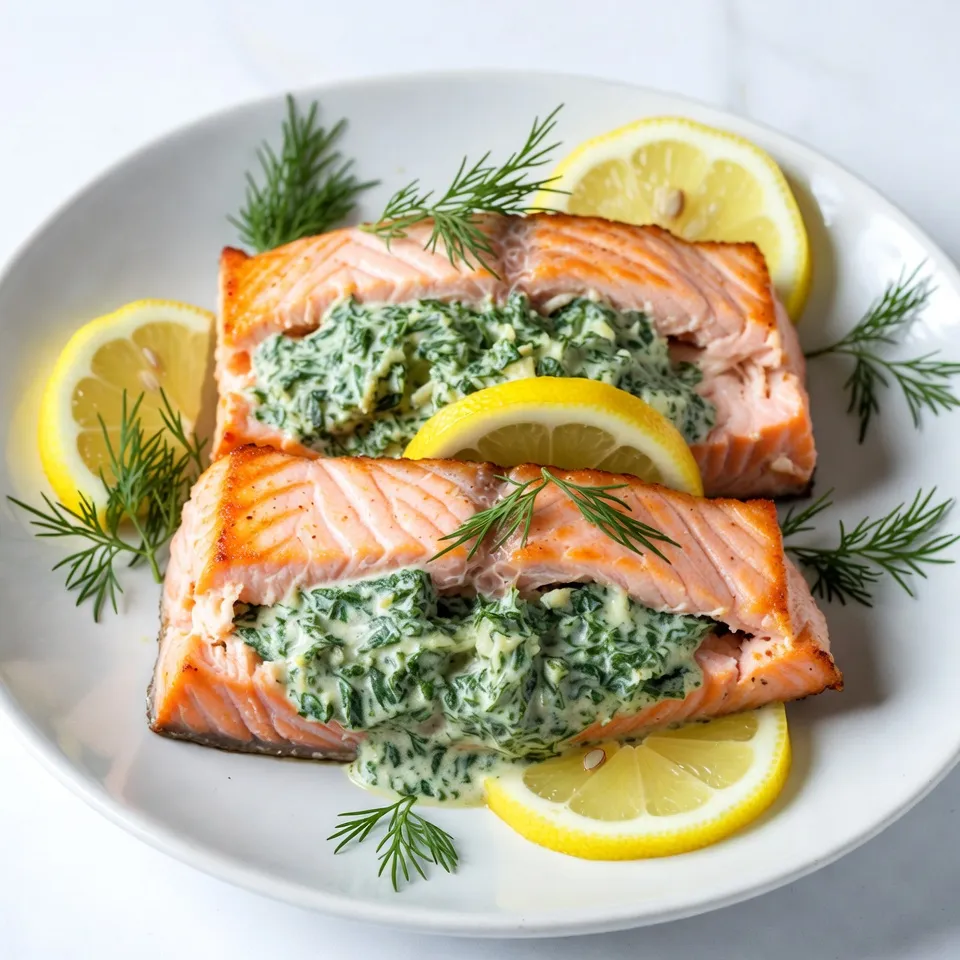
Looking for a simple yet gourmet dish? Try this Creamy Spinach Stuffed Salmon! With just a few key ingredients, you
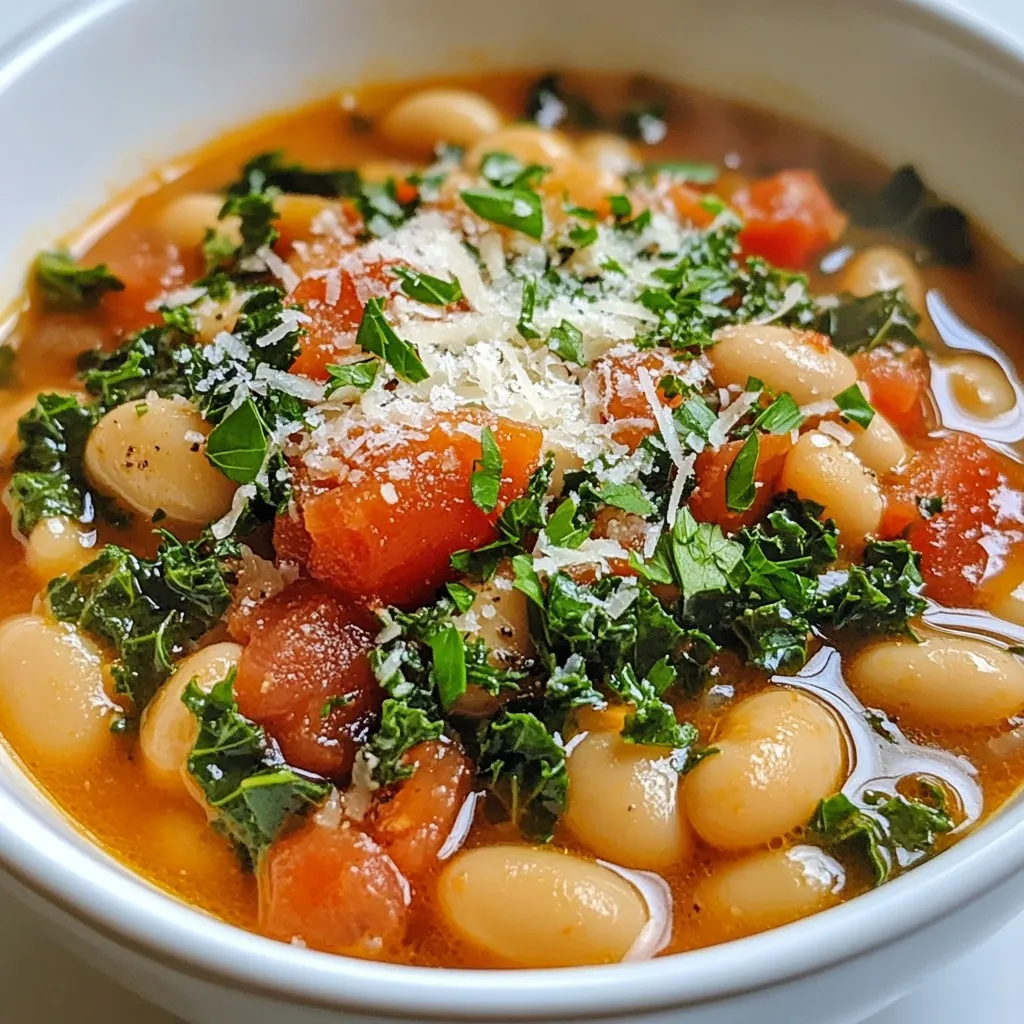
If you’re craving a warm bowl of comfort, Tuscan White Bean Soup is the answer. This hearty and flavorful dish

Welcome to your new favorite comfort food! Cajun Shrimp and Grits combines rich flavors and creamy textures that make any
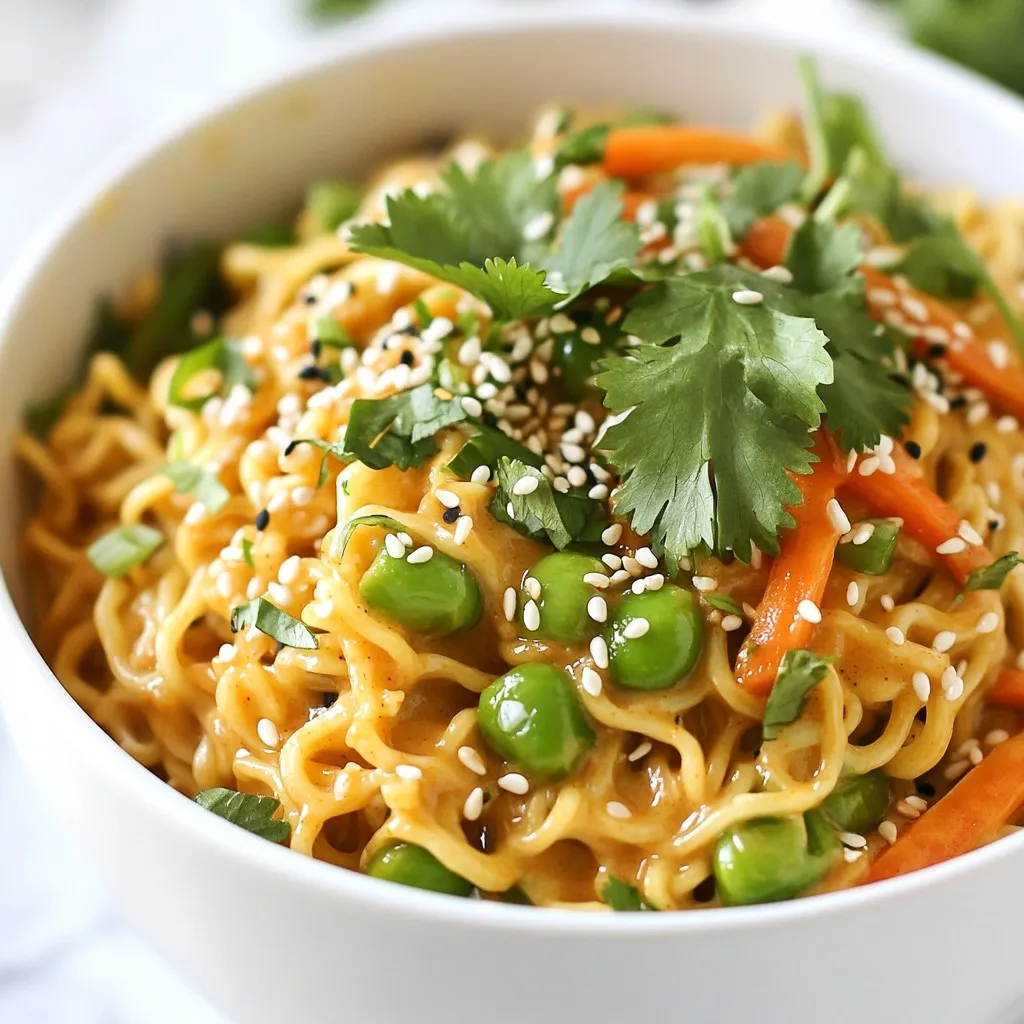
Are you ready to spice up your dinner routine? This Spicy Peanut Ramen recipe is a bowl of bold flavors
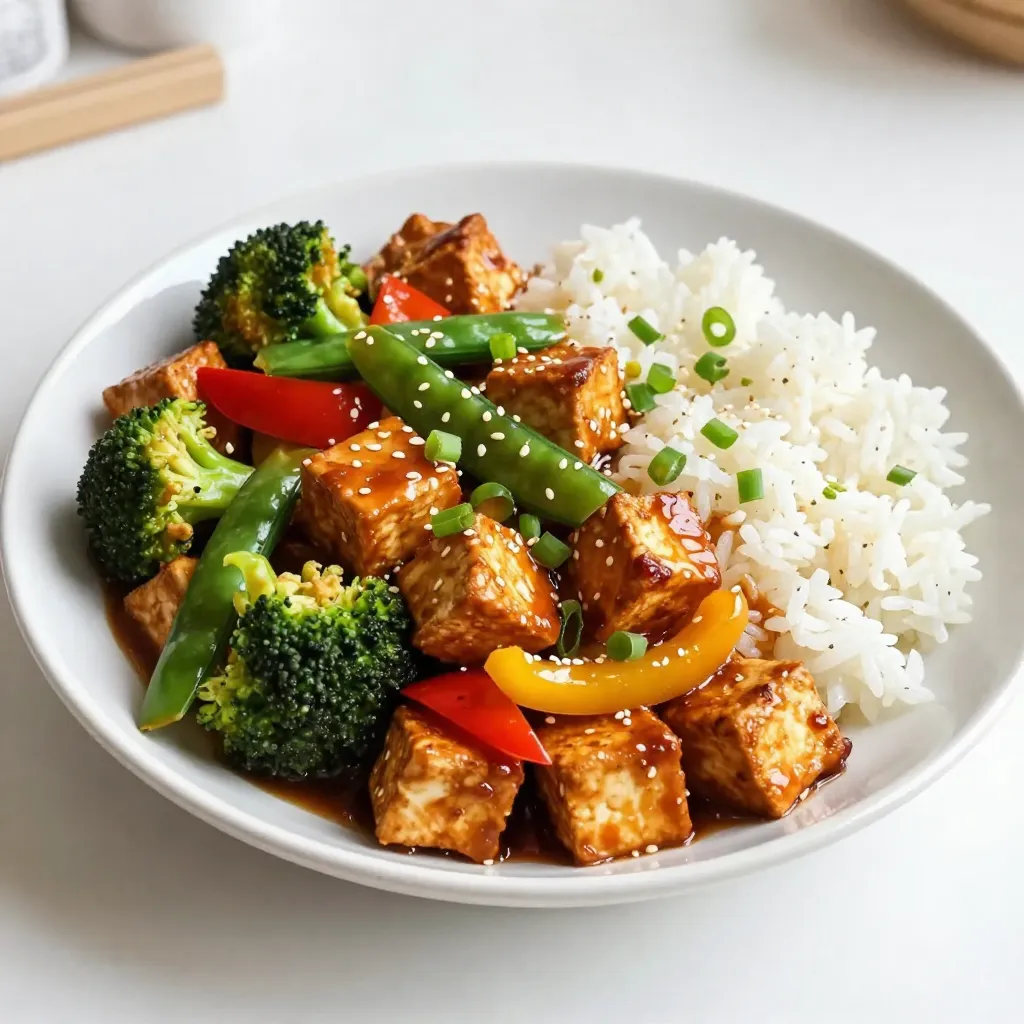
Are you ready to whip up a healthy, tasty dish? Teriyaki Tofu Stir Fry is simple and bursting with flavor!
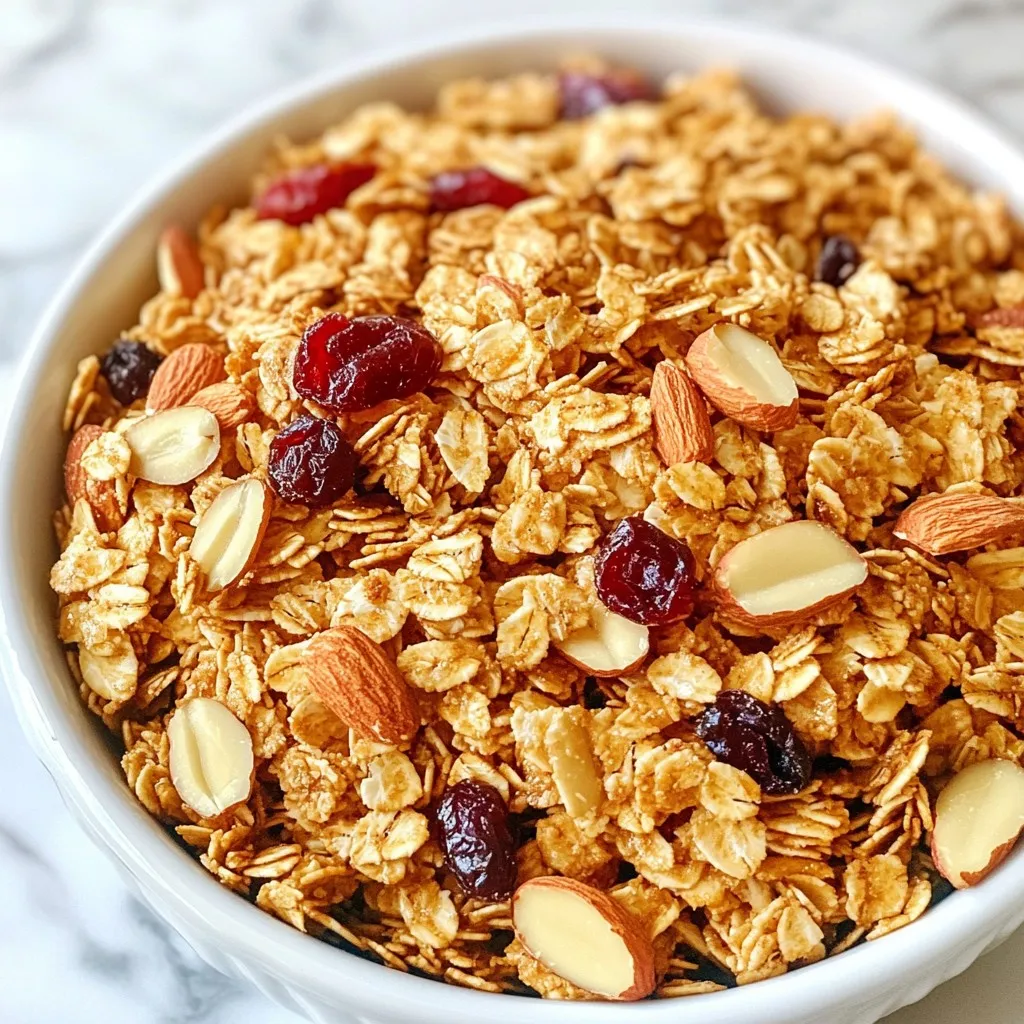
Looking for a tasty and healthy snack? My Vanilla Almond Granola is just what you need! This recipe blends oats
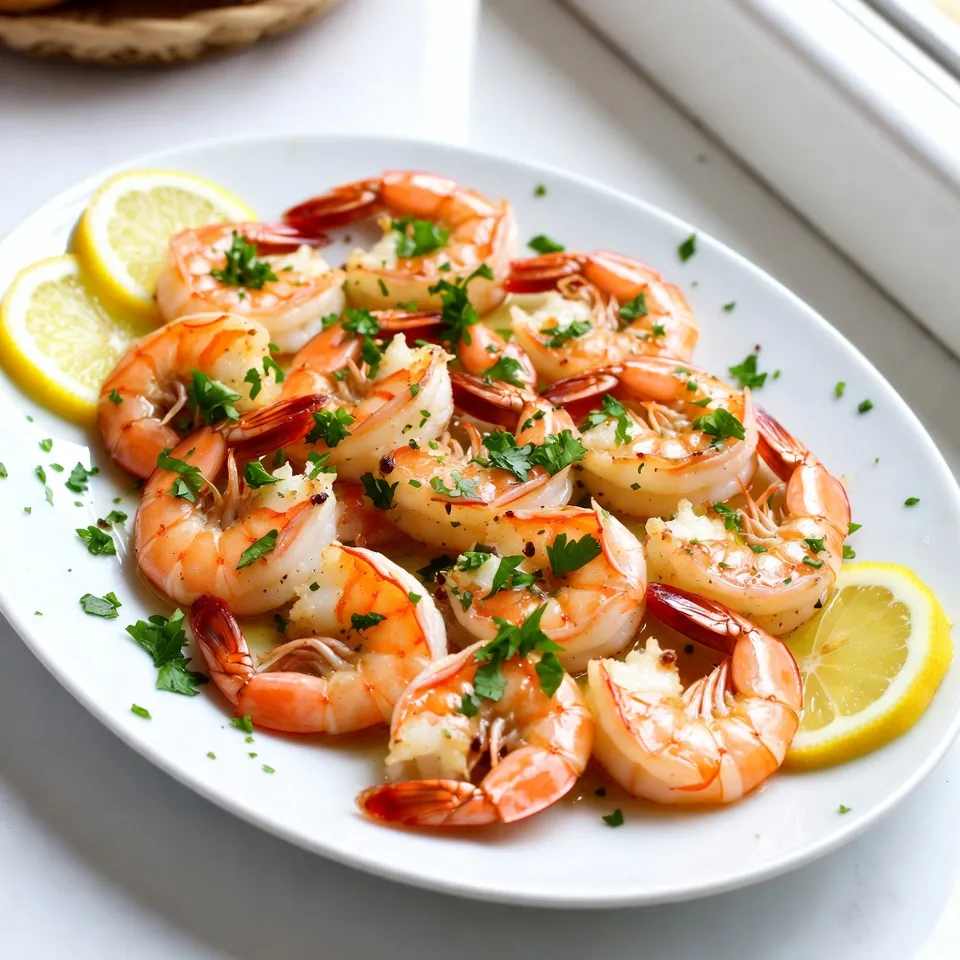
Are you craving a simple yet delicious meal? Look no further! My Lemon Garlic Roasted Shrimp is packed with zesty
