Lemon Garlic Greek Chickpeas Tasty and Quick Recipe
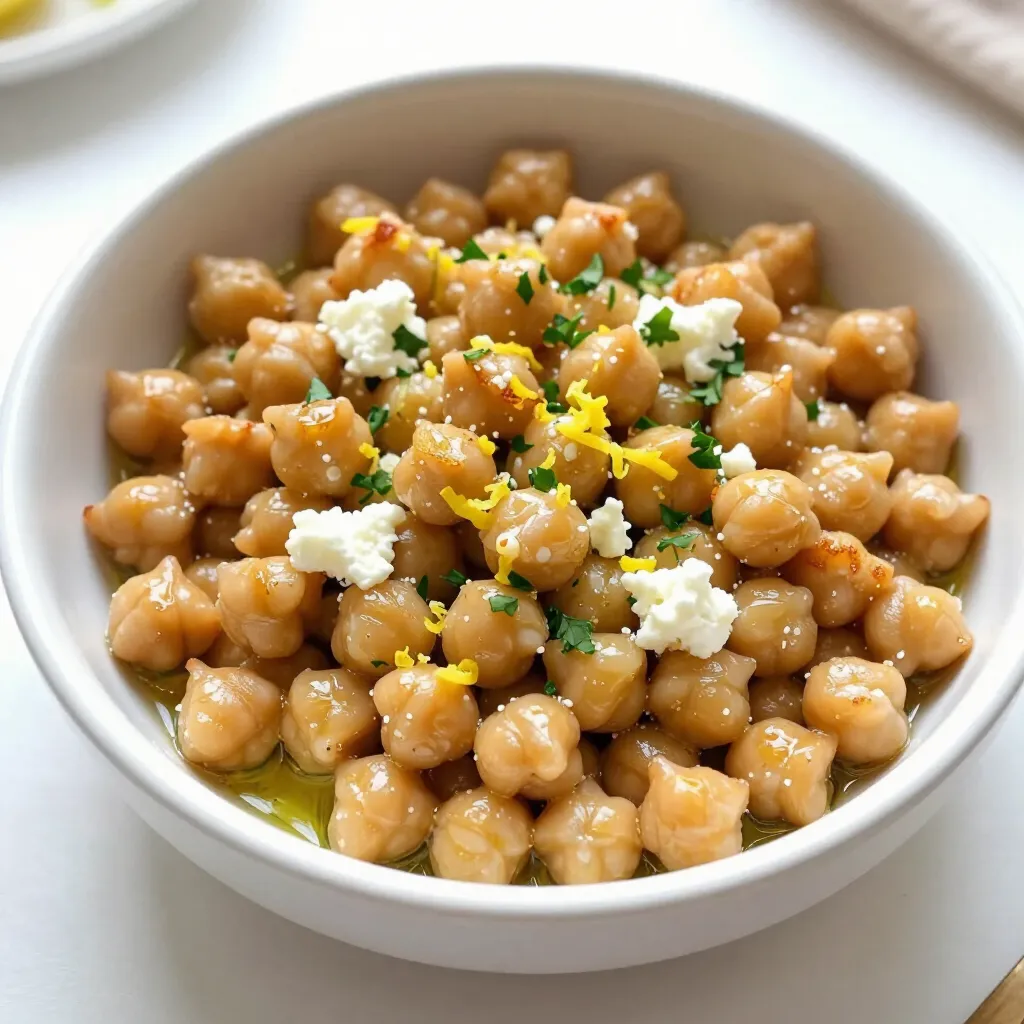
If you’re looking for a quick and tasty meal, Lemon Garlic Greek Chickpeas are the answer! This simple dish bursts
If you’re looking for a quick and tasty meal, Lemon Garlic Greek Chickpeas are the answer! This simple dish bursts
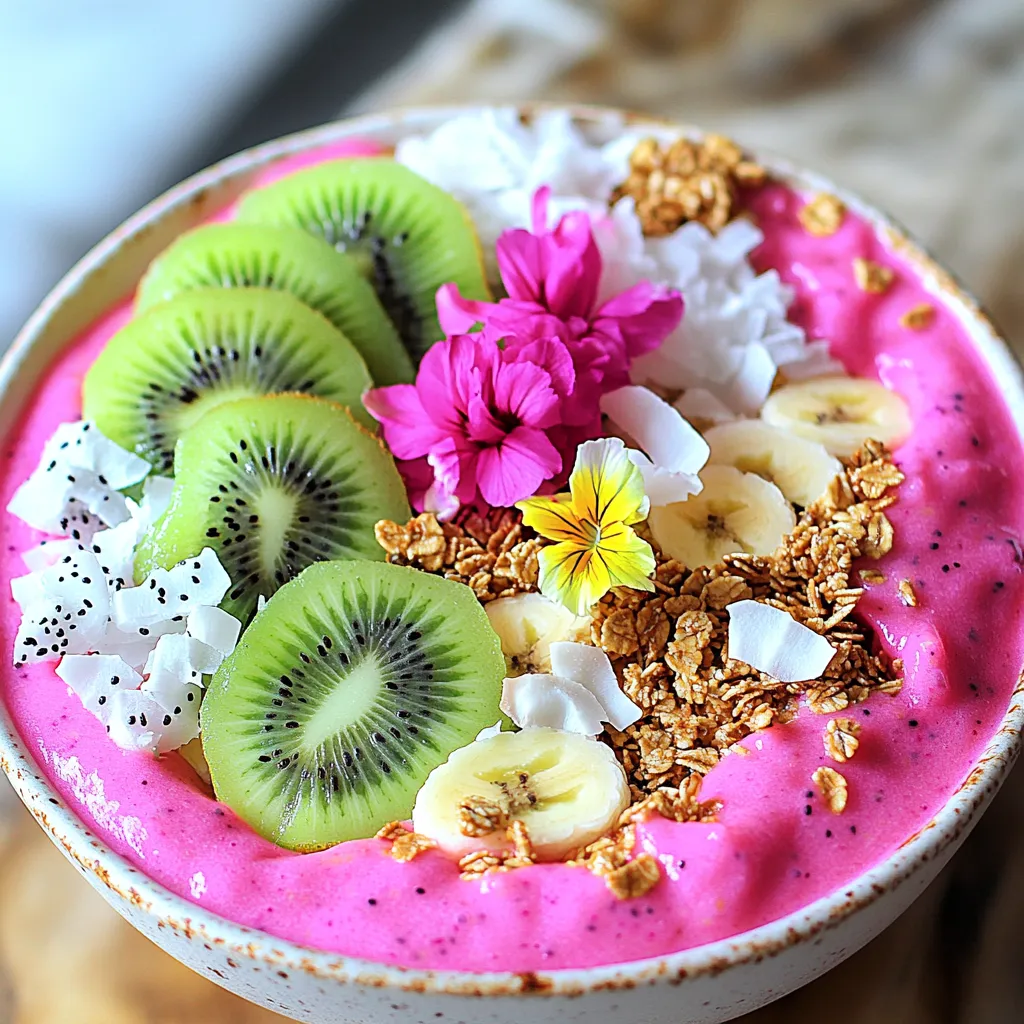
Are you ready to brighten your morning with a Tropical Dragon Fruit Smoothie Bowl? This easy recipe is not just

Are you ready to spice up your snack game? These Jalapeño Cheddar Cornbread Muffins bring a delightful kick to every
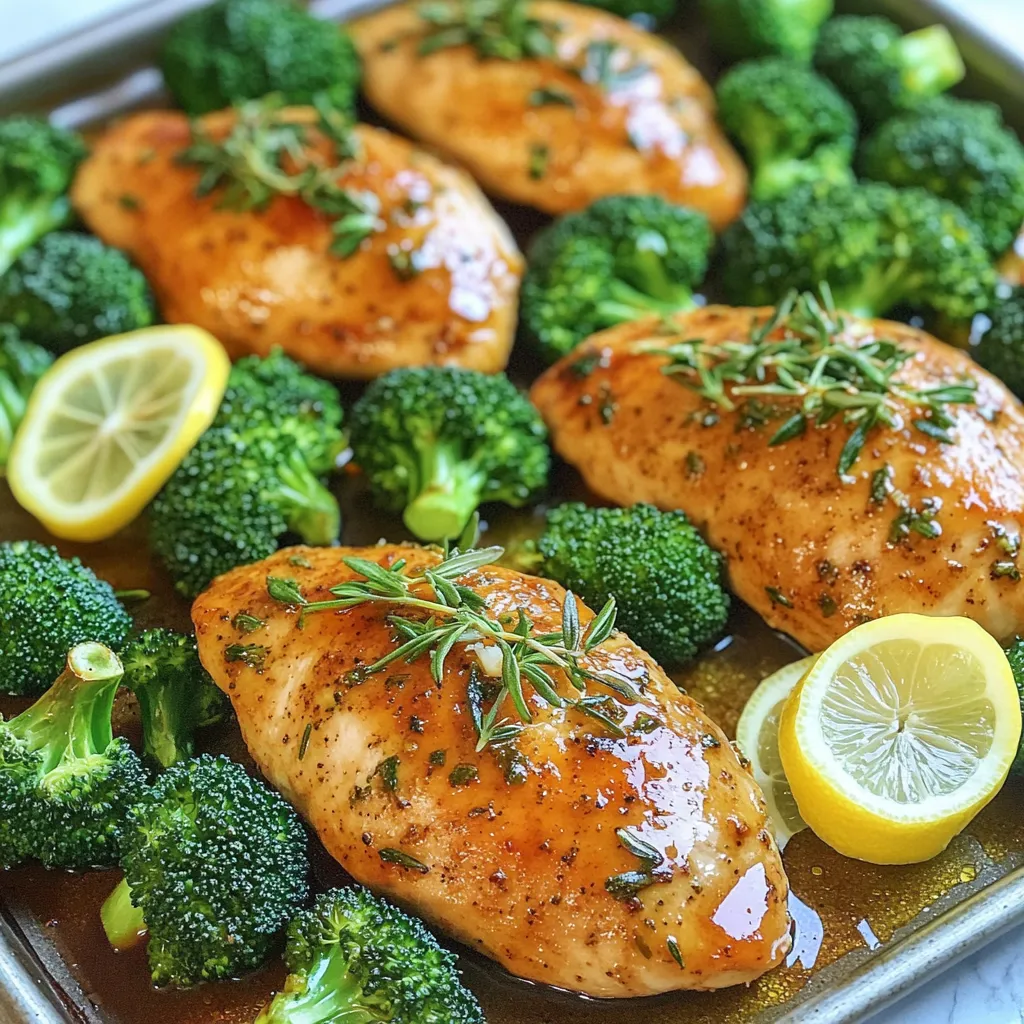
Looking for a quick, tasty dinner? Try my Garlic Herb Chicken & Broccoli Sheet Pan Delight! This dish brings together
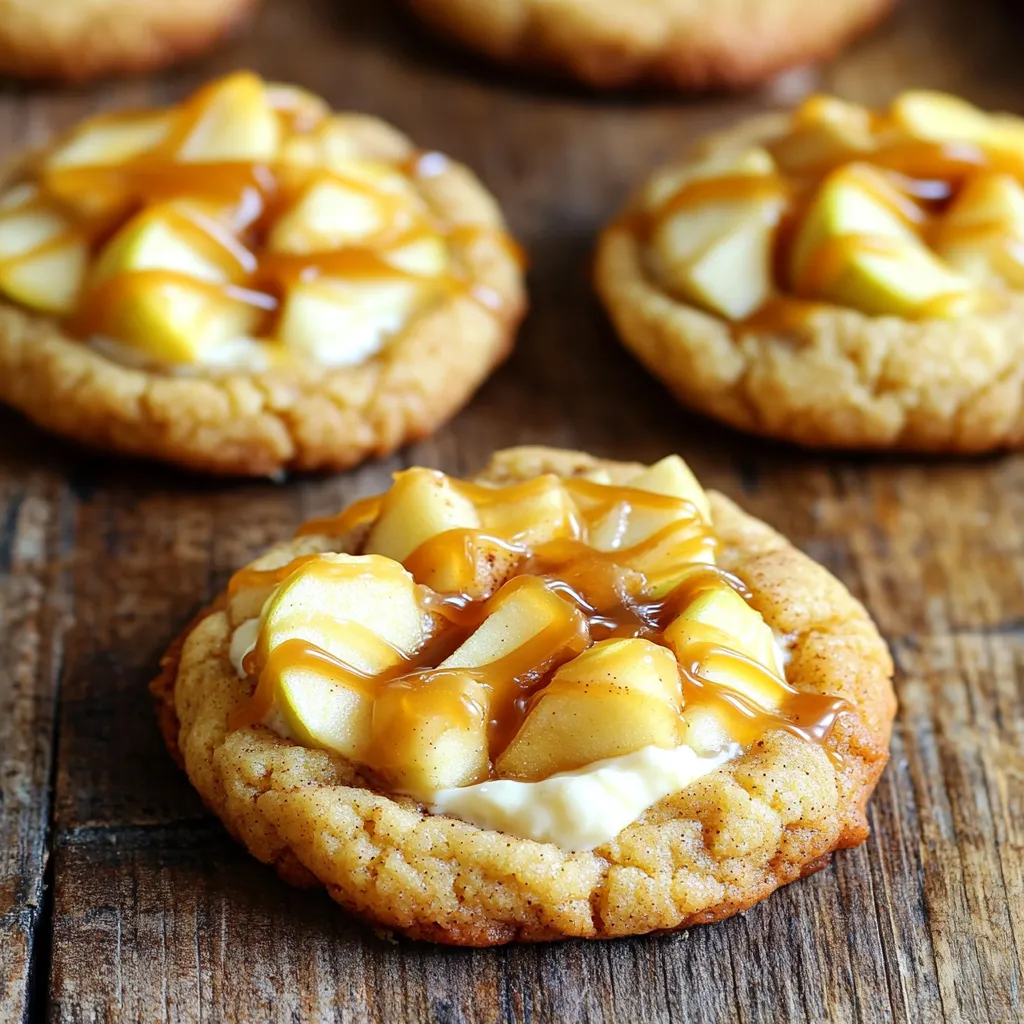
Ready to indulge in a mouthwatering treat? These Caramel Apple Cheesecake Stuffed Cookies will delight your taste buds! Picture warm,
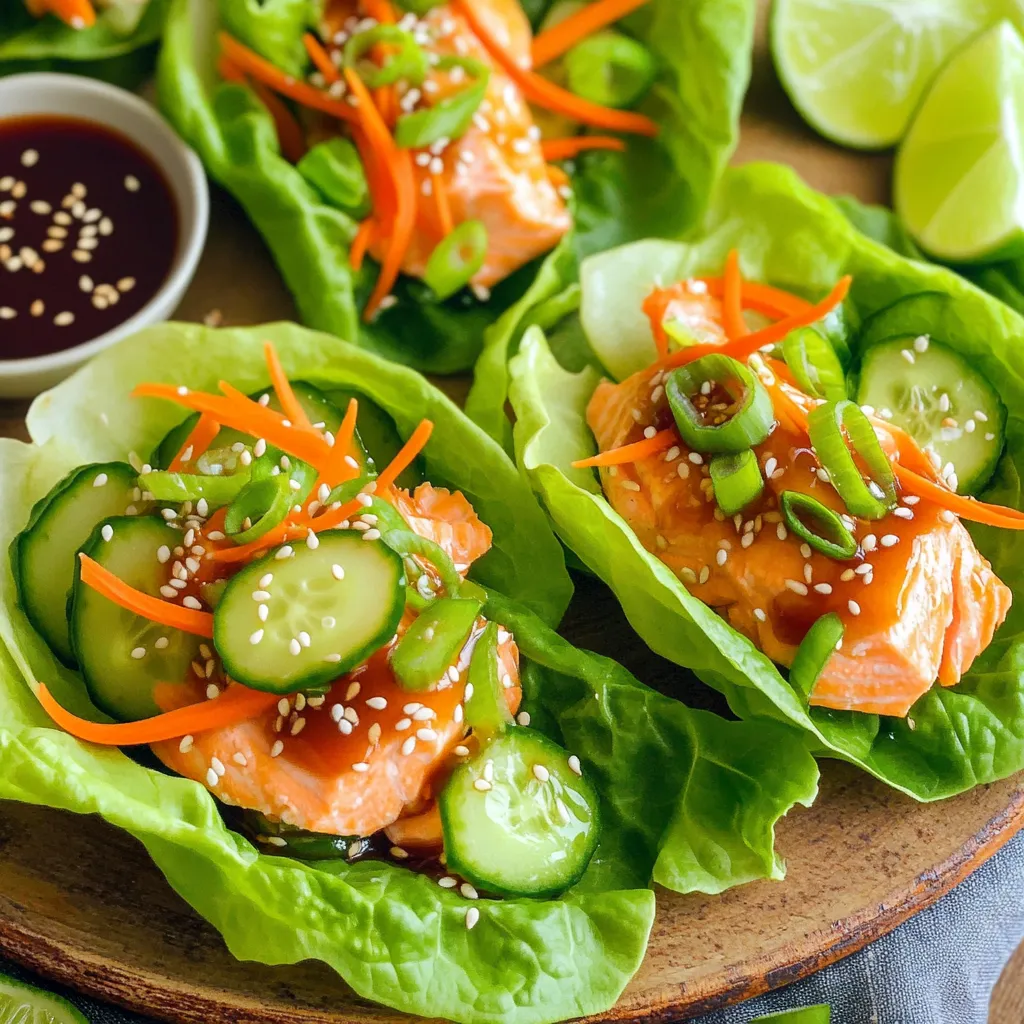
Looking for a fresh and tasty meal that’s quick to make? Try my Minute Teriyaki Salmon Lettuce Wraps! This dish
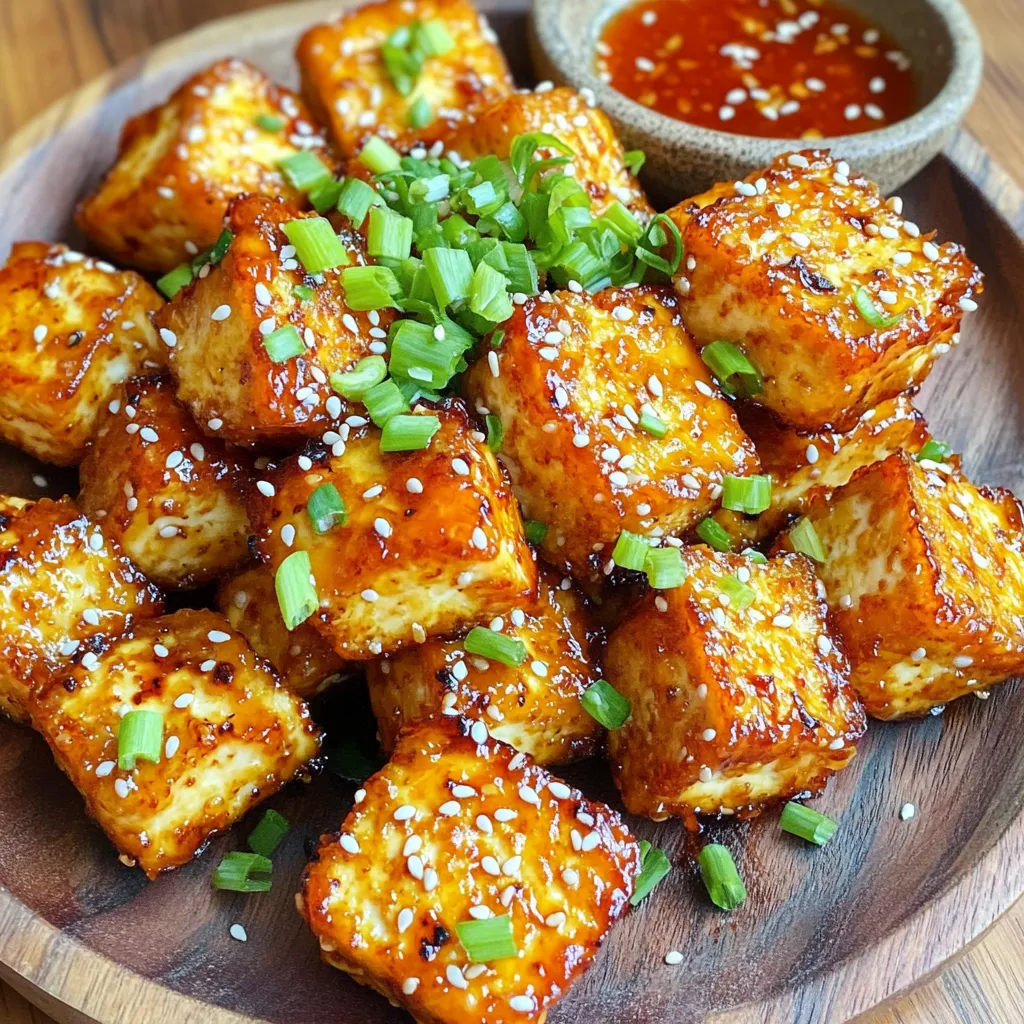
If you’re craving a tasty, healthy snack, you’re in the right place! Air Fryer Honey Garlic Tofu Nuggets bring crunch
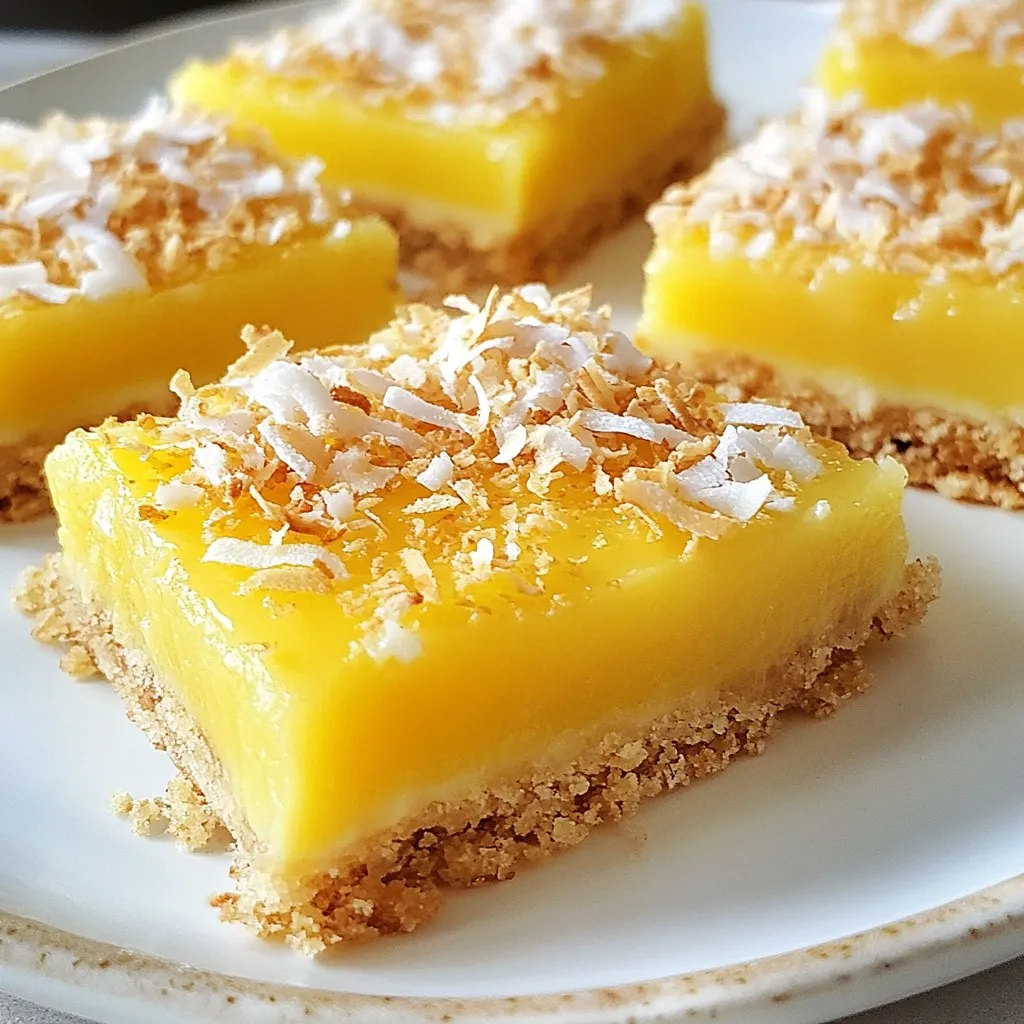
Looking for a delicious dessert that’s both vegan and easy to make? You’re in the right place! These Vegan Lemon
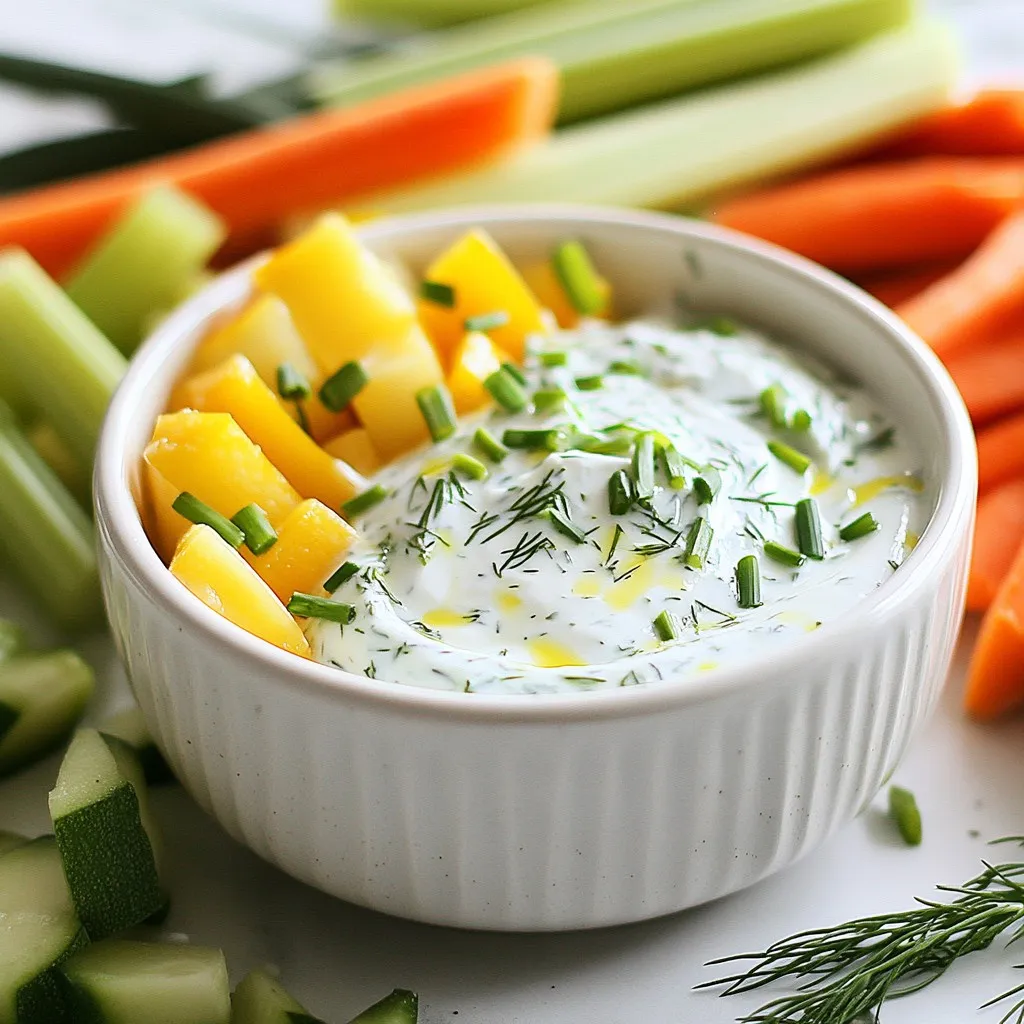
Looking for a tasty dip that packs a punch without the guilt? You’ve come to the right place! My Greek
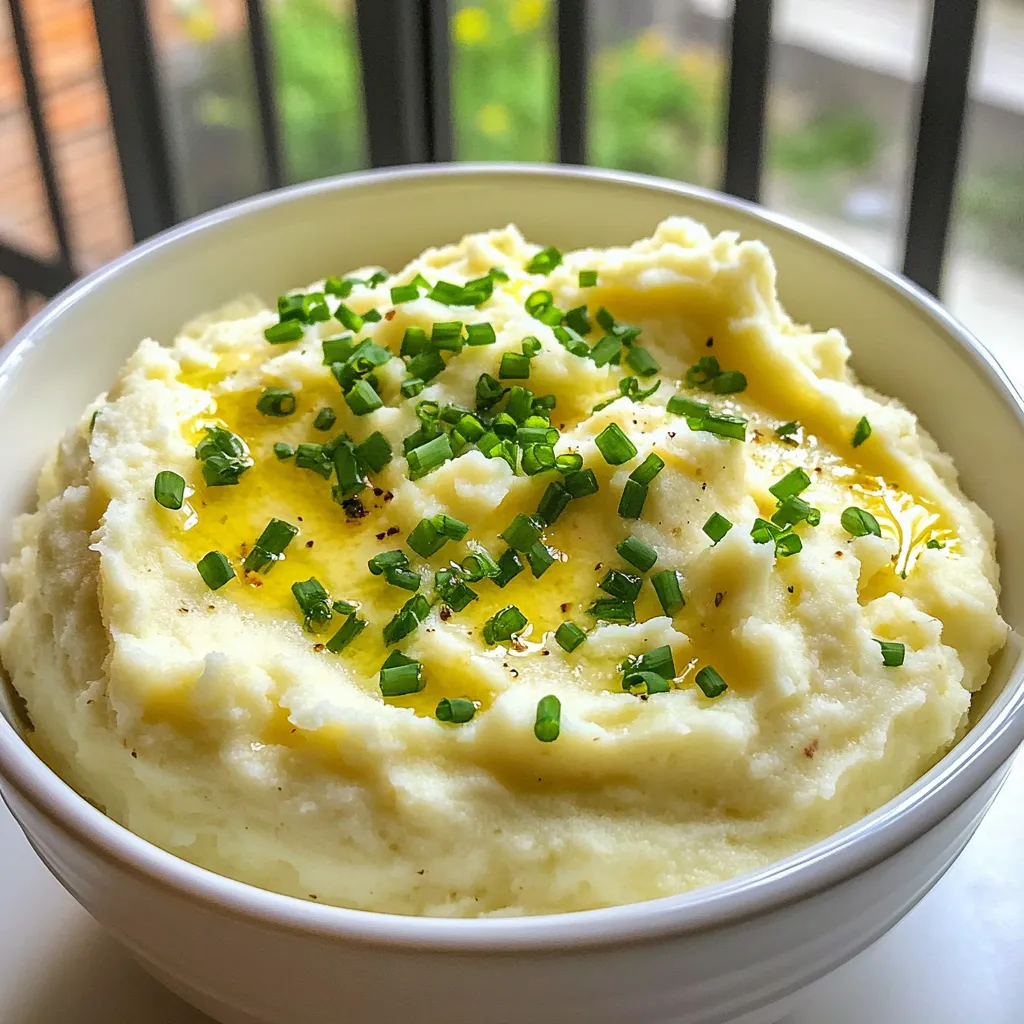
Looking for a tasty alternative to traditional mashed potatoes? Dive into my Creamy Roasted Garlic Mashed Cauliflower Delight! This recipe
