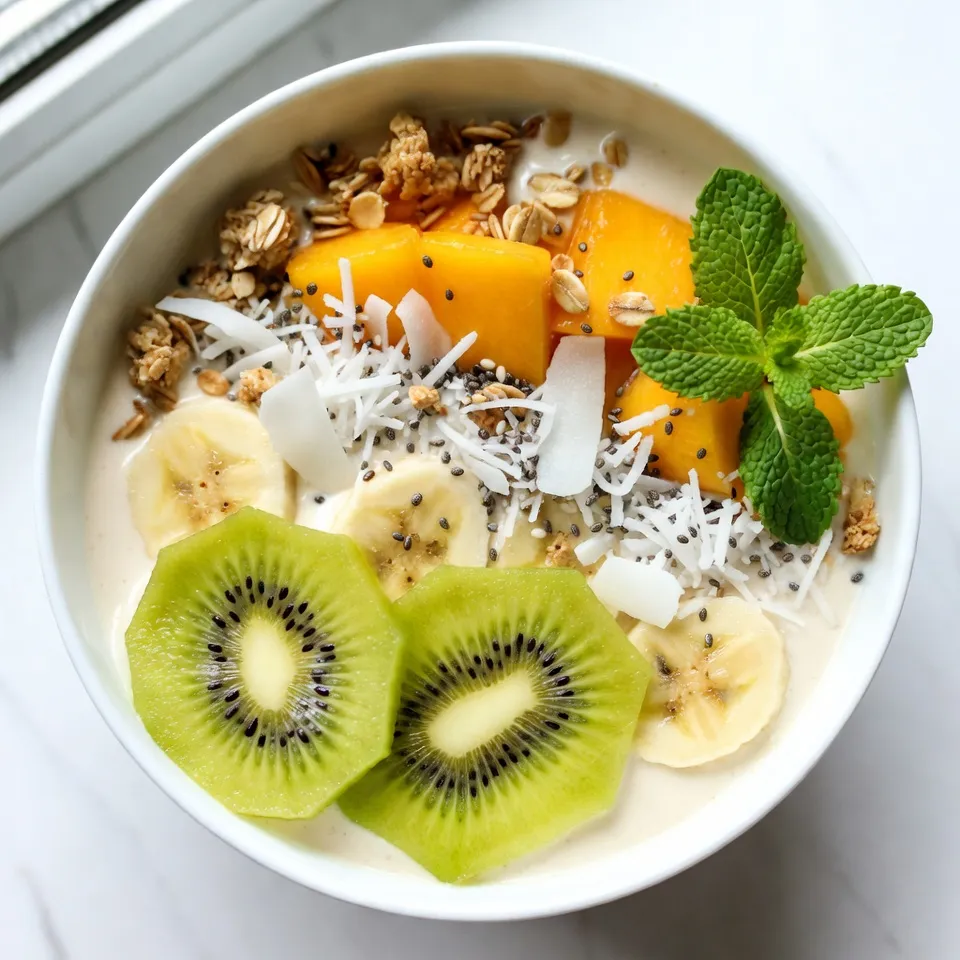
Mango Coconut Smoothie Bowl Fresh and Fruity Delight
Ready to cool down with a tropical treat? The Mango Coconut Smoothie Bowl is a fresh and fruity delight that’s
Ready to cool down with a tropical treat? The Mango Coconut Smoothie Bowl is a fresh and fruity delight that’s
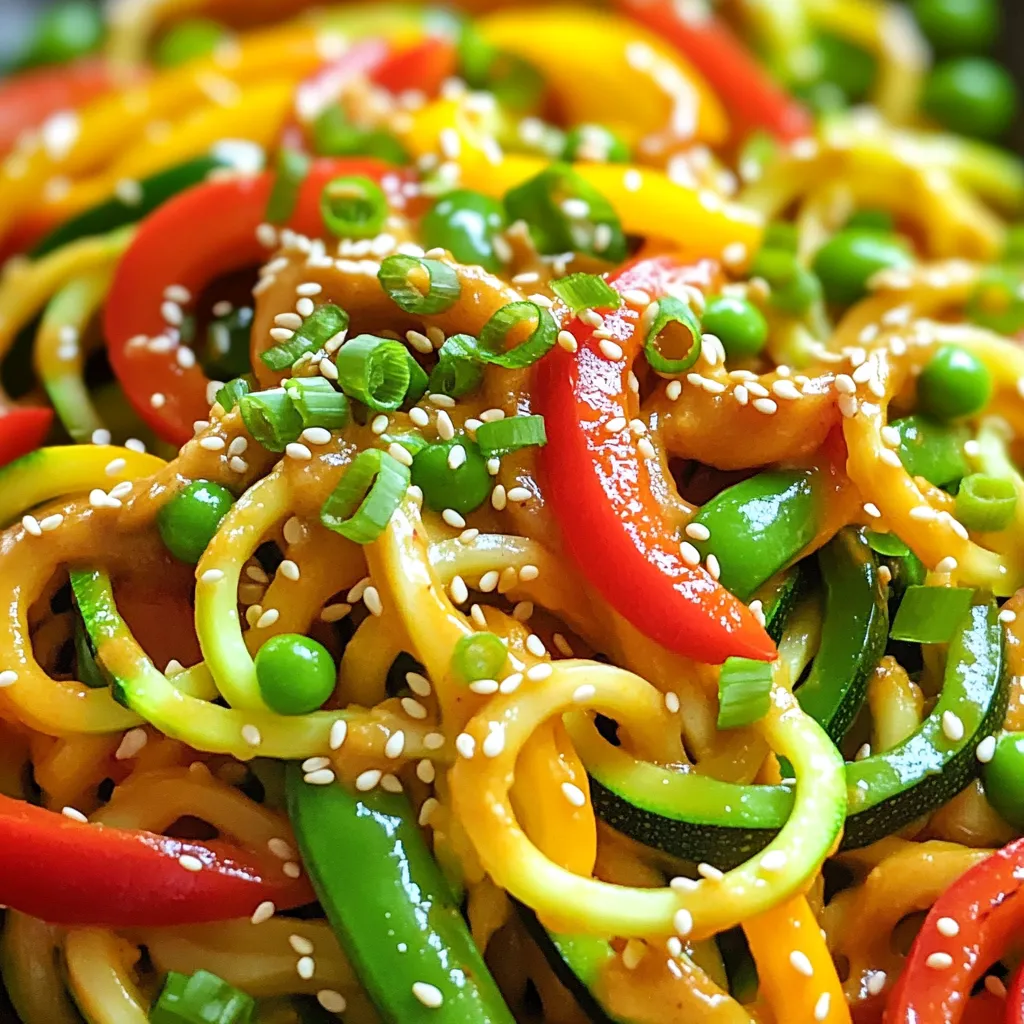
Looking for a quick and tasty meal? My Minute Spicy Peanut Zoodle Stir-Fry is just the thing! In under 30
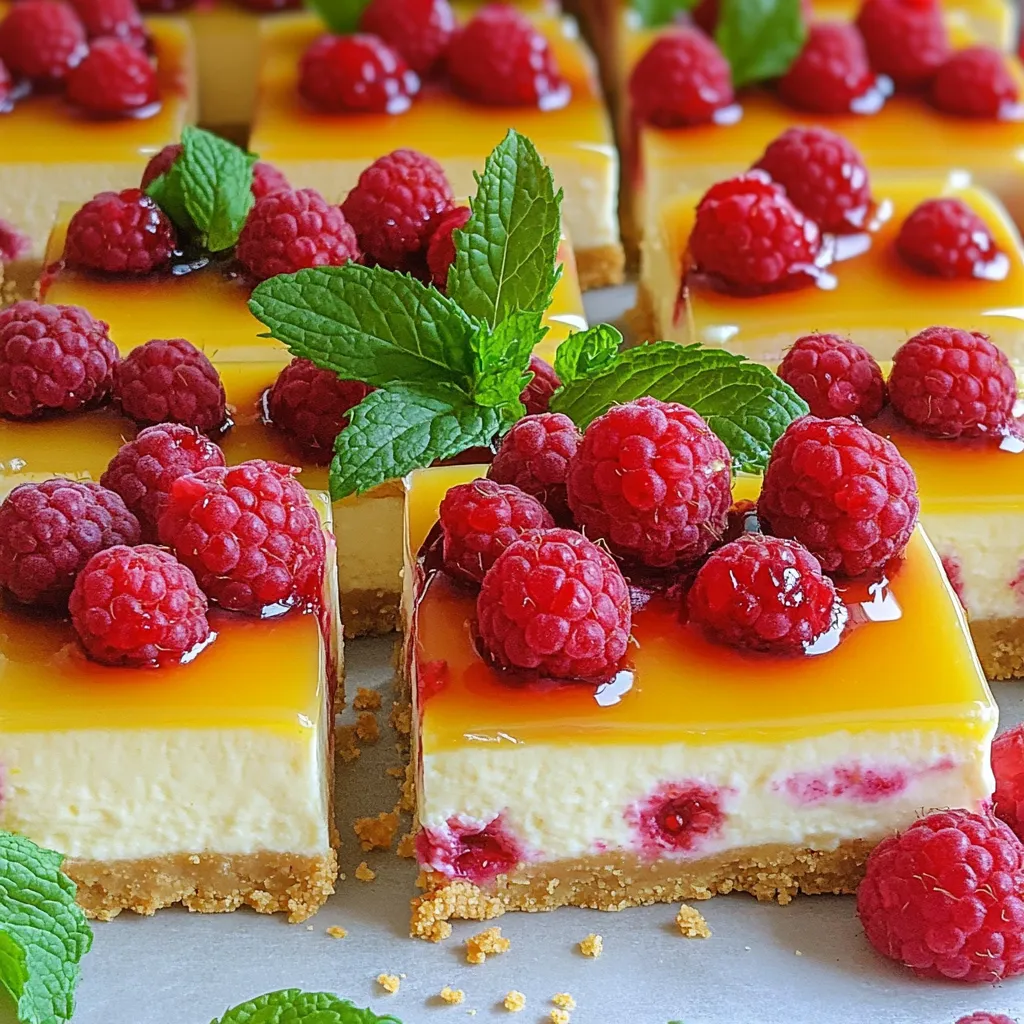
Are you ready to indulge in a sweet treat that’s both easy and delicious? My No-Bake Lemon Raspberry Cheesecake Bars
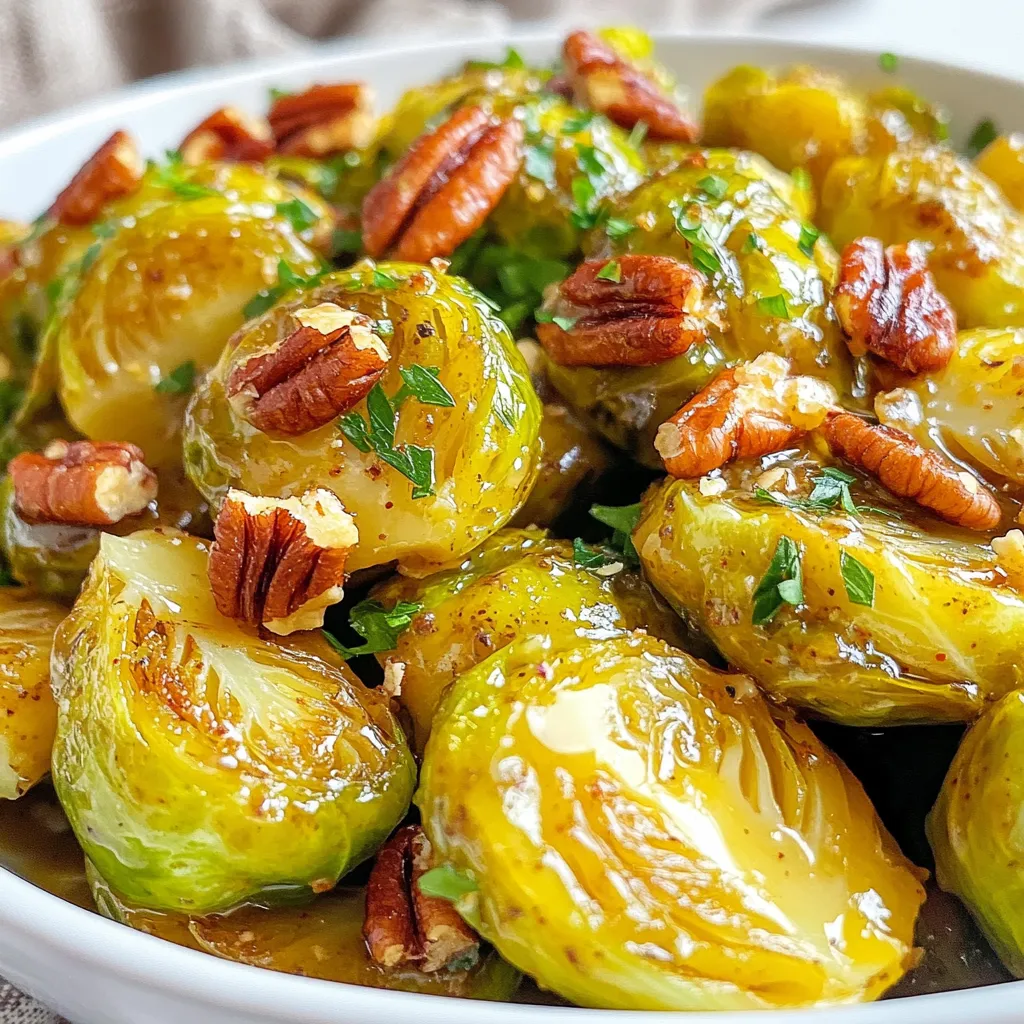
Are you ready to make an amazing side dish? Honey Mustard Brussels Sprouts are here to impress! This easy recipe
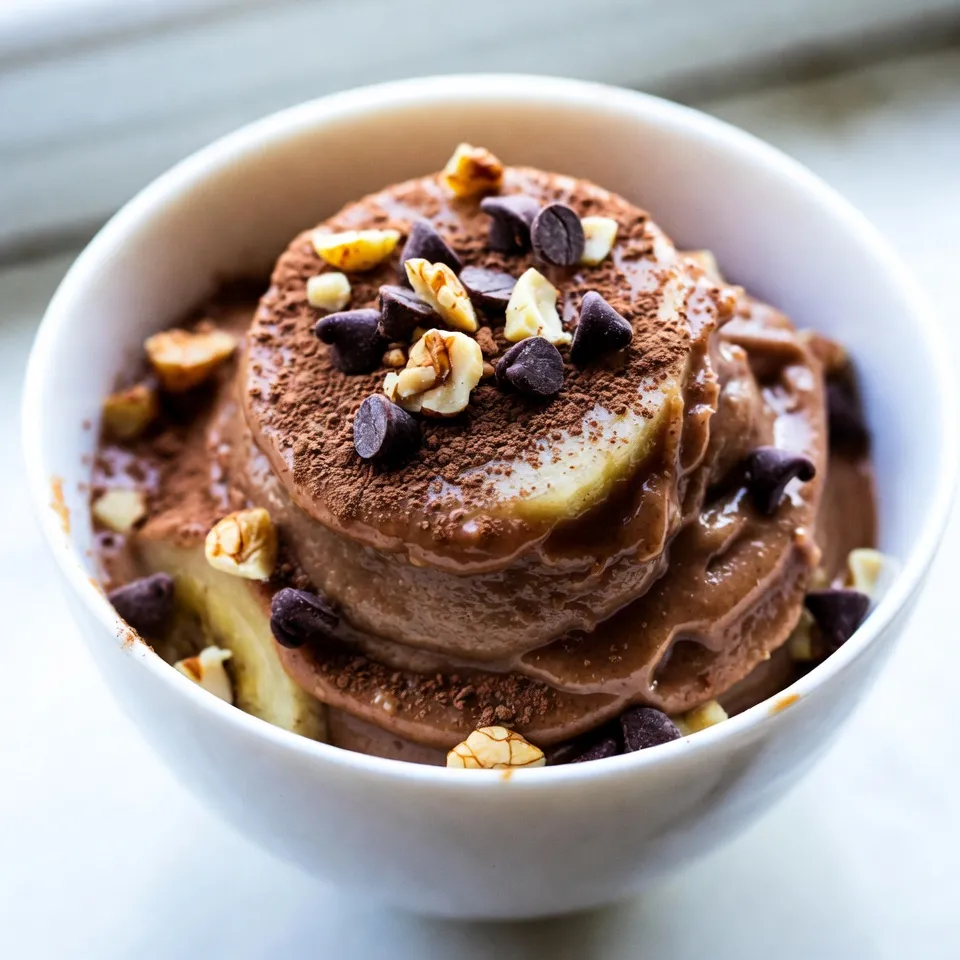
Are you ready to enjoy a sweet treat that’s both delicious and healthy? Chocolate Peanut Butter Banana Nice Cream is

Ready to indulge in a sweet, fall-inspired treat without turning on the oven? My No Bake Pumpkin Pie Bites are
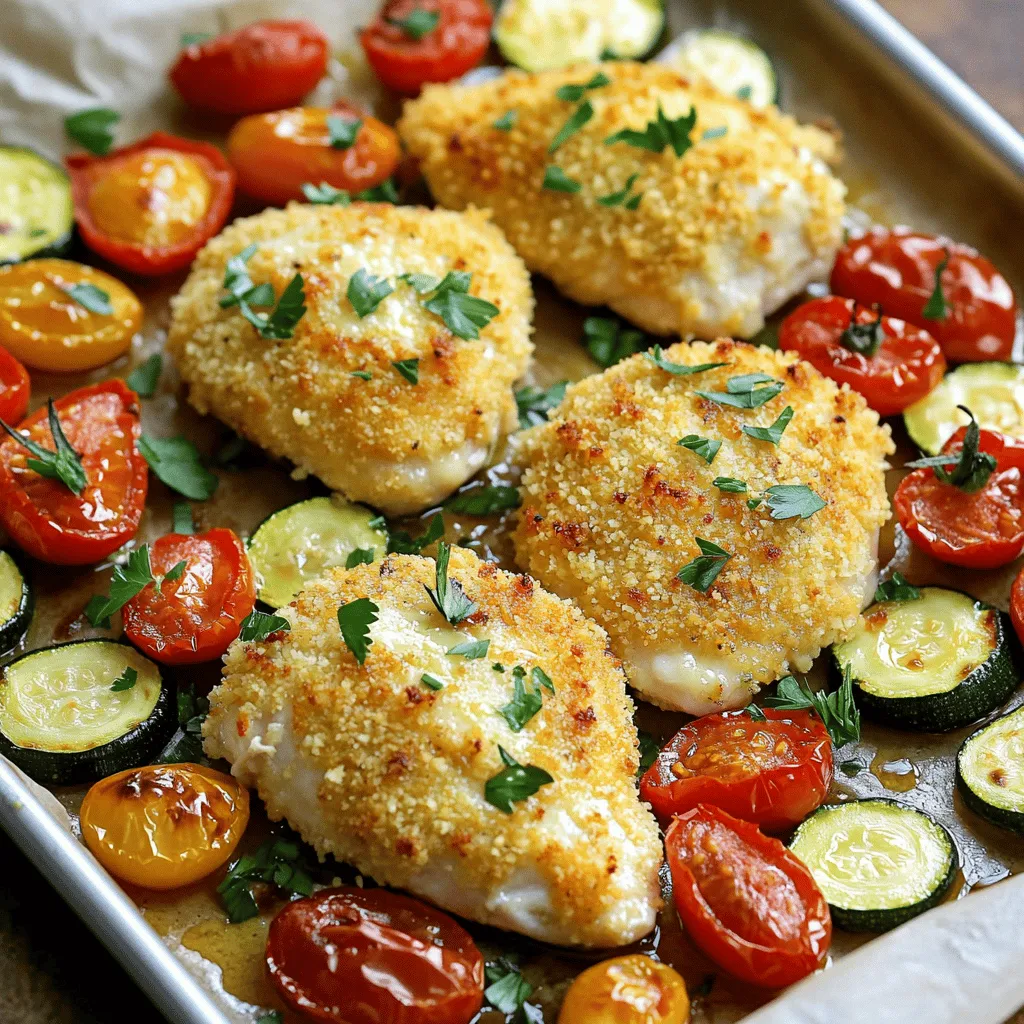
Looking for an easy dinner that the whole family will love? You’ve found it! This Sheet Pan Parmesan Crusted Chicken
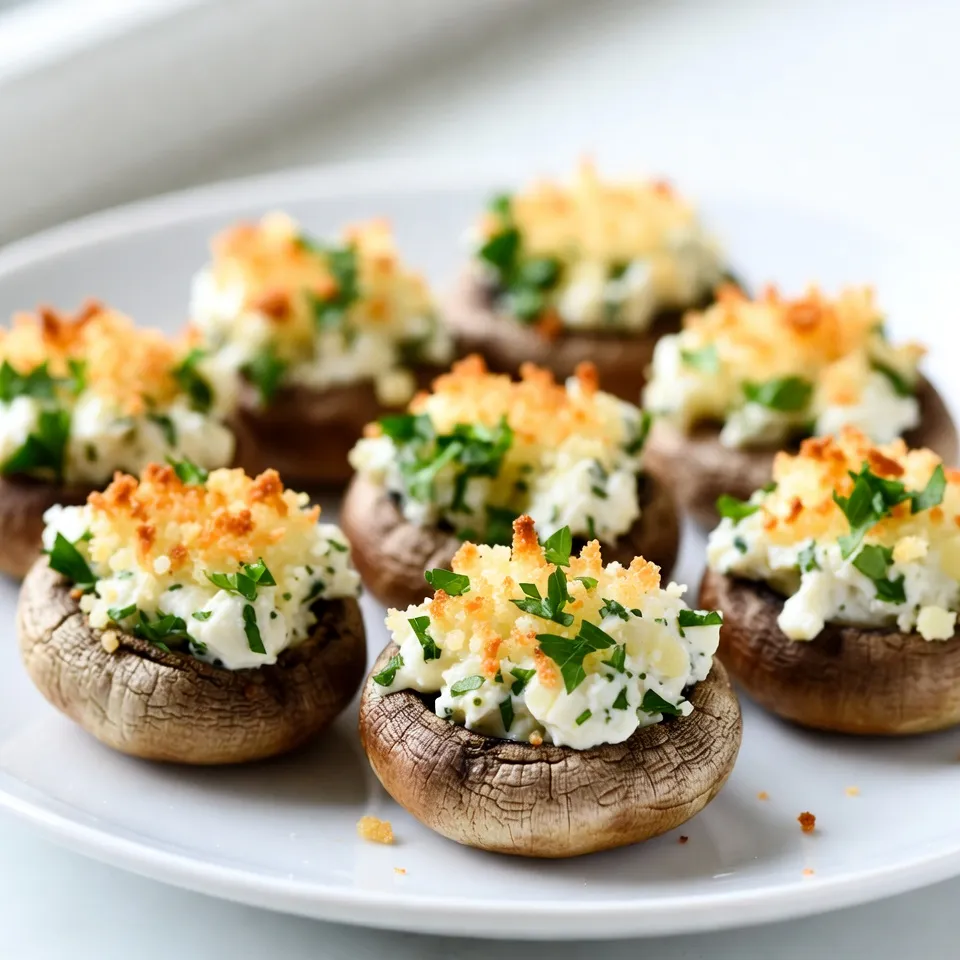
Are you ready to impress your friends and family with a snack that’s both savory and easy to make? Garlic
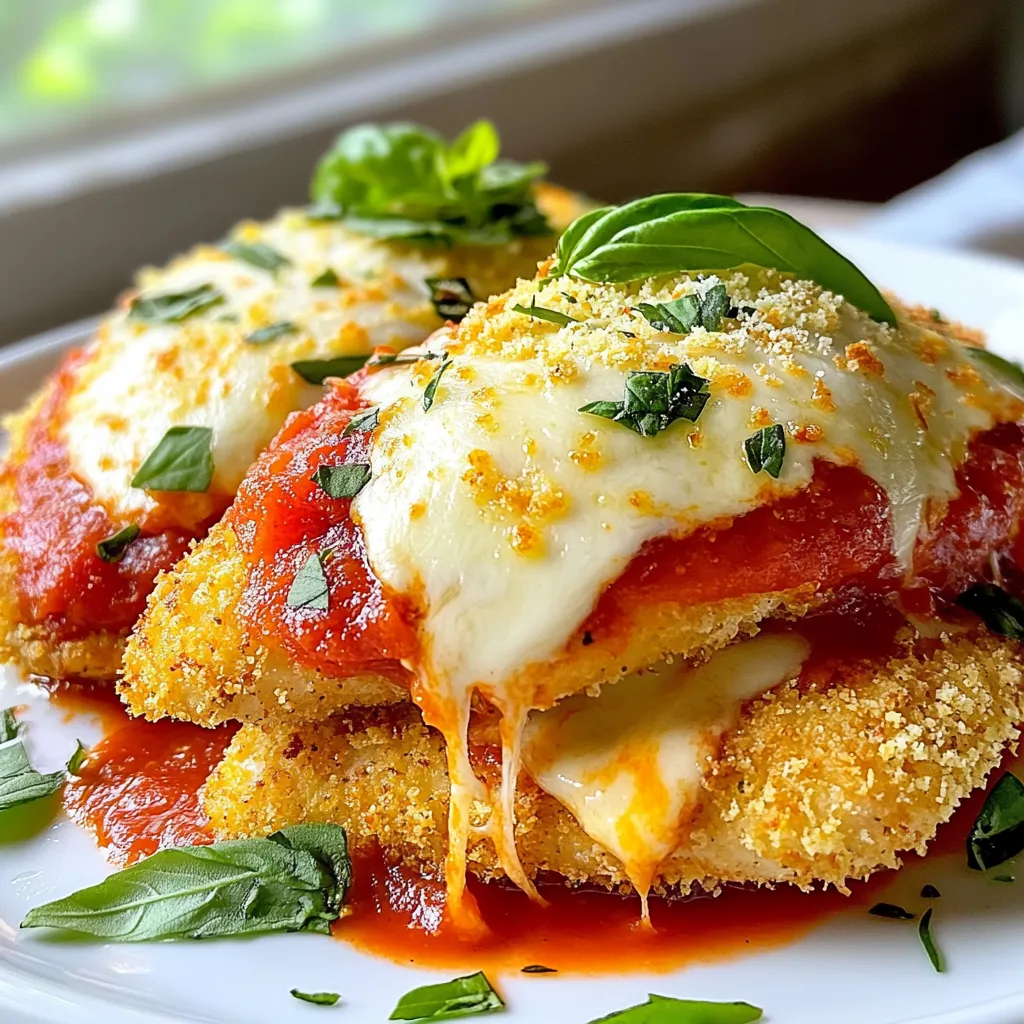
Looking for a quick, tasty meal? My Air Fryer Chicken Parmesan recipe is just what you need. It’s simple, fun,
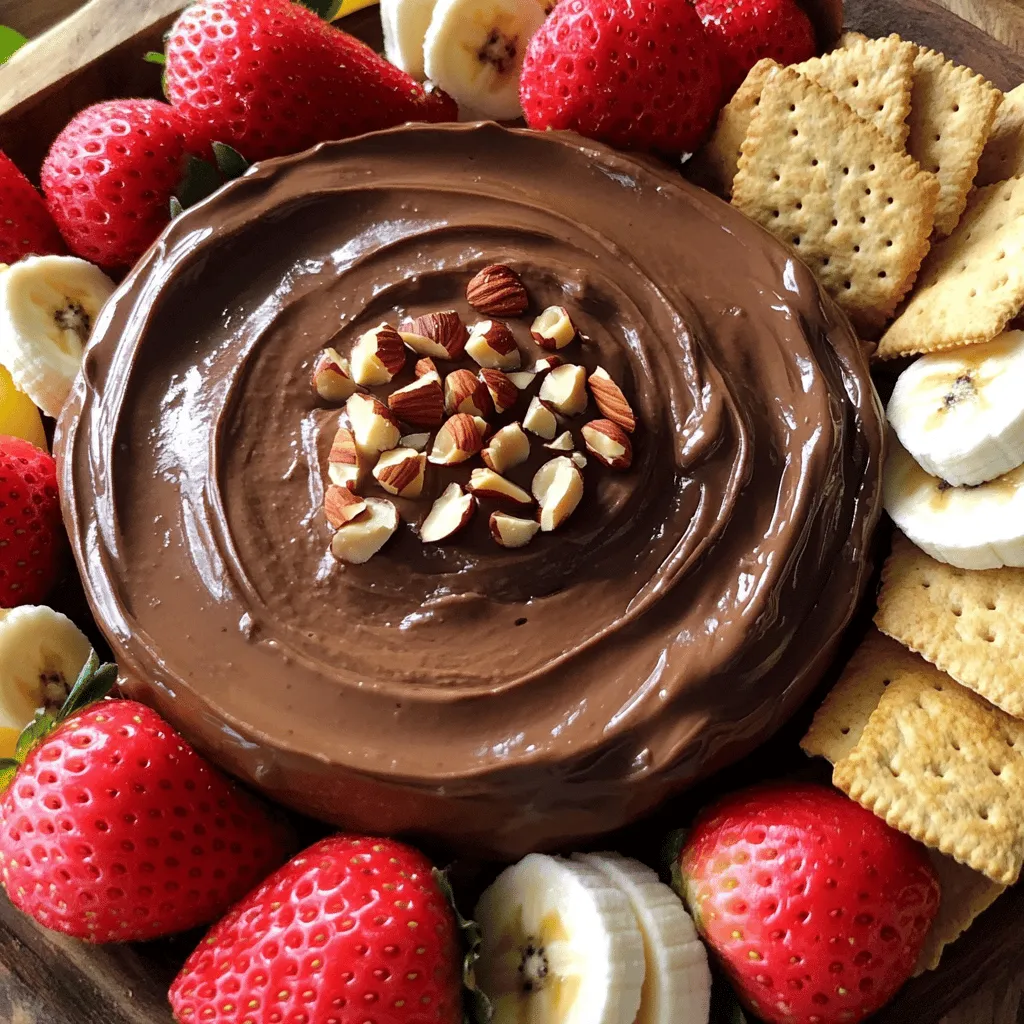
Indulge in the creamy goodness of Chocolate Hazelnut Cheesecake Dip, your new favorite treat! This simple recipe combines the rich
