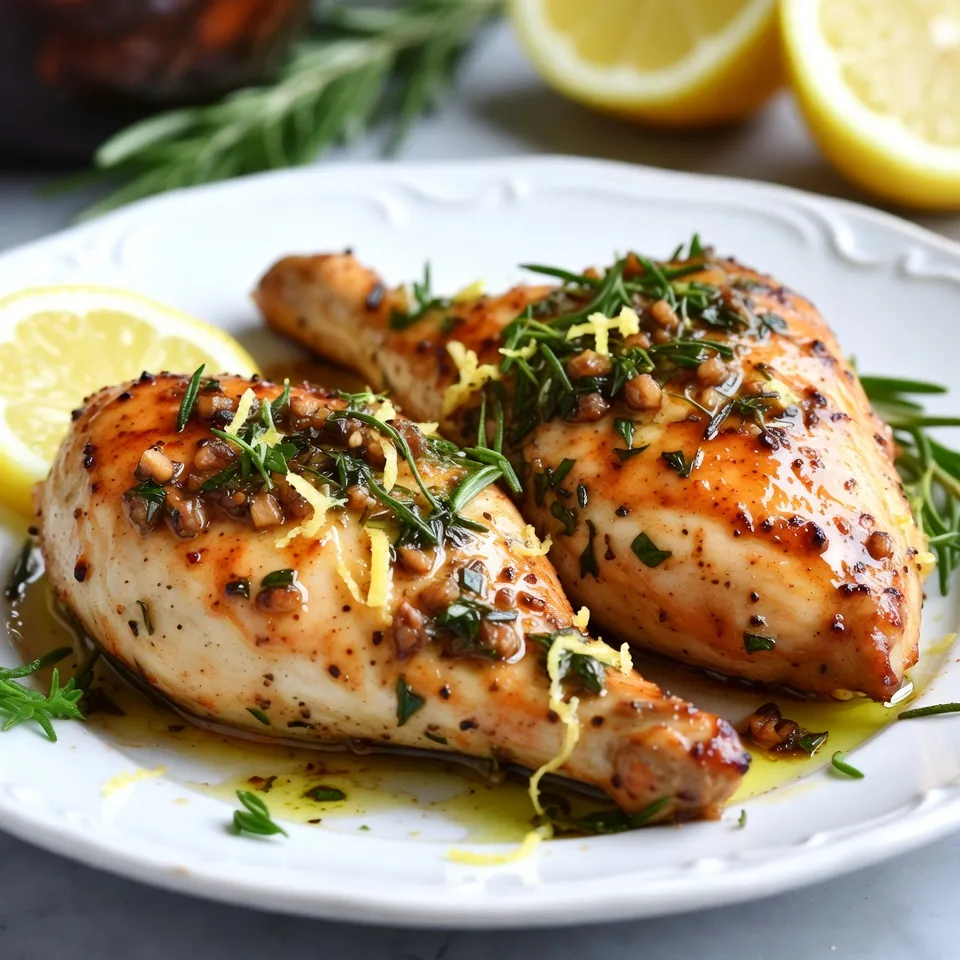
Garlic Herb Roasted Chicken Breasts Juicy and Flavorful
Are you ready to elevate your dinner game? In this easy-to-follow recipe, I’ll show you how to make Garlic Herb
Are you ready to elevate your dinner game? In this easy-to-follow recipe, I’ll show you how to make Garlic Herb
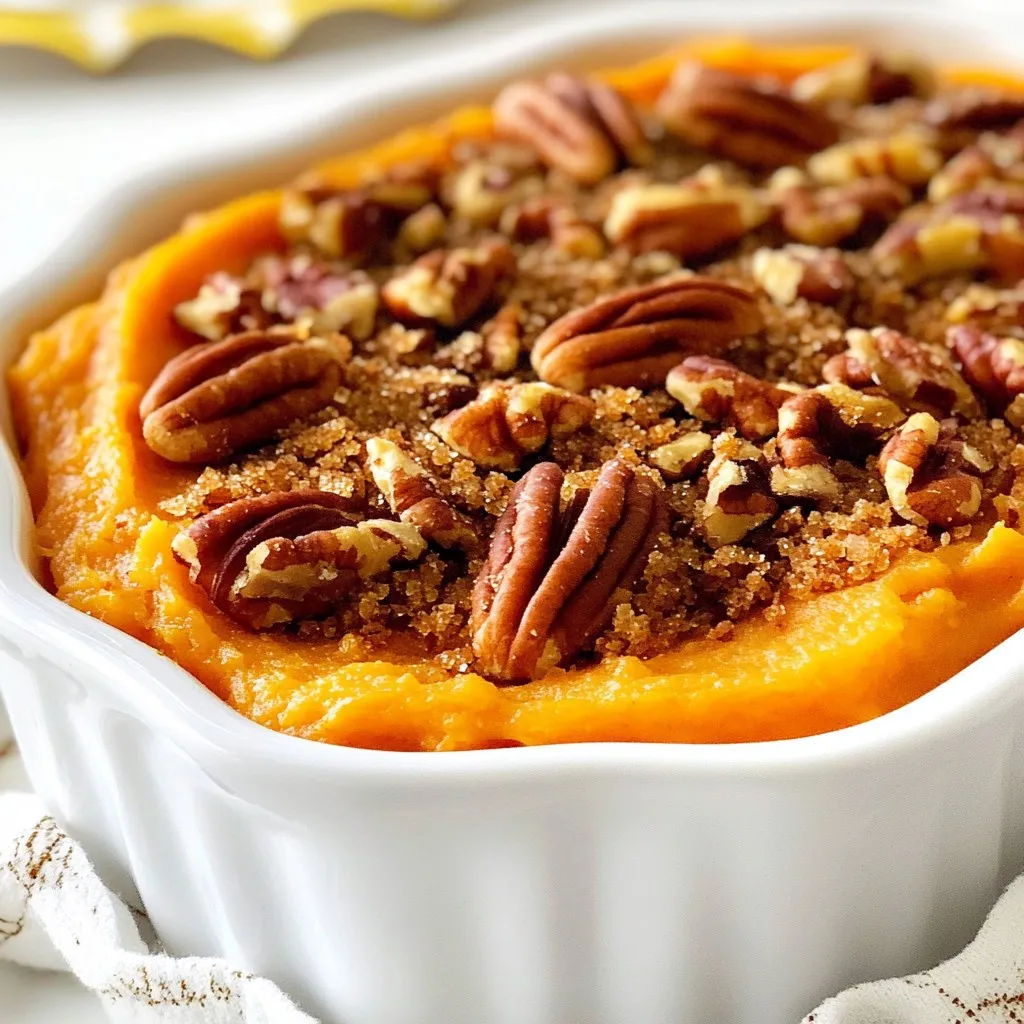
If you crave a dish that warms hearts and fills bellies, you’ve come to the right place. My Maple Pecan
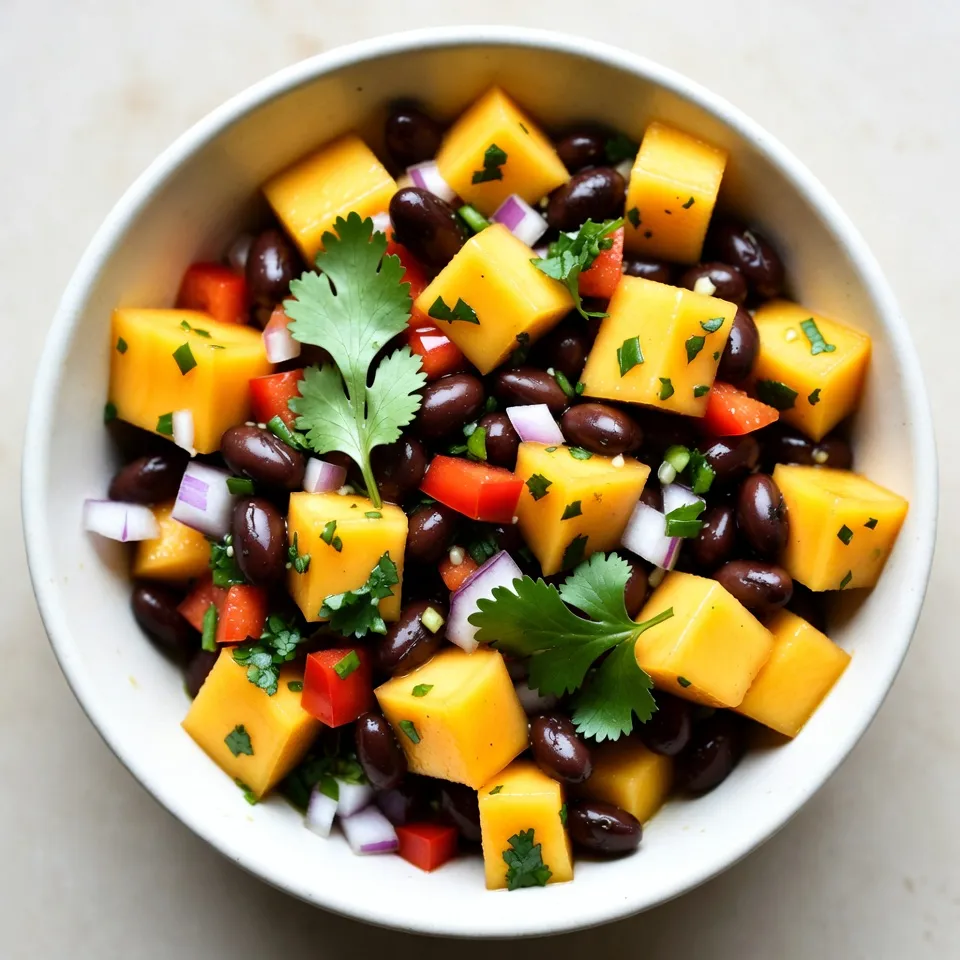
Looking for a refreshing treat that bursts with flavor? Mango Black Bean Salsa is your answer! This vibrant dish combines
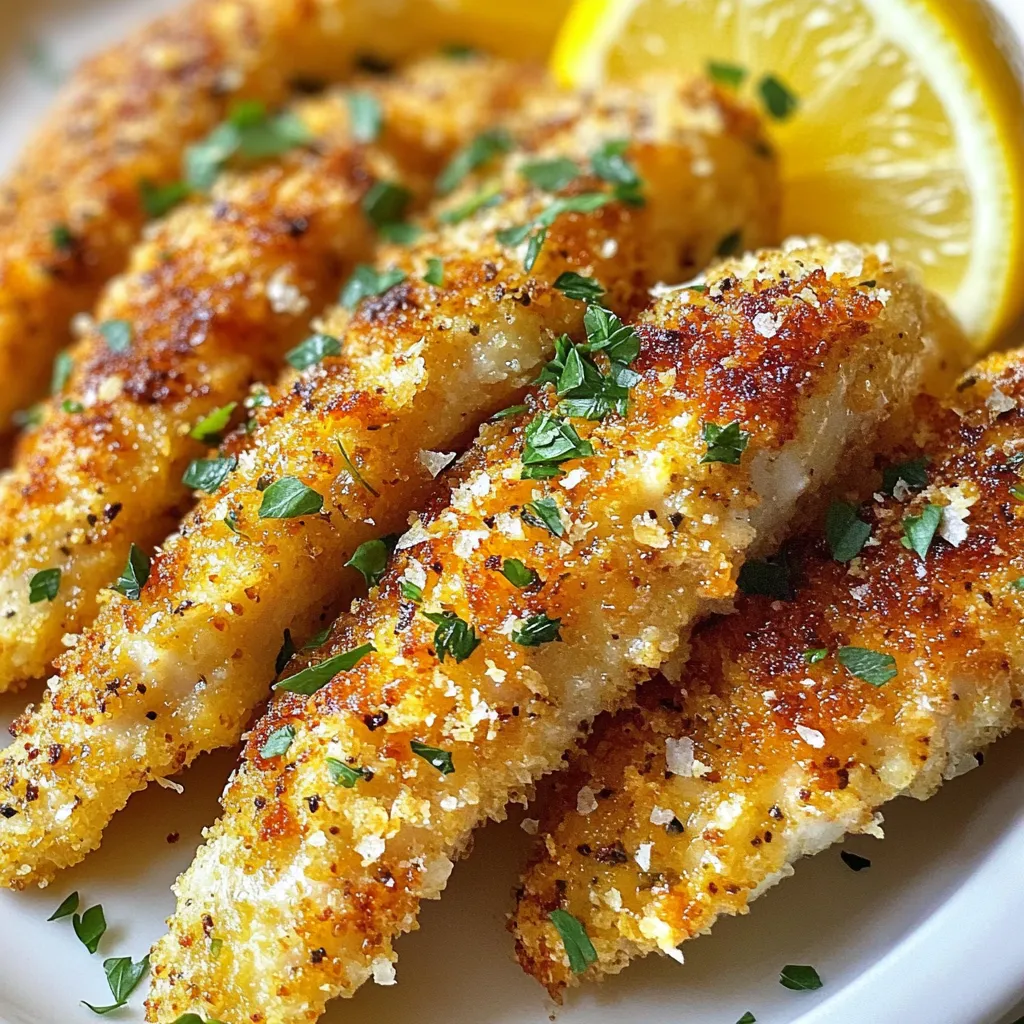
Are you ready to enjoy a tasty meal that’s quick and easy? Lemon Pepper Chicken Tenders are the answer! These

If you’re looking for a sweet and simple treat, Raspberry Almond Thumbprint Cookies are perfect! These cookies blend buttery warmth
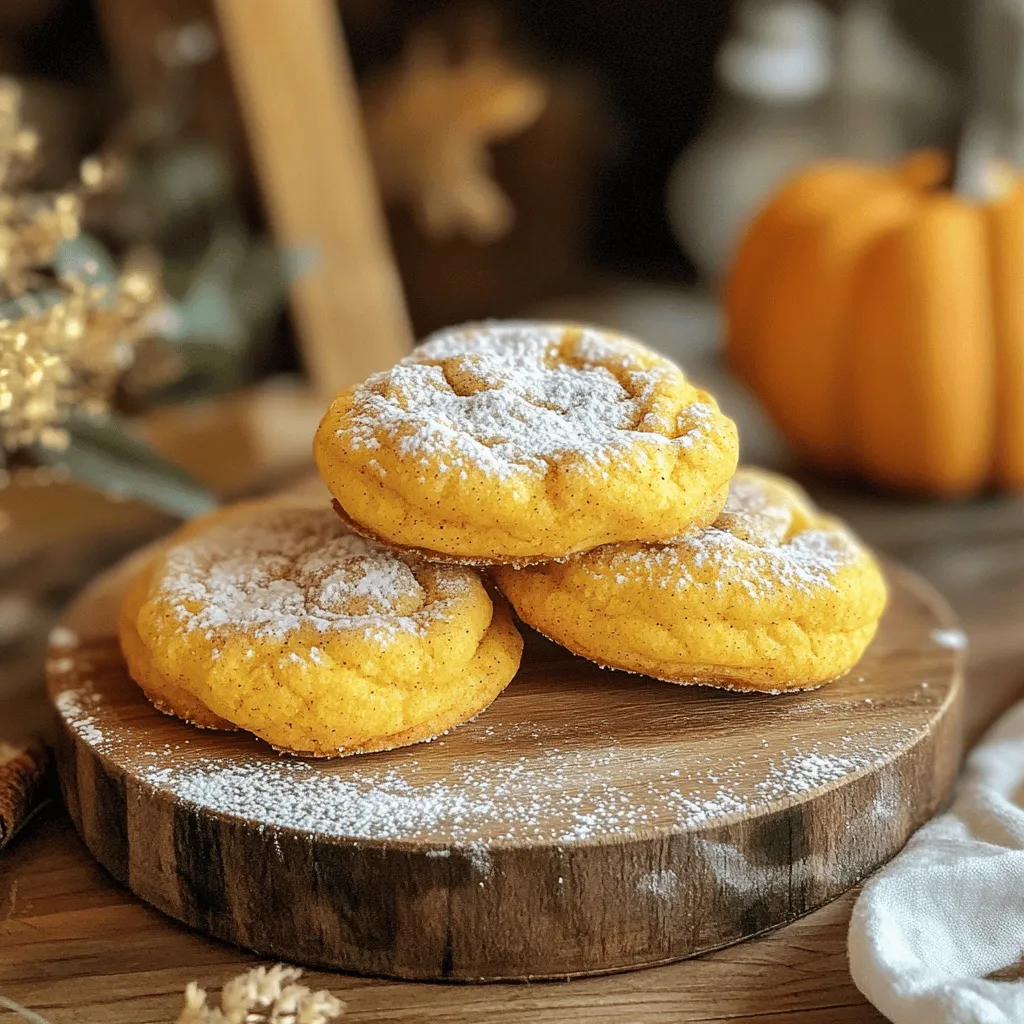
Get ready to satisfy your cravings with my Pumpkin Spice Snickerdoodle Cookies! These cookies blend warm pumpkin flavor with rich
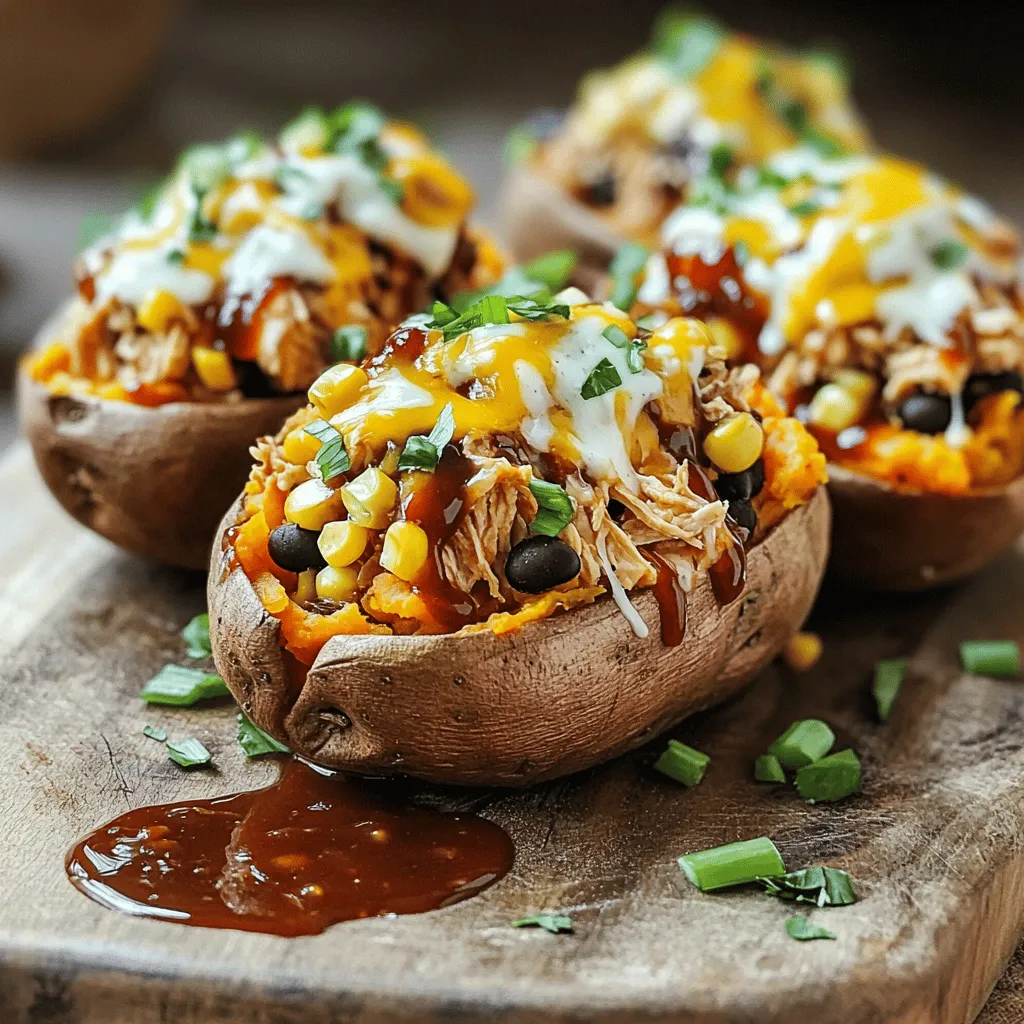
Get ready to elevate your dinner game with BBQ Ranch Chicken Stuffed Sweet Potatoes! This dish is a fun twist
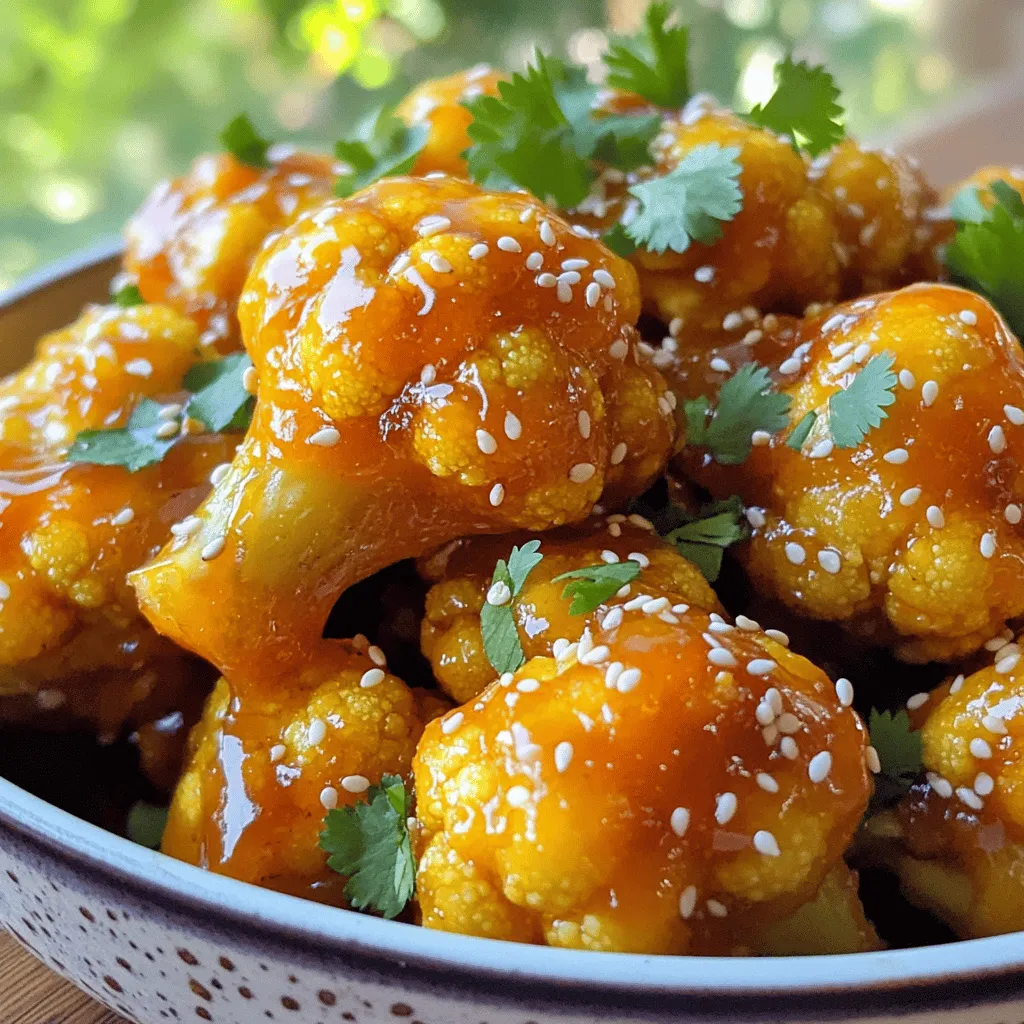
If you’re looking for a tasty snack, you’ve come to the right place. My Orange Glazed Cauliflower Wings are crispy,
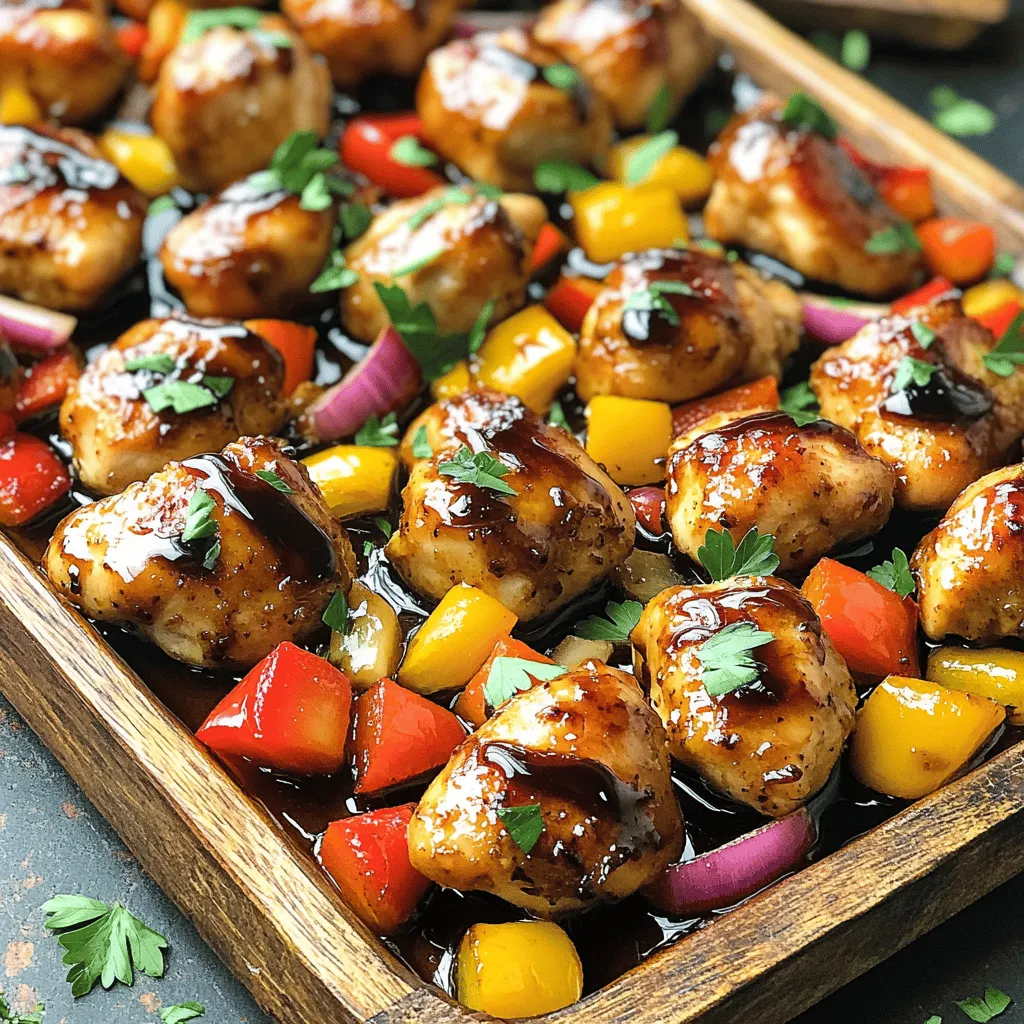
Looking for a quick and flavorful meal? You’ll love this Sheet Pan Balsamic Honey Chicken Bites recipe. With juicy chicken
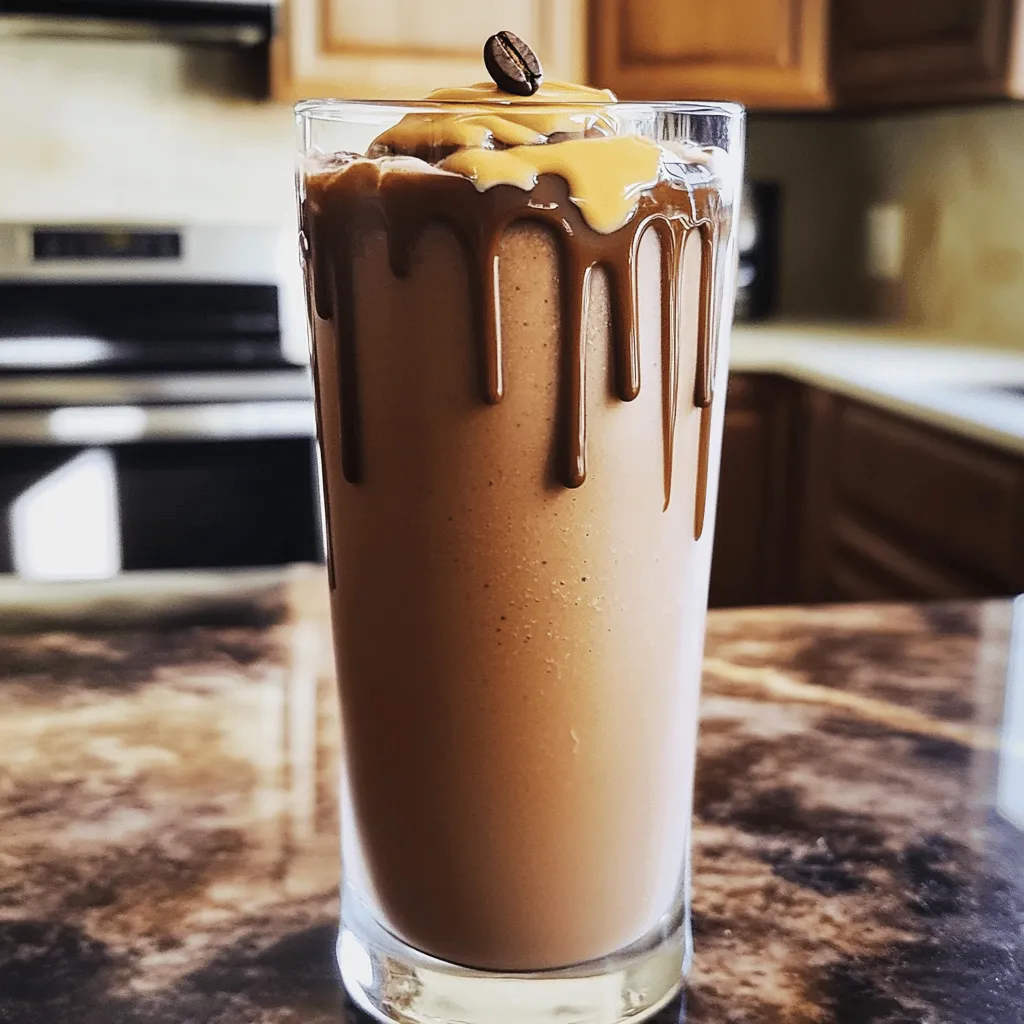
Are you craving a creamy treat that fuels your body? Look no further! This Protein Mocha Fudge Shake is the
