
Mango Habanero Chicken Wings Flavorful and Zesty Dish
If you crave a dish that ignites your taste buds, look no further than Mango Habanero Chicken Wings! The sweet
If you crave a dish that ignites your taste buds, look no further than Mango Habanero Chicken Wings! The sweet

Are you ready for a treat that’s both rich and delightful? The Chocolate Strawberry Swiss Roll combines chocolatey goodness with
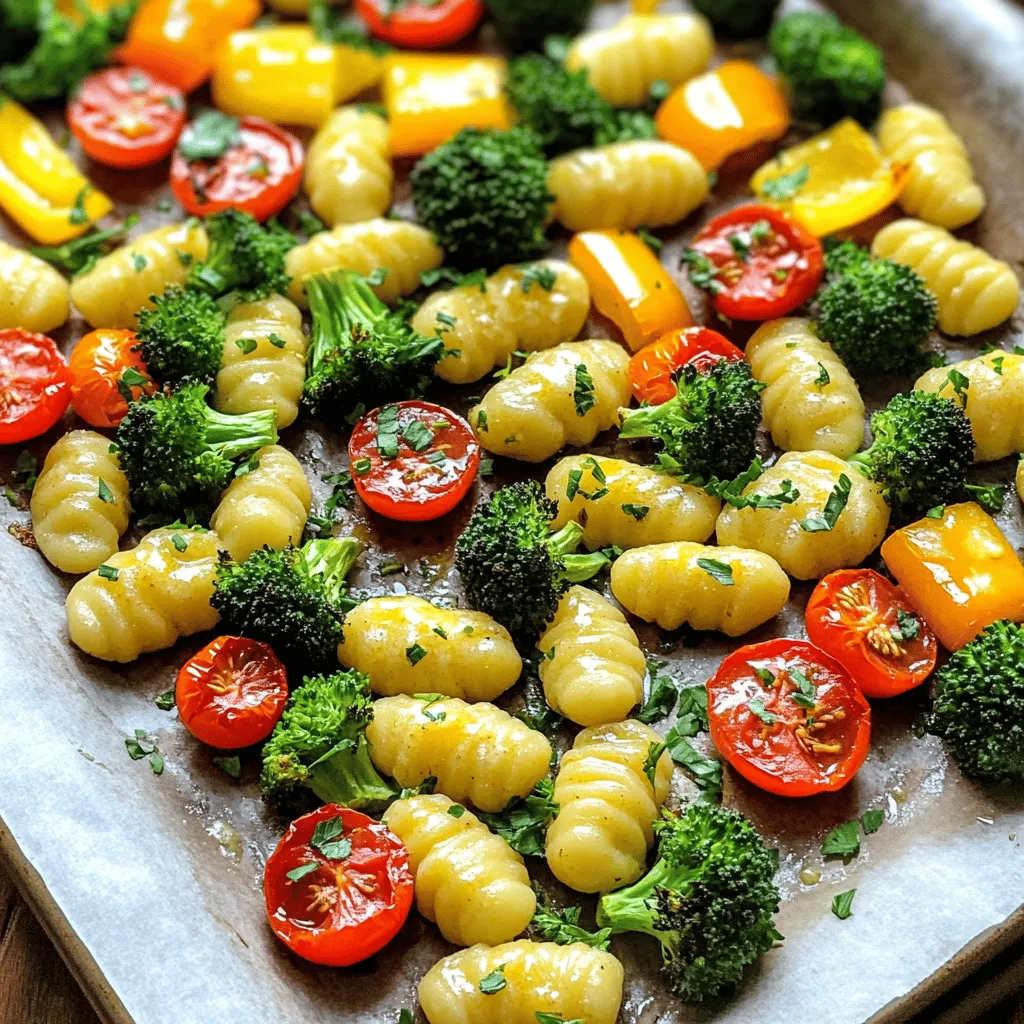
Craving a quick, tasty dinner? Let me introduce you to my Sheet-Pan Garlic Butter Gnocchi and Veggies Delight! This dish
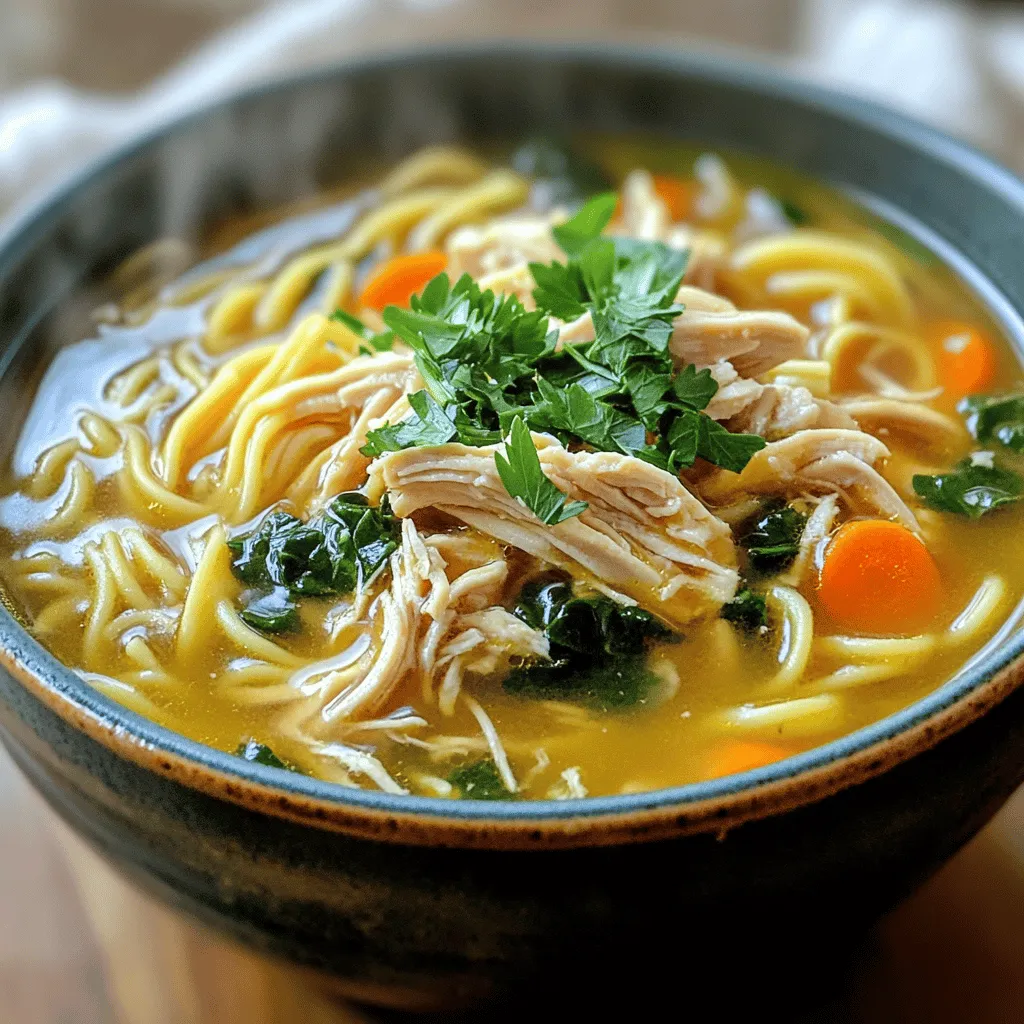
Looking for a cozy meal that’s simple and delicious? You’ll love my Slow Cooker Honey Garlic Chicken Noodle Soup Delight.
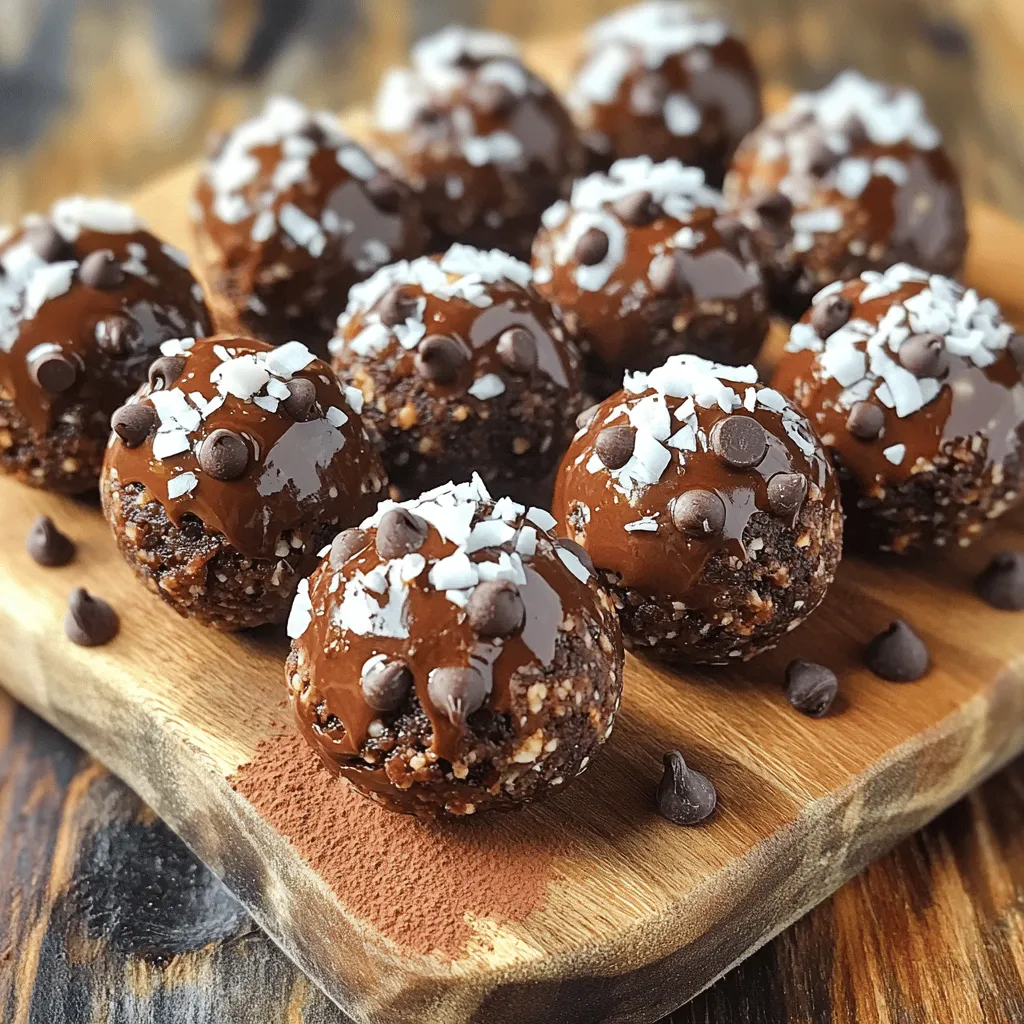
Looking for a quick, delicious snack that packs a chocolatey punch? Try these Triple Chocolate Energy Bites! They require no
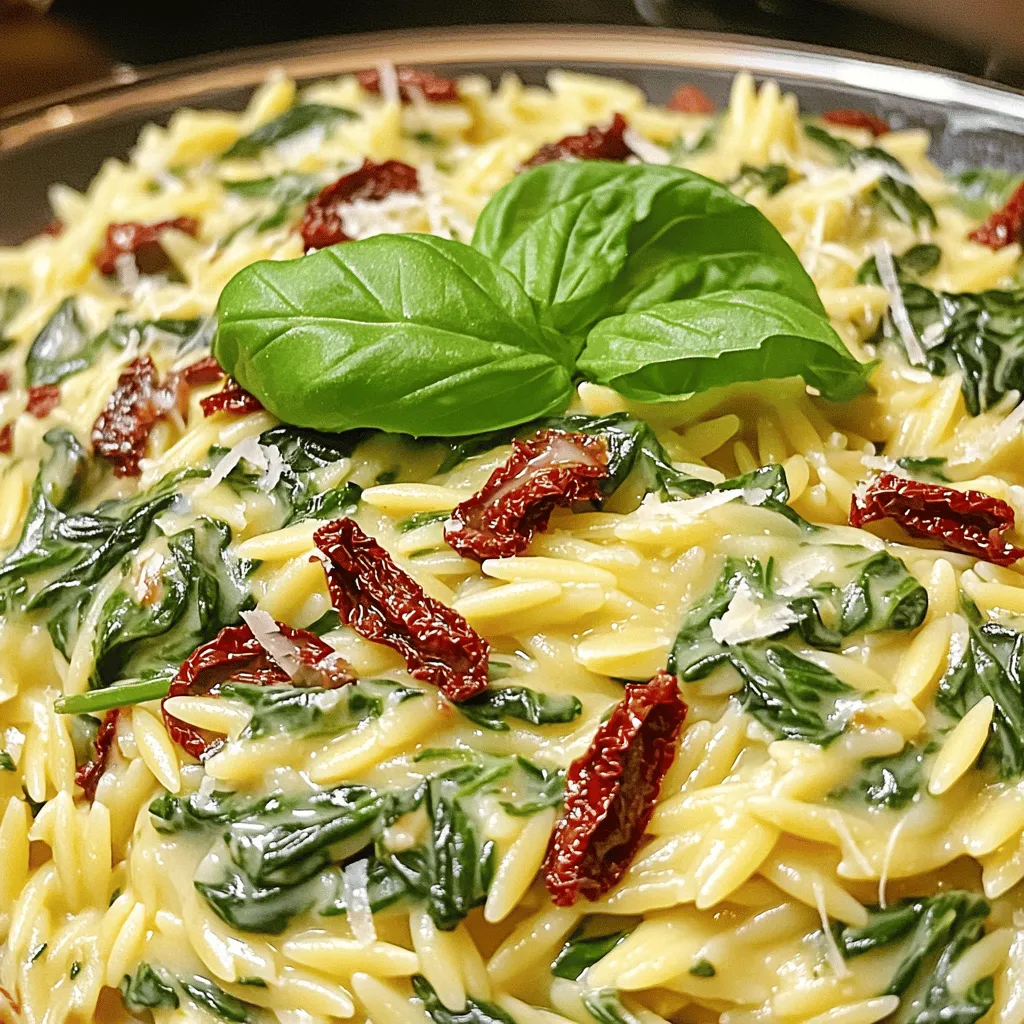
Welcome to your next dinner adventure! In Creamy Spinach Sun-Dried Tomato Orzo One Pan Delight, I’ll show you how to
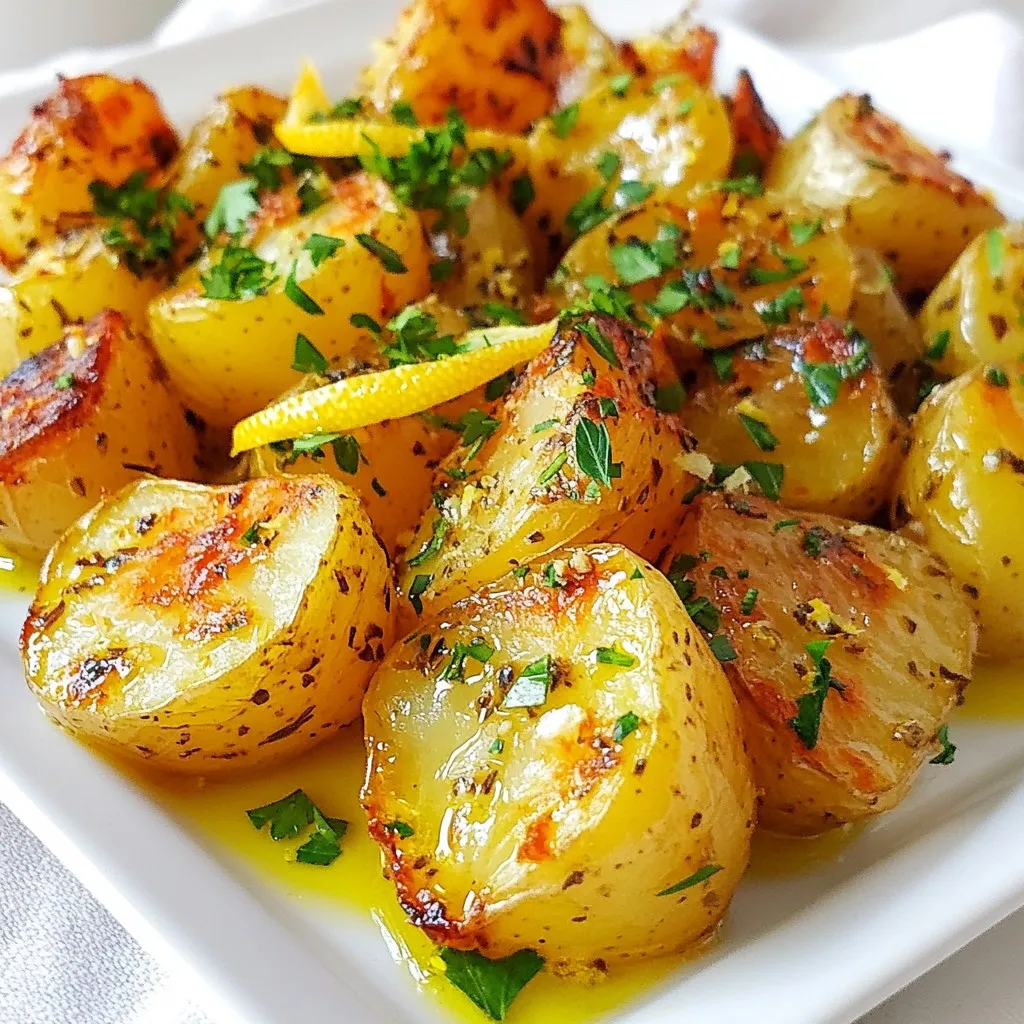
If you crave a dish bursting with flavor, you’re in for a treat! Greek Lemon Potatoes are the perfect blend

Indulge your sweet tooth with my Chocolate Peanut Butter Cupcakes. These treats blend rich chocolate and creamy peanut butter for
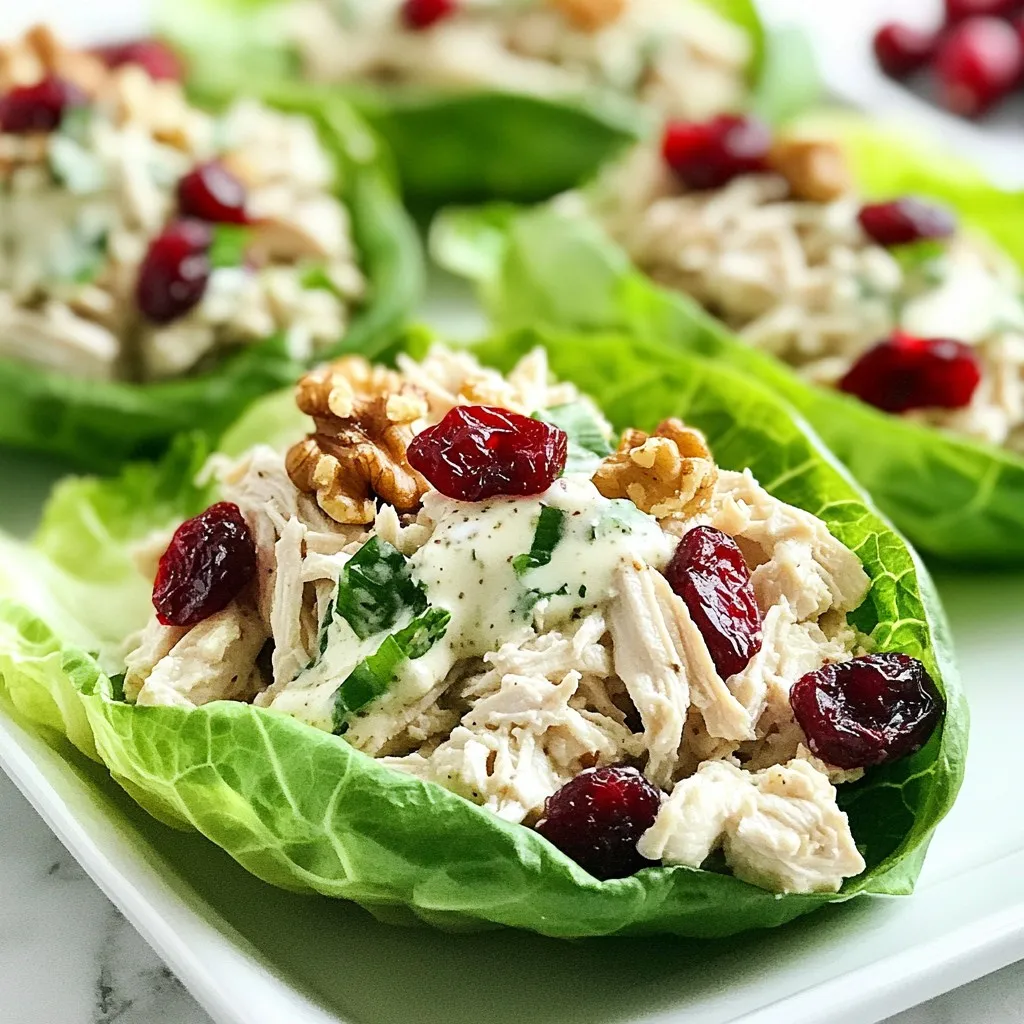
Looking for a fresh way to enjoy chicken salad? Try my Cranberry Walnut Chicken Salad Lettuce Wraps! These wraps are
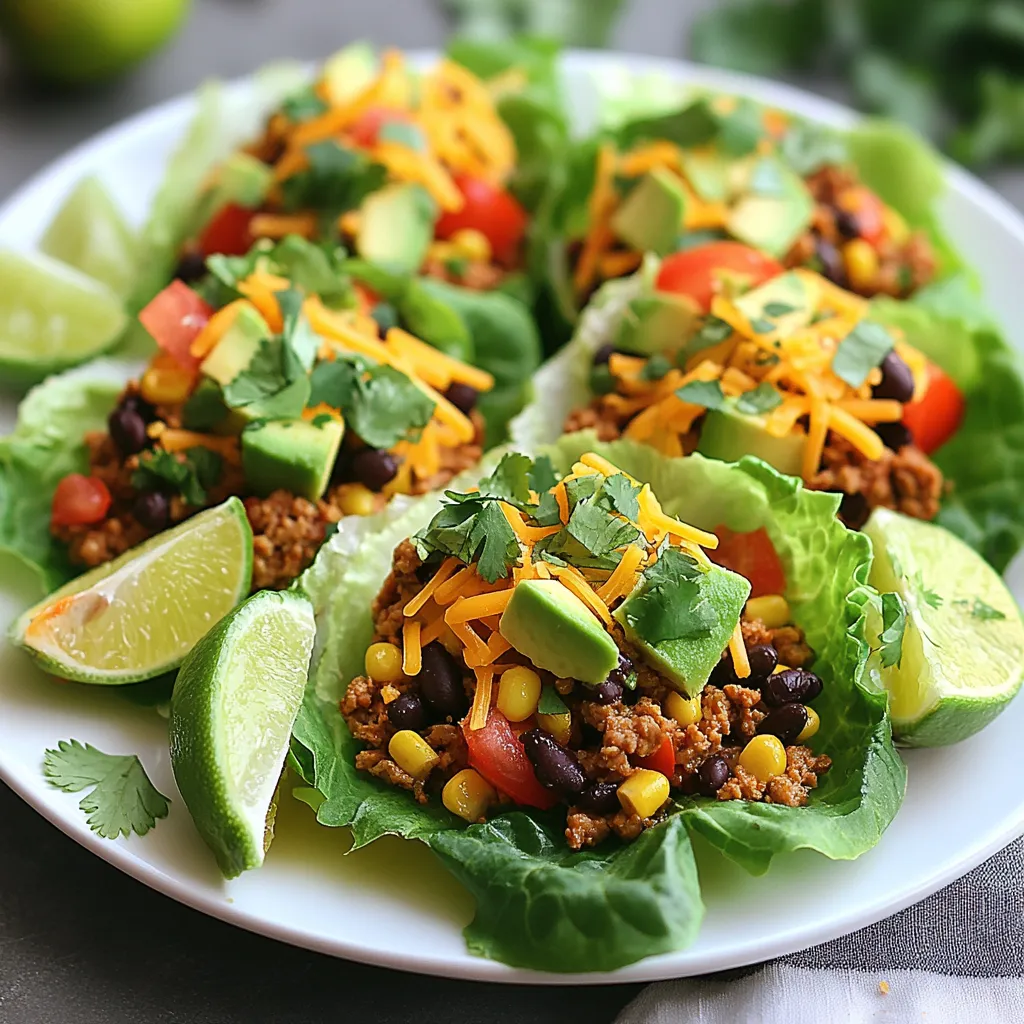
Looking for a fresh and fun twist on taco night? Taco lettuce wraps bring bold flavors and exciting textures to
