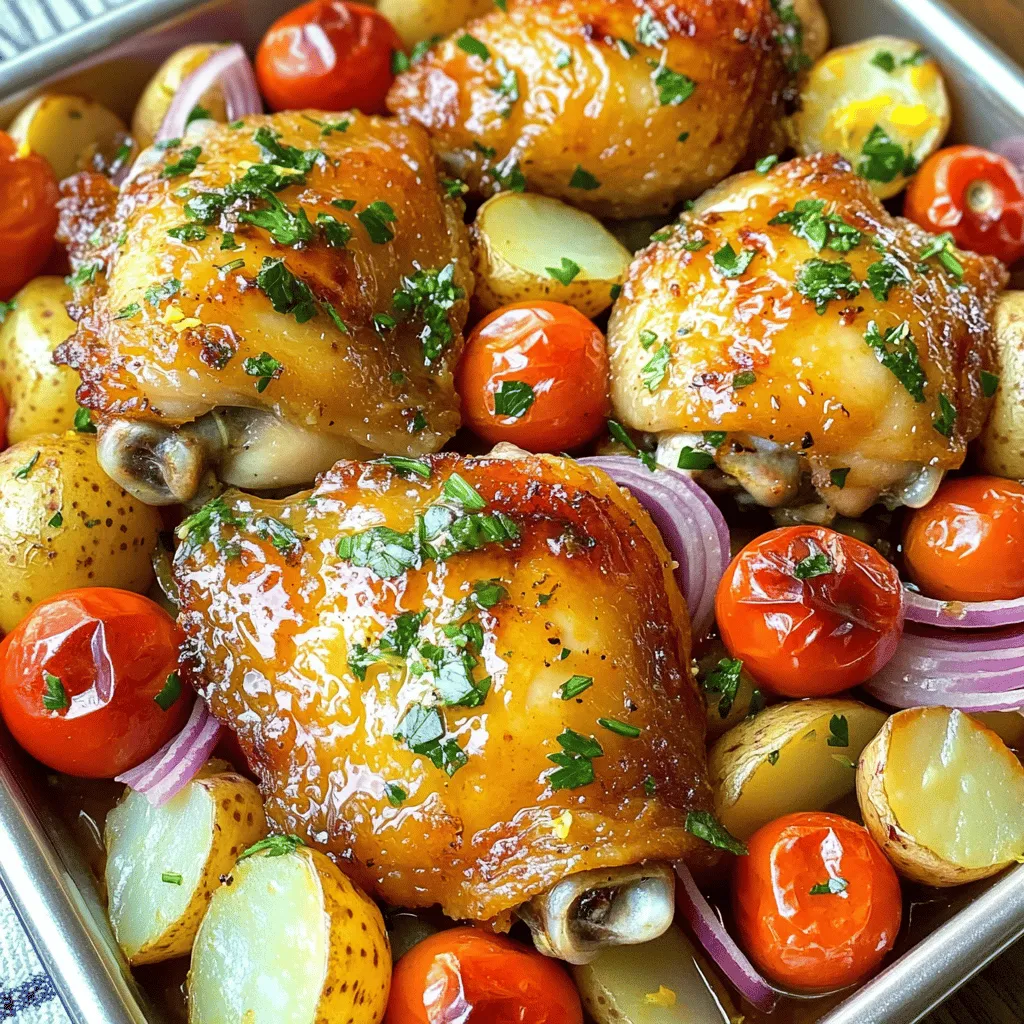
Sheet-Pan Greek Chicken and Potatoes Flavor Boost
If you’re craving a hearty and flavorful meal, look no further! This Sheet-Pan Greek Chicken and Potatoes dish packs a
If you’re craving a hearty and flavorful meal, look no further! This Sheet-Pan Greek Chicken and Potatoes dish packs a
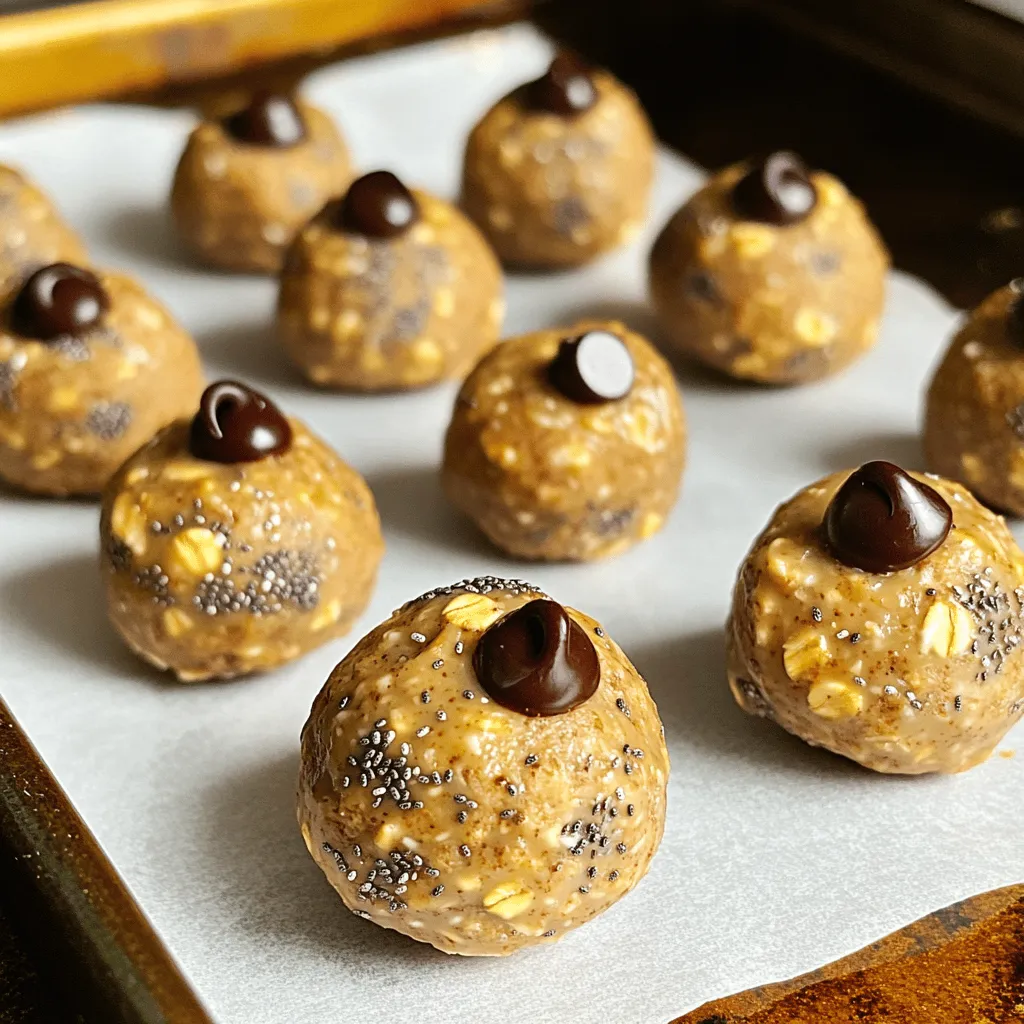
Looking for a quick and tasty snack that packs a protein punch? You’ve come to the right place! In this
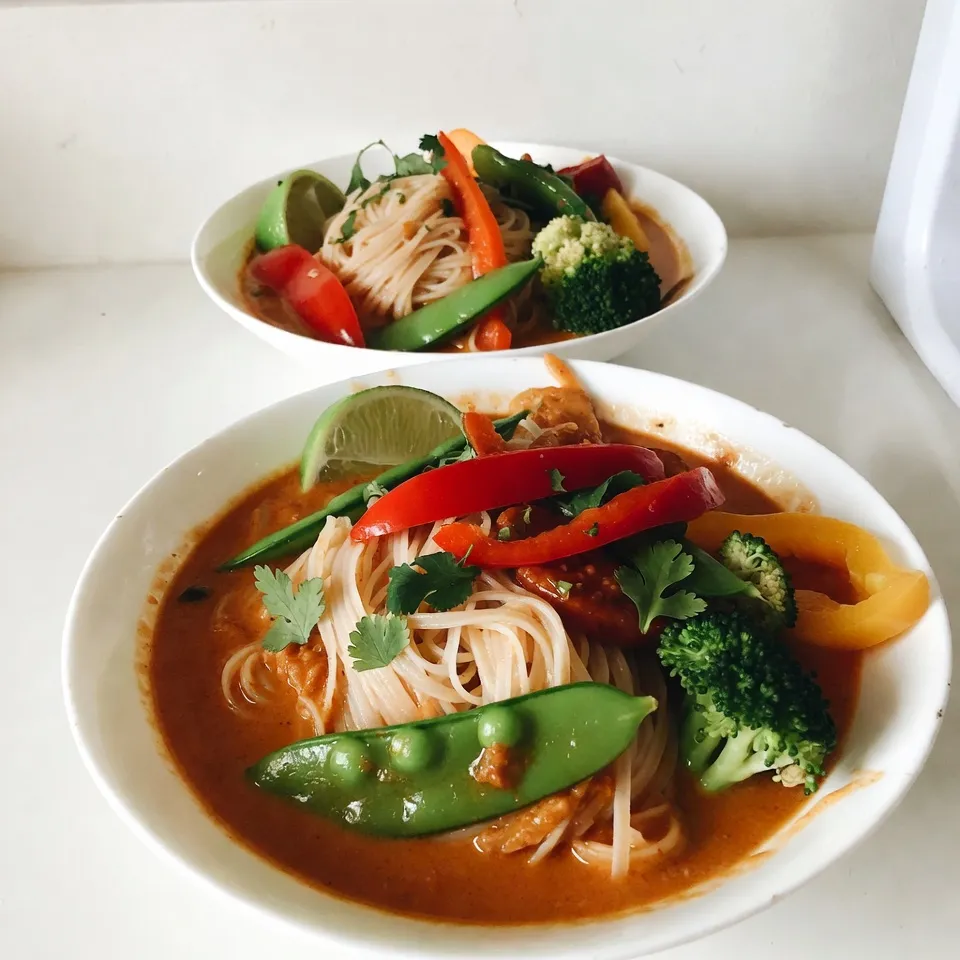
If you crave a meal that bursts with flavor, try my Coconut Curry Noodle Bowls. This dish combines creamy coconut
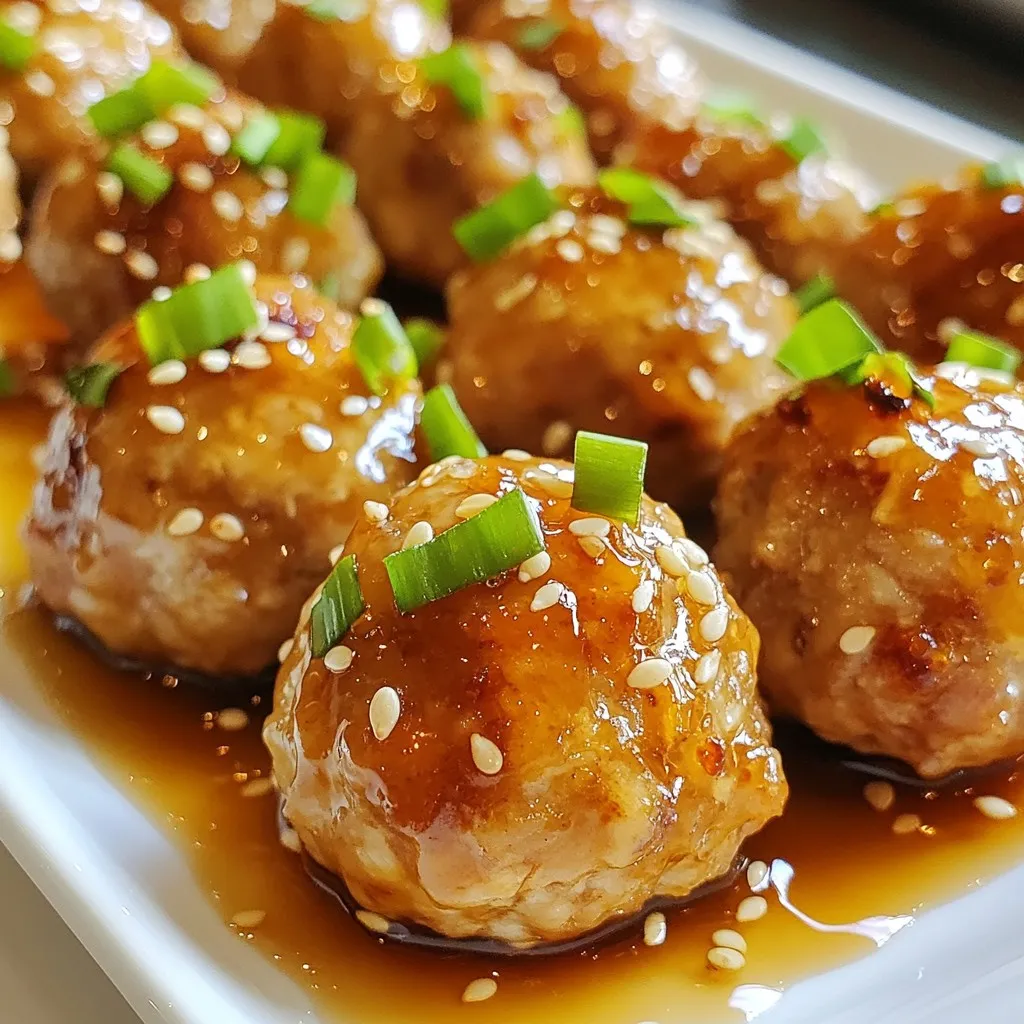
If you’re craving a meal that’s both juicy and packed with flavor, look no further! This Honey Garlic Chicken Meatballs
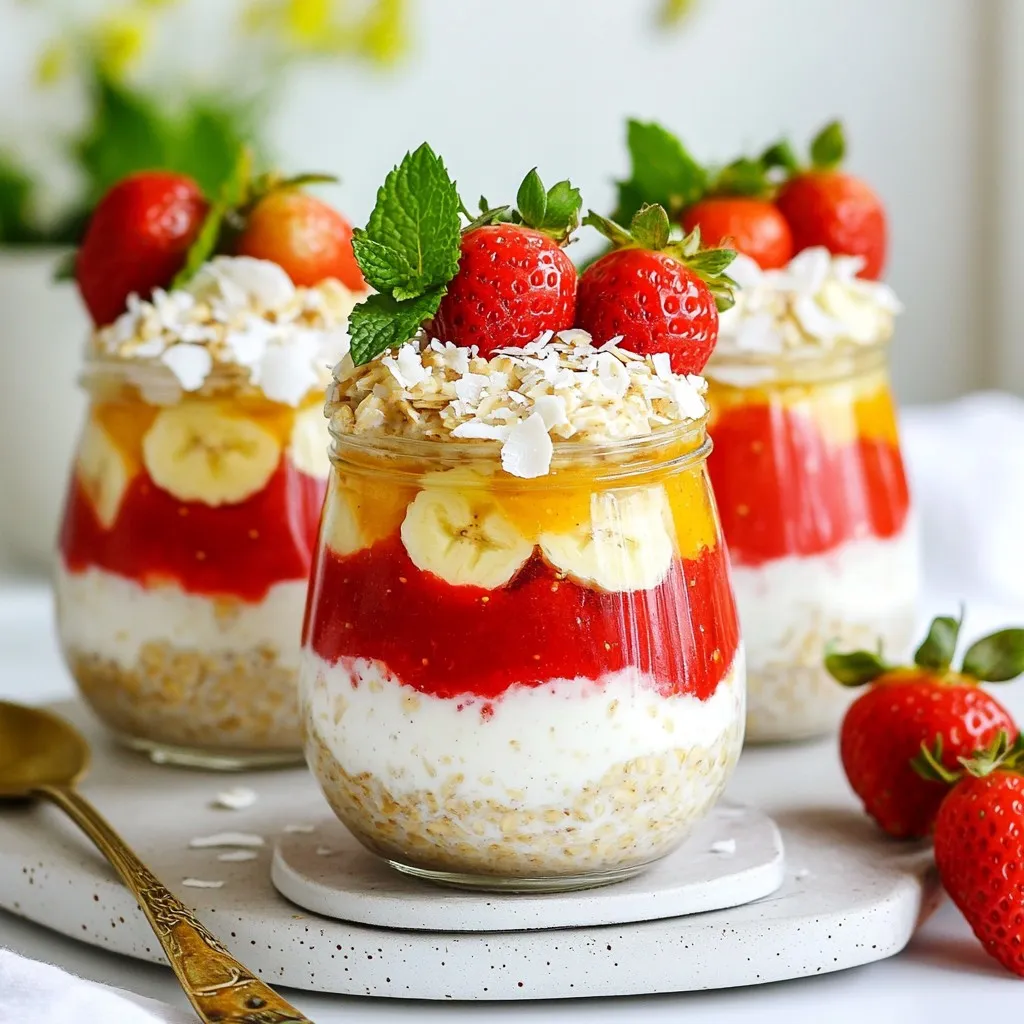
Looking for a tasty and easy breakfast? Strawberry Coconut Overnight Oats are here to save your mornings! Packed with wholesome
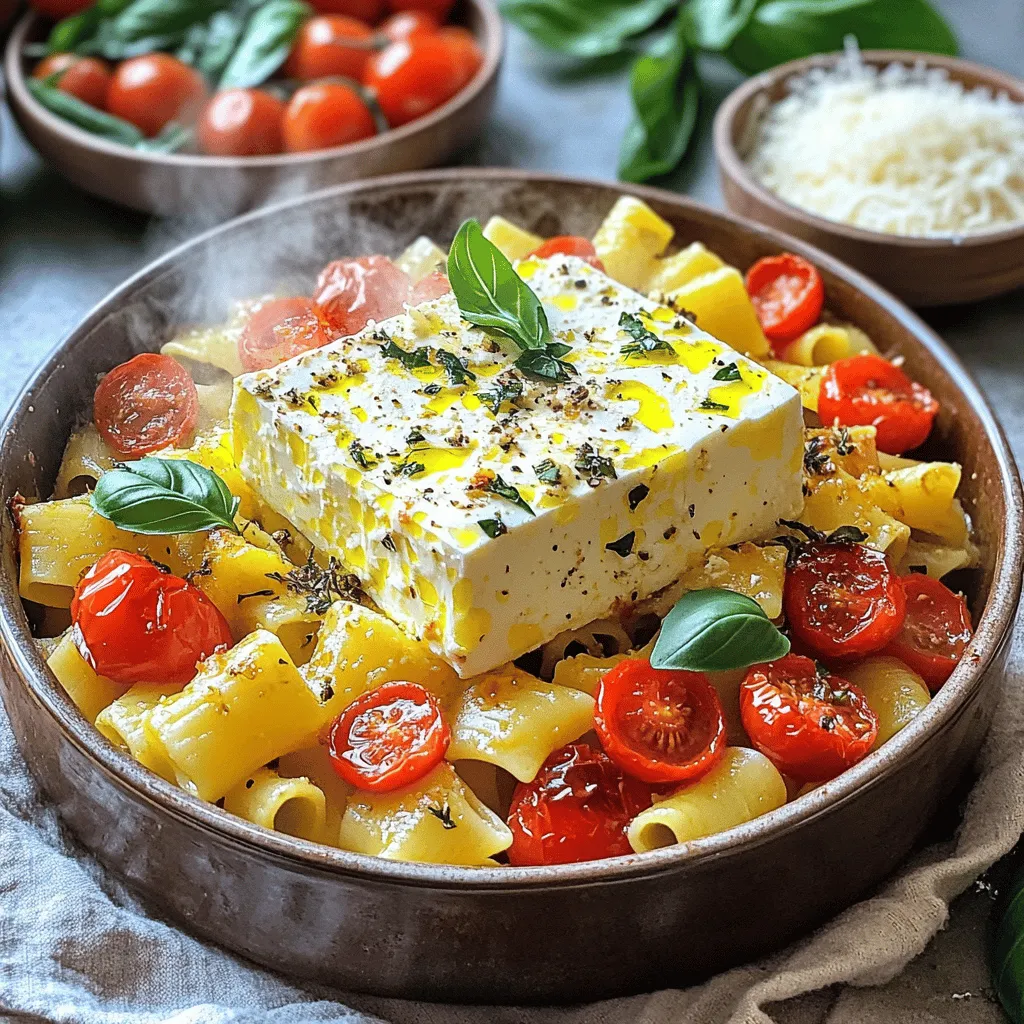
Looking for a quick and tasty dinner? Baked Feta Pasta is your answer! In this article, I’ll share a simple
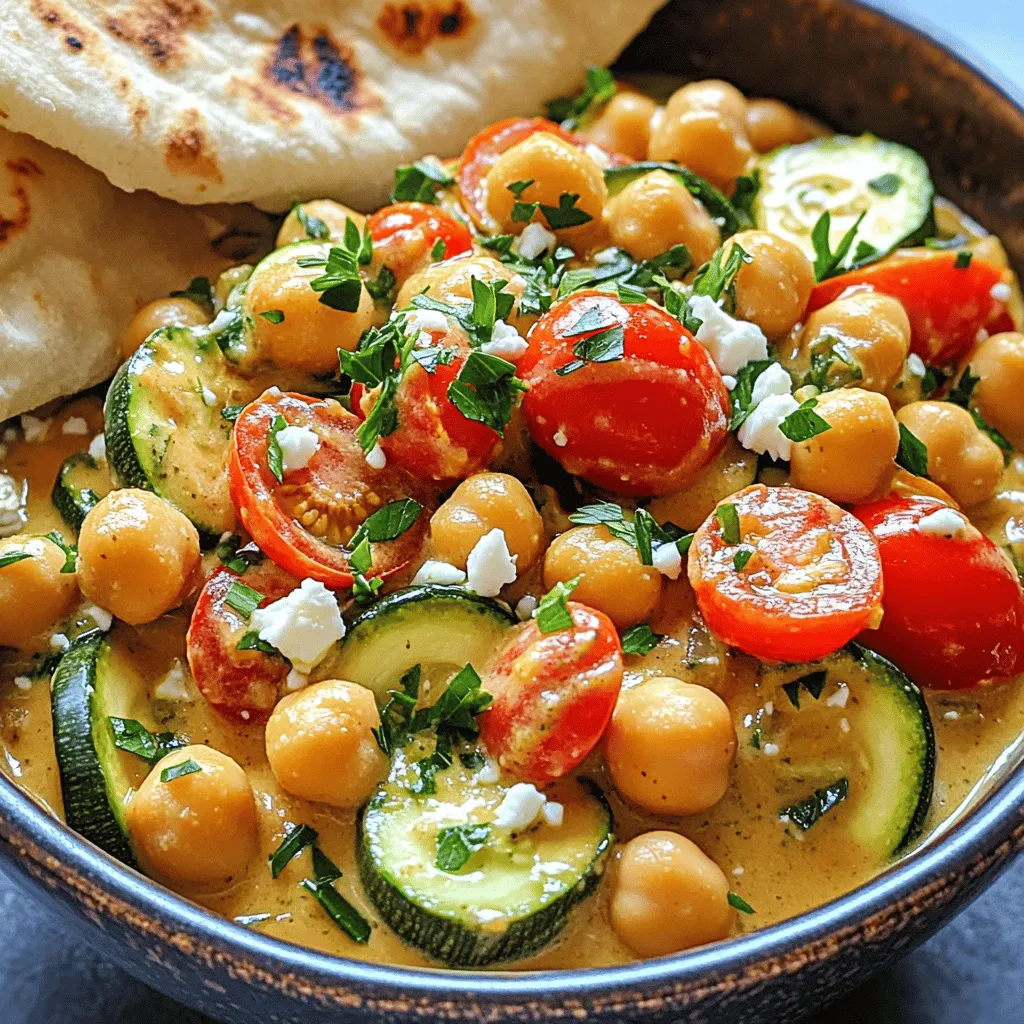
Ready to spice up your dinner with a healthy twist? My Creamy Mediterranean Chickpea Skillet is not just delicious—it’s packed
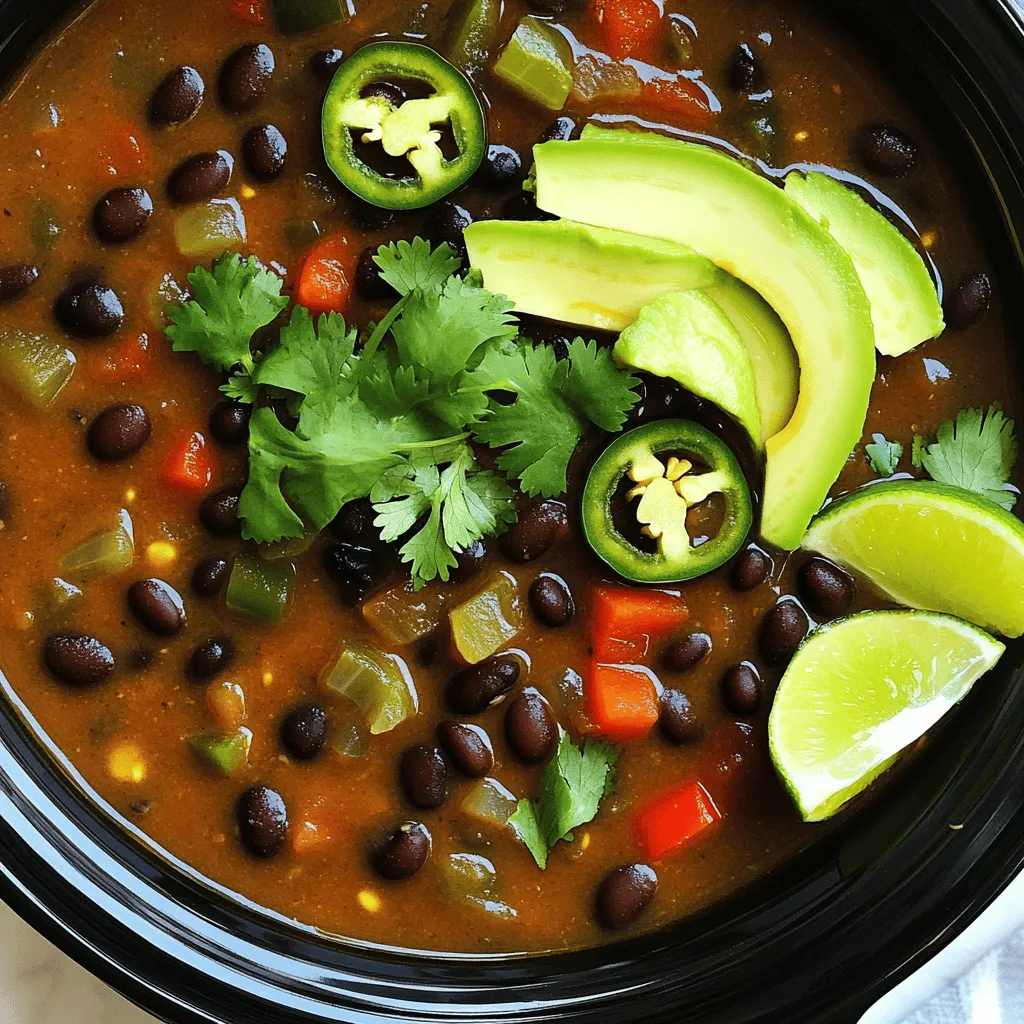
Are you ready to warm up your kitchen with a bowl of bold flavors? My Savory Slow Cooker Spicy Black
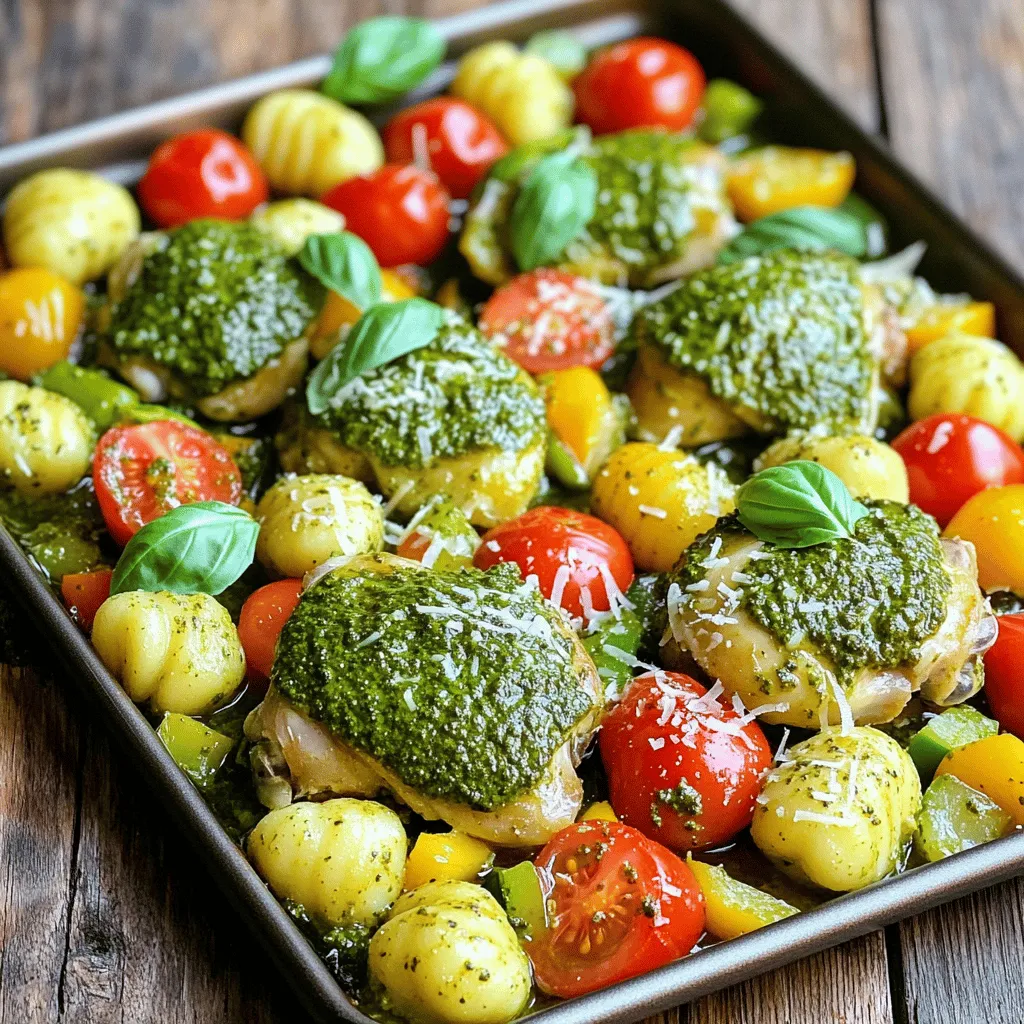
Looking for an easy dinner that packs flavor? You’ll love my Sheet Pan Pesto Chicken and Gnocchi recipe! With tender

Get ready to delight your taste buds with Chocolate Chip Pretzel Cookies! These cookies blend sweet and salty flavors, making
