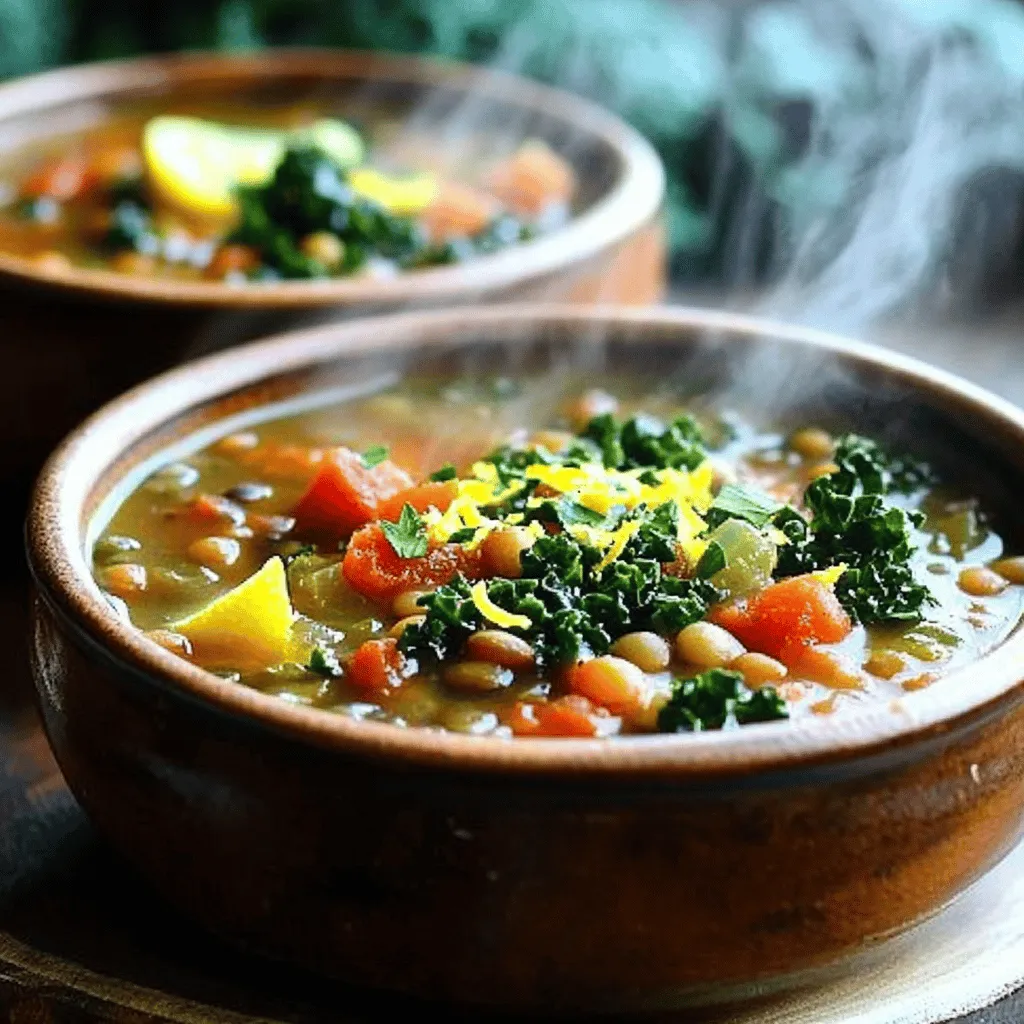
Savory Slow Cooker Tuscan Lentil Soup Recipe
Craving a warm, hearty meal? You’re in the right place! This Savory Slow Cooker Tuscan Lentil Soup Recipe is packed
Craving a warm, hearty meal? You’re in the right place! This Savory Slow Cooker Tuscan Lentil Soup Recipe is packed

Get ready to treat yourself to the ultimate indulgence with my Fluffy Raspberry White Chocolate Muffins! These muffins blend tart

Are you ready to whip up a sweet treat that bursts with flavor? Triple Berry Cheesecake Bars are a delightful

Are you ready to spice up your meal routine? Buffalo Chicken Quesadillas are an easy and tasty choice that everyone

Looking for a quick and tasty meal? Try my Minute Honey Garlic Shrimp Ramen! This easy recipe is perfect when

If you’re searching for a simple yet delicious recipe that warms the soul, look no further! My Slow Cooker Creamy

Are you ready to treat yourself to a cool dessert that’s good for you? In this post, I’ll show you
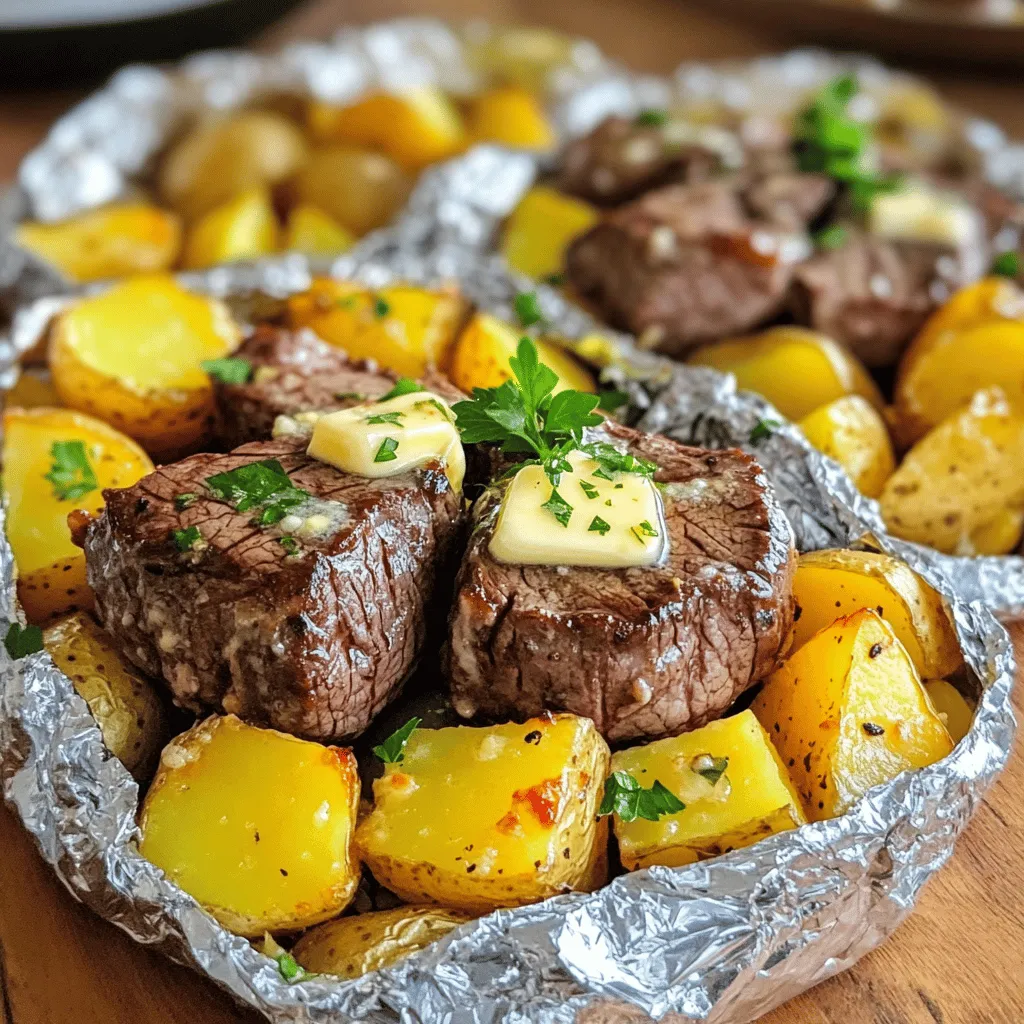
Are you looking for a quick and tasty meal? Let me show you how to make Garlic Butter Steak &

If you seek a quick and tasty meal, you’re in the right place! My Honey Garlic Chicken Thighs recipe is

Are you ready to transform your meals with a delicious, cheesy twist? Cheesy Cauliflower Rice is not only tasty but
