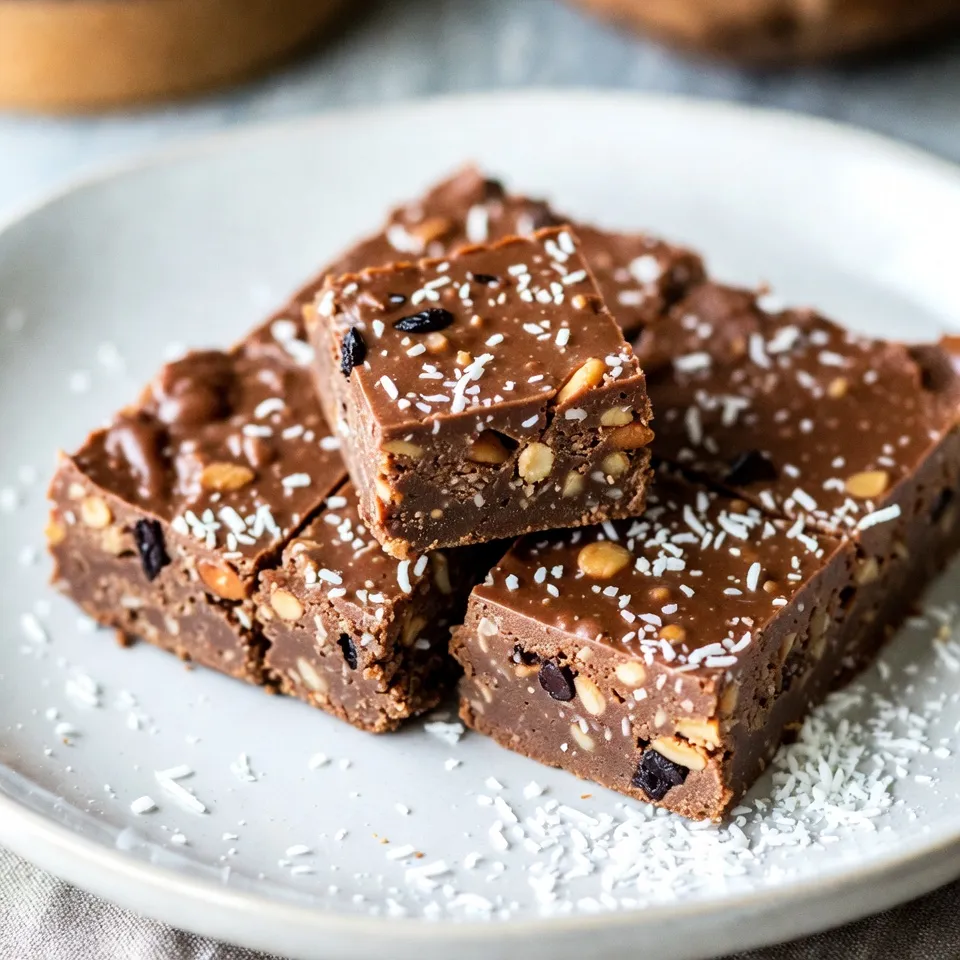
Chocolate Coconut Fudge Delightful No-Bake Recipe
Are you ready to whip up a sweet treat that requires zero baking? This Chocolate Coconut Fudge is so easy,
Are you ready to whip up a sweet treat that requires zero baking? This Chocolate Coconut Fudge is so easy,
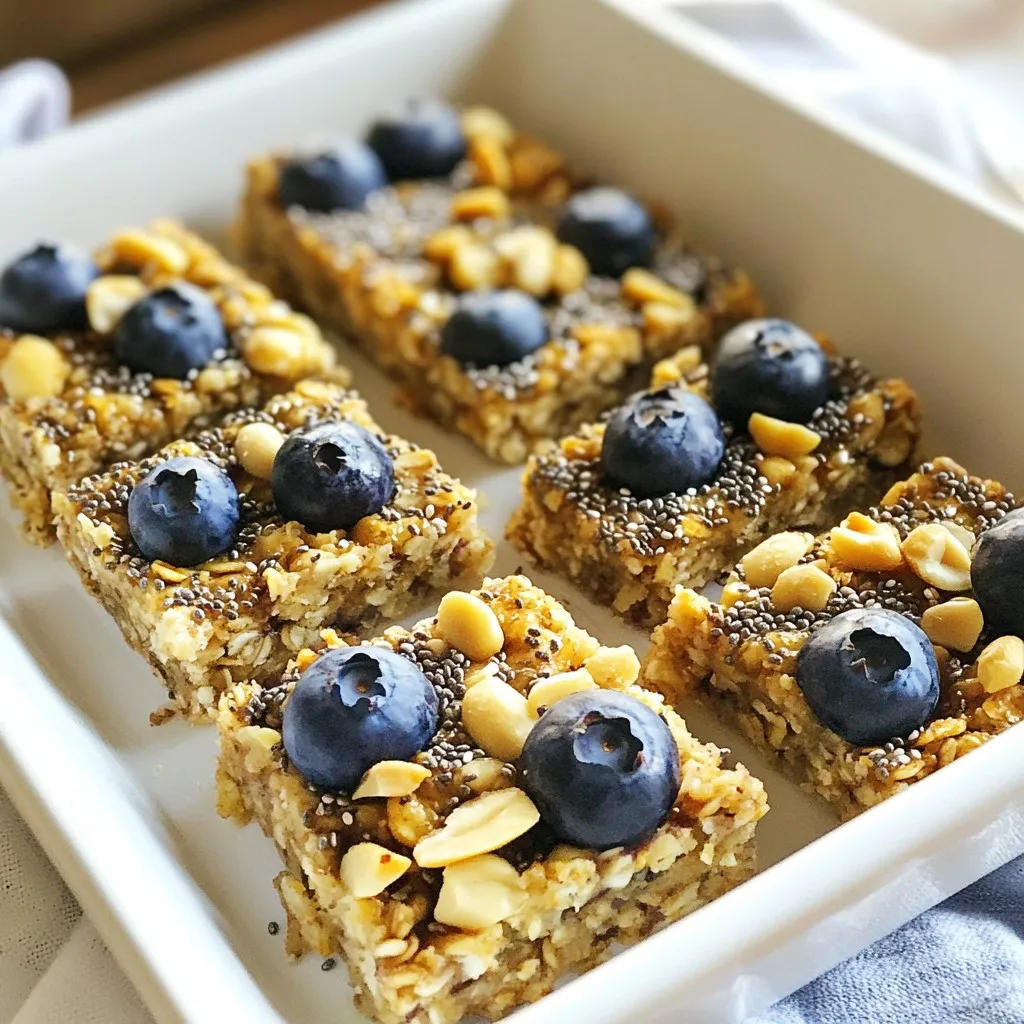
Looking for a simple and tasty snack? These Blueberry Oatmeal Breakfast Bars are just what you need! With just a

Looking for a fun and tasty treat? You’re in for a delight with Chocolate Covered Strawberry Bark! This easy recipe
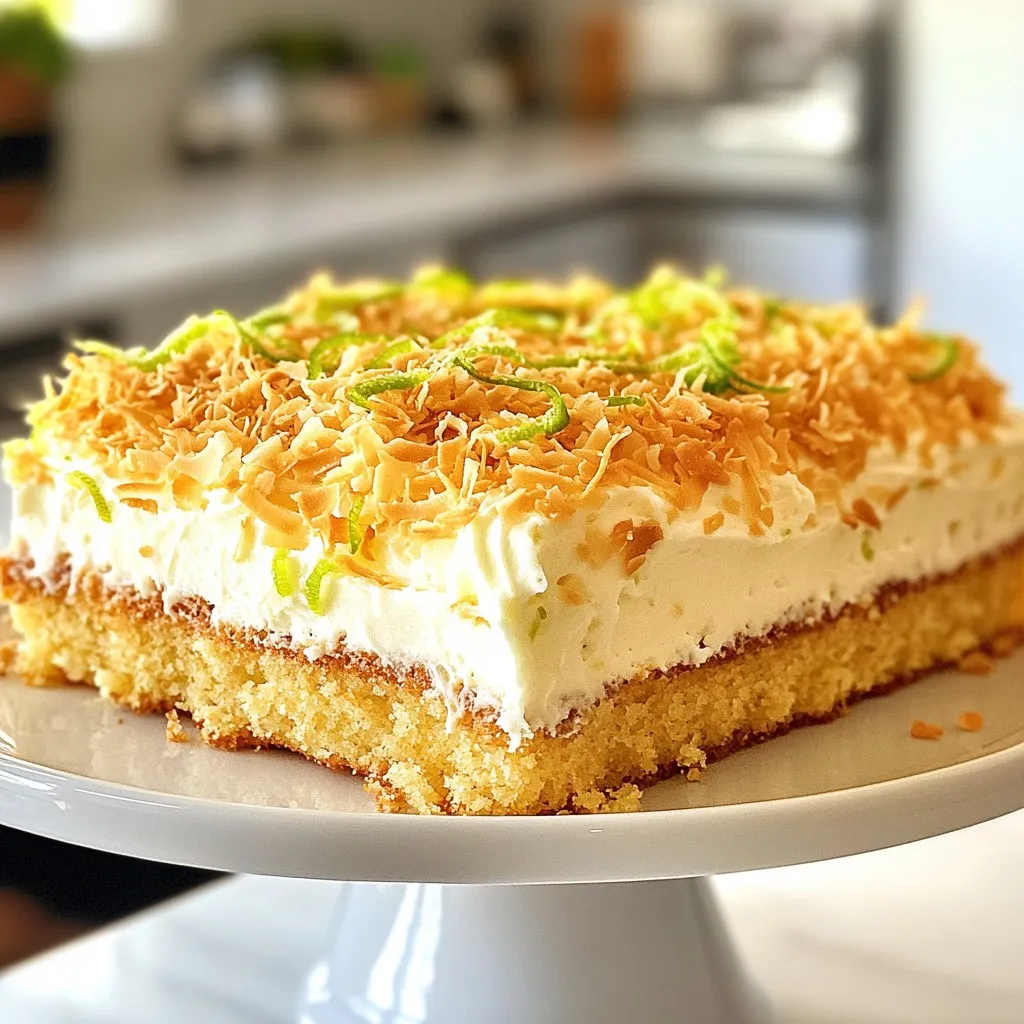
Craving a dessert that bursts with flavor? This Coconut Lime Sheet Cake is your answer! It’s easy to make and
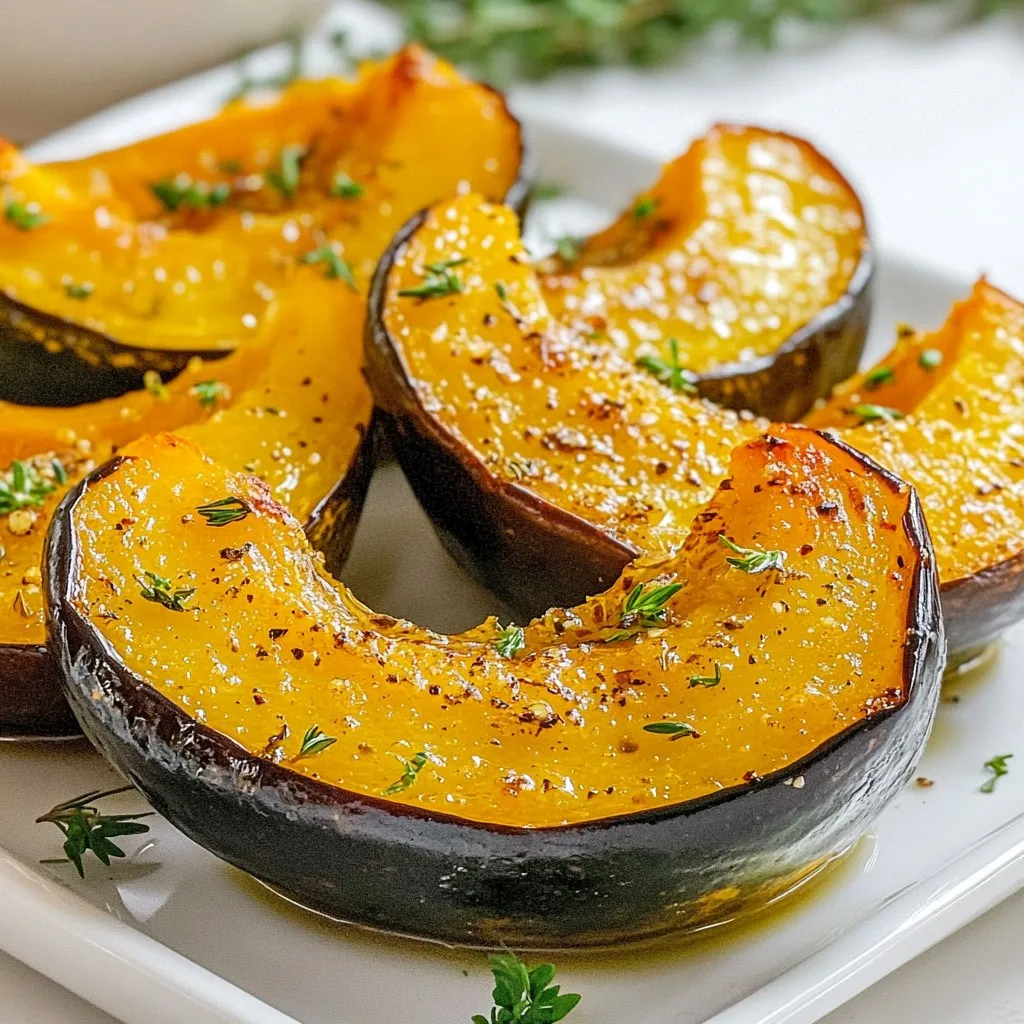
Are you ready to elevate your dinner game? Garlic Herb Roasted Acorn Squash is the savory side dish you need!

Are you craving a delicious, low-carb meal that’s quick and easy to make? Look no further! I’m excited to share
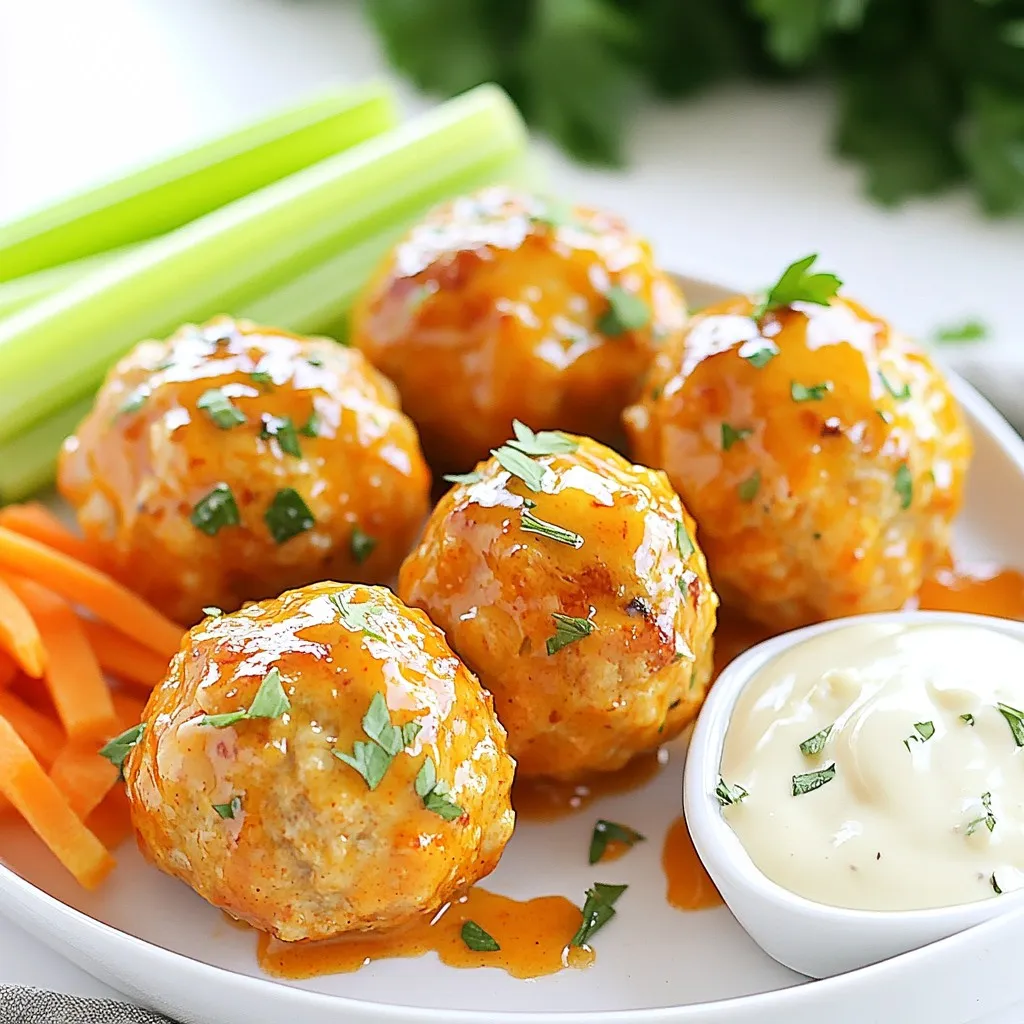
Are you ready for a delicious dinner that packs a punch? My Buffalo Ranch Turkey Meatballs combine bold flavors with
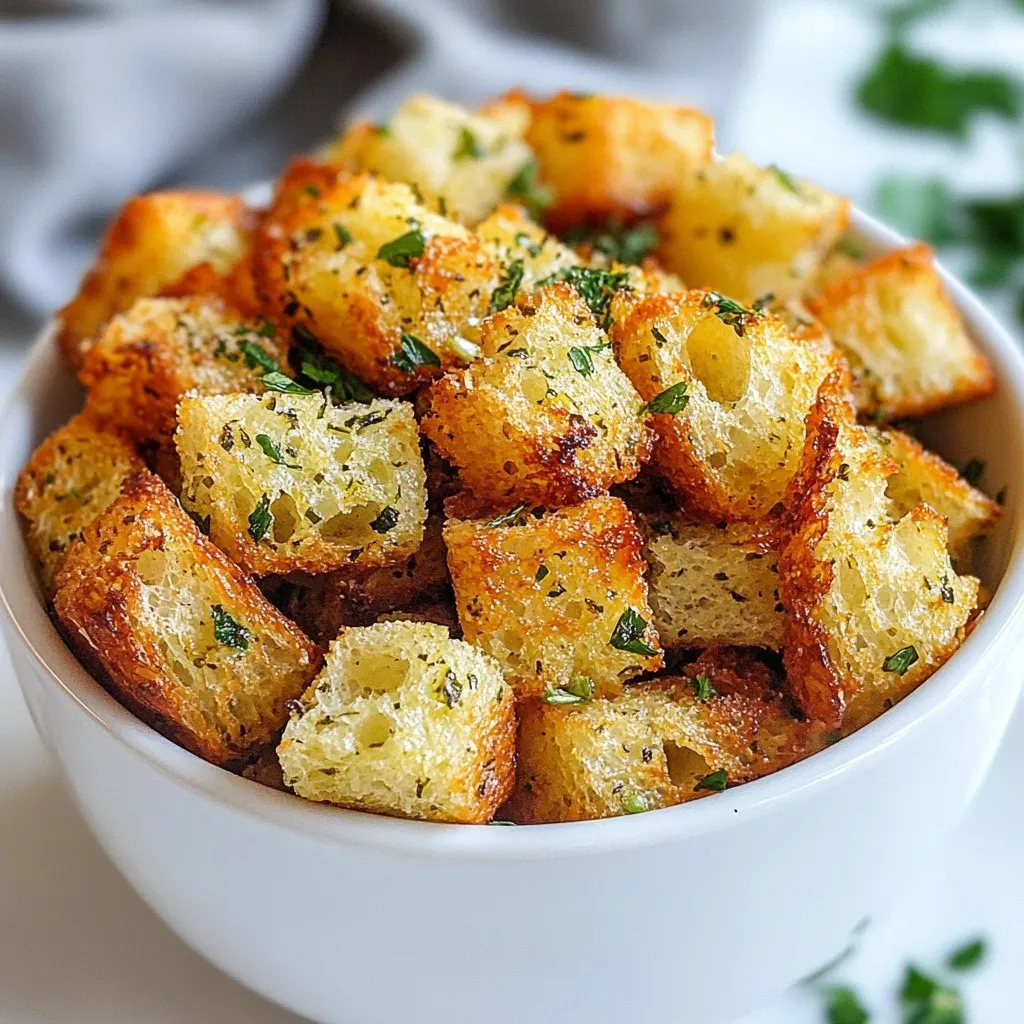
Looking for a quick and tasty way to elevate your salads and soups? Try these Air Fryer Garlic Herb Croutons!
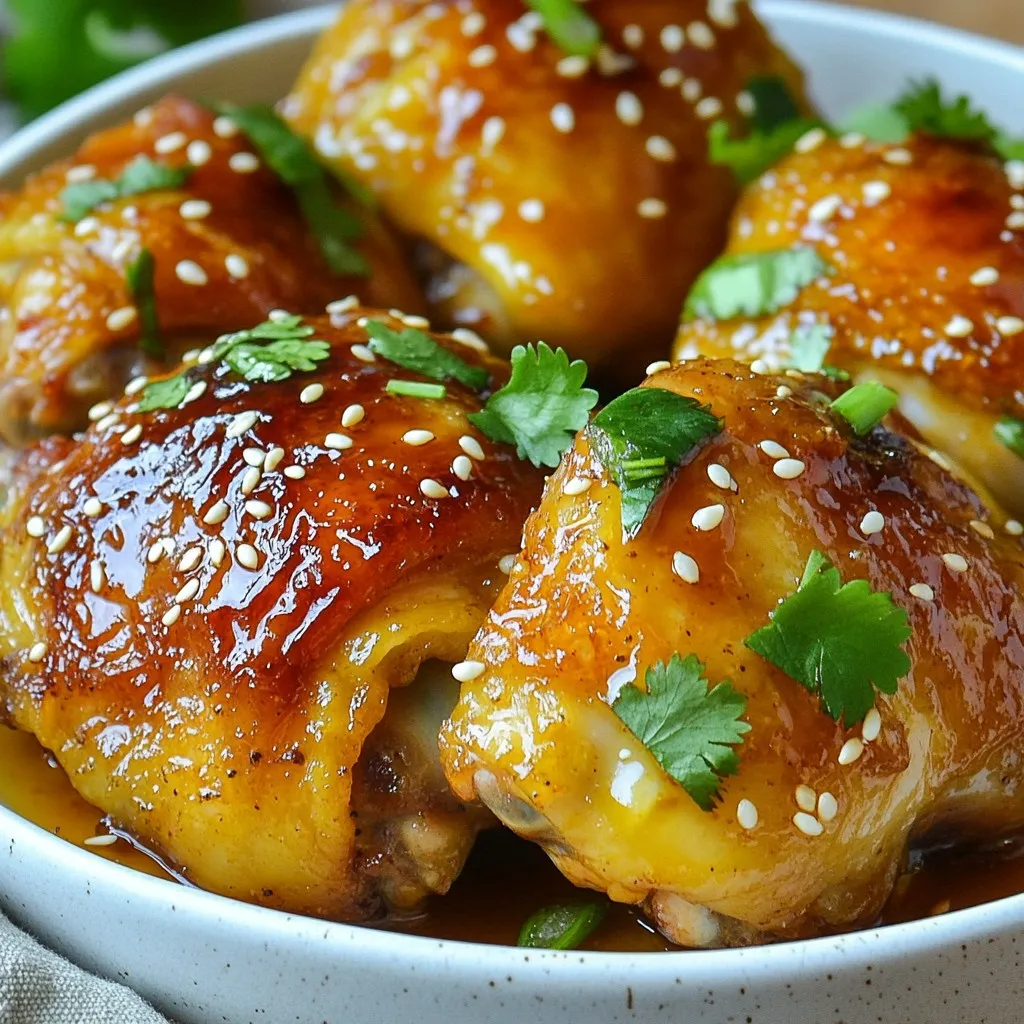
Are you ready for a quick and tasty meal that packs a flavor punch? Spicy Honey Garlic Chicken Thighs are

Summer is here, and nothing beats a refreshing drink like Strawberry Basil Lemonade! This easy recipe combines the sweetness of
