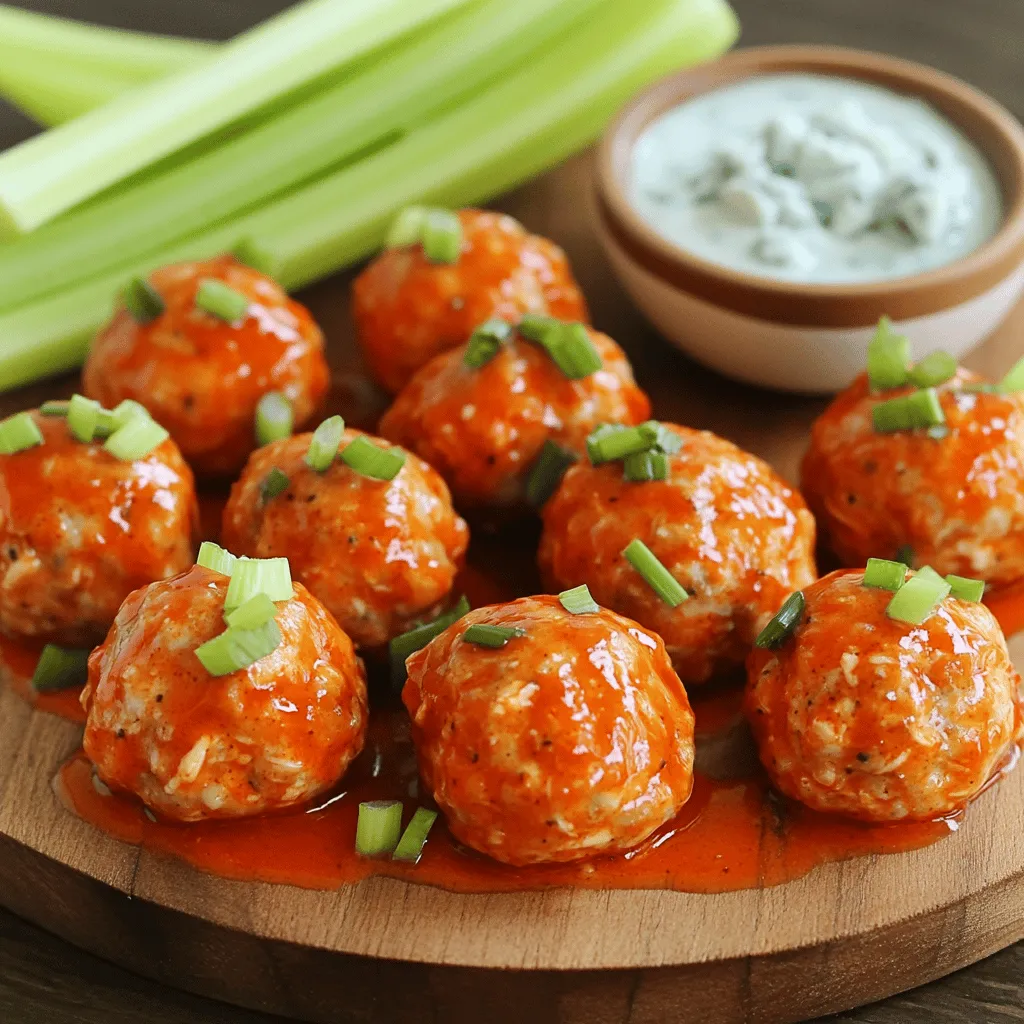
Spicy Buffalo Chicken Meatballs Irresistible Snack
Looking for a snack that packs a punch? You’ve come to the right place! My Spicy Buffalo Chicken Meatballs are
Looking for a snack that packs a punch? You’ve come to the right place! My Spicy Buffalo Chicken Meatballs are

Looking for a tasty dip that impresses every time? You’ve found it! My Caramelized Onion Dip is both flavorful and

Grilling season is here, and I’m excited to share my Pineapple Chicken Kabobs recipe with you! This dish bursts with
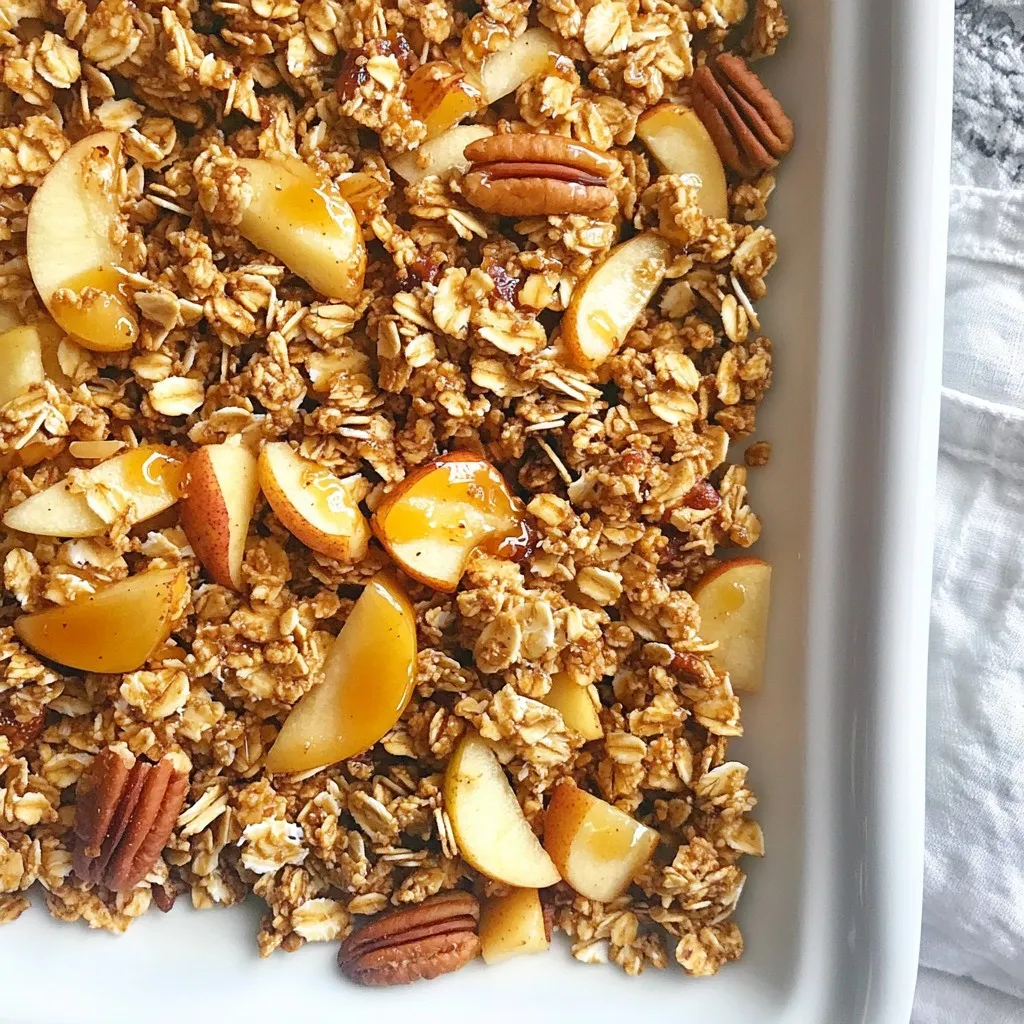
Looking for a quick and tasty way to start your day? This Maple Apple Pecan Granola recipe is healthy, simple,
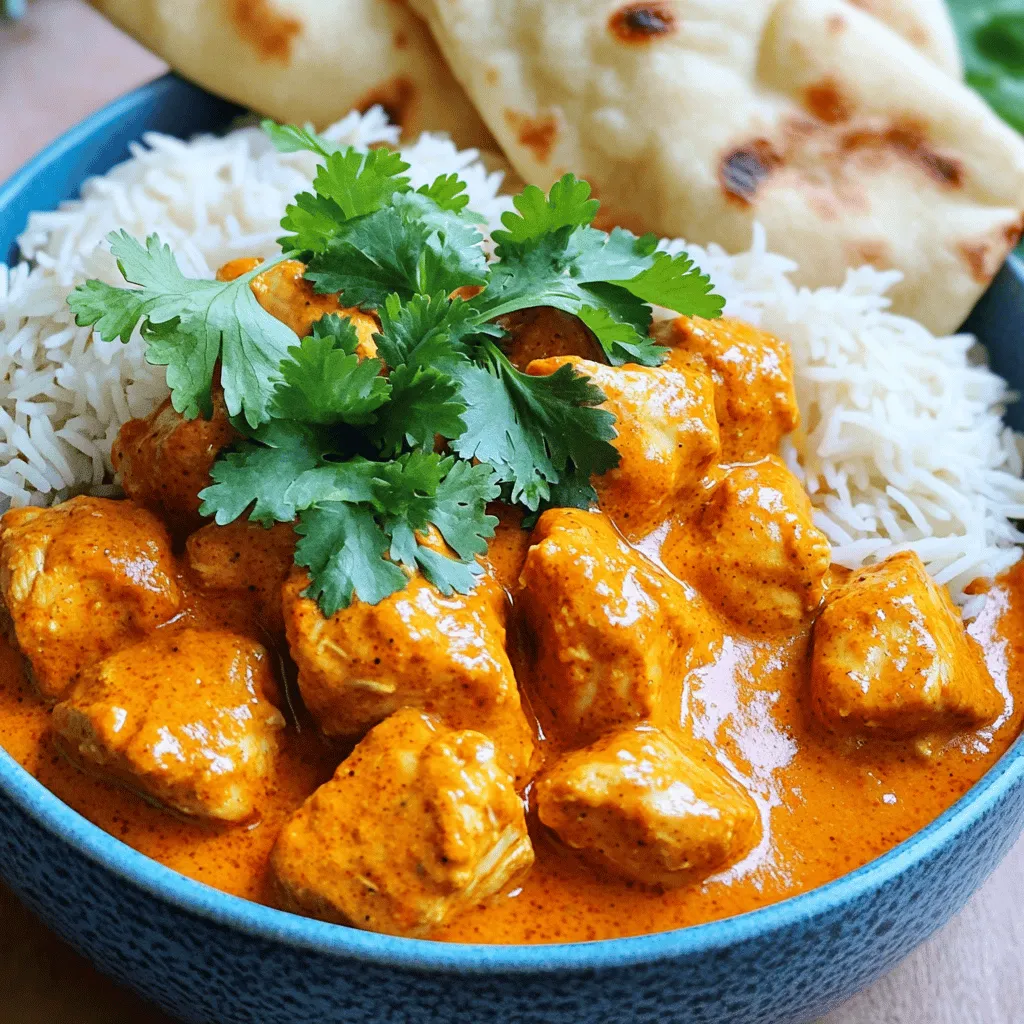
Are you ready to dive into a world of rich flavors with Chicken Tikka Masala? This dish is beloved for
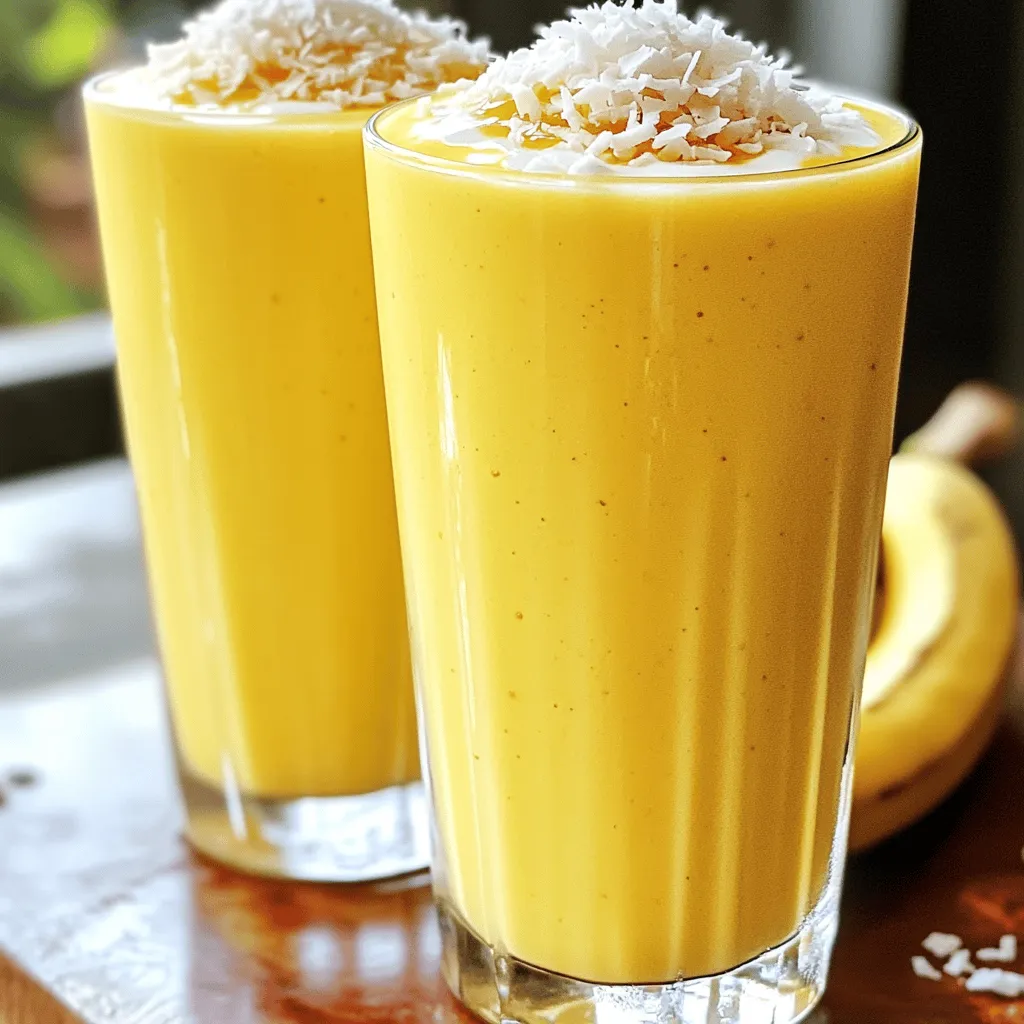
Are you ready for a tasty treat that’s also good for you? This Creamy Coconut Banana Smoothie brings together simple
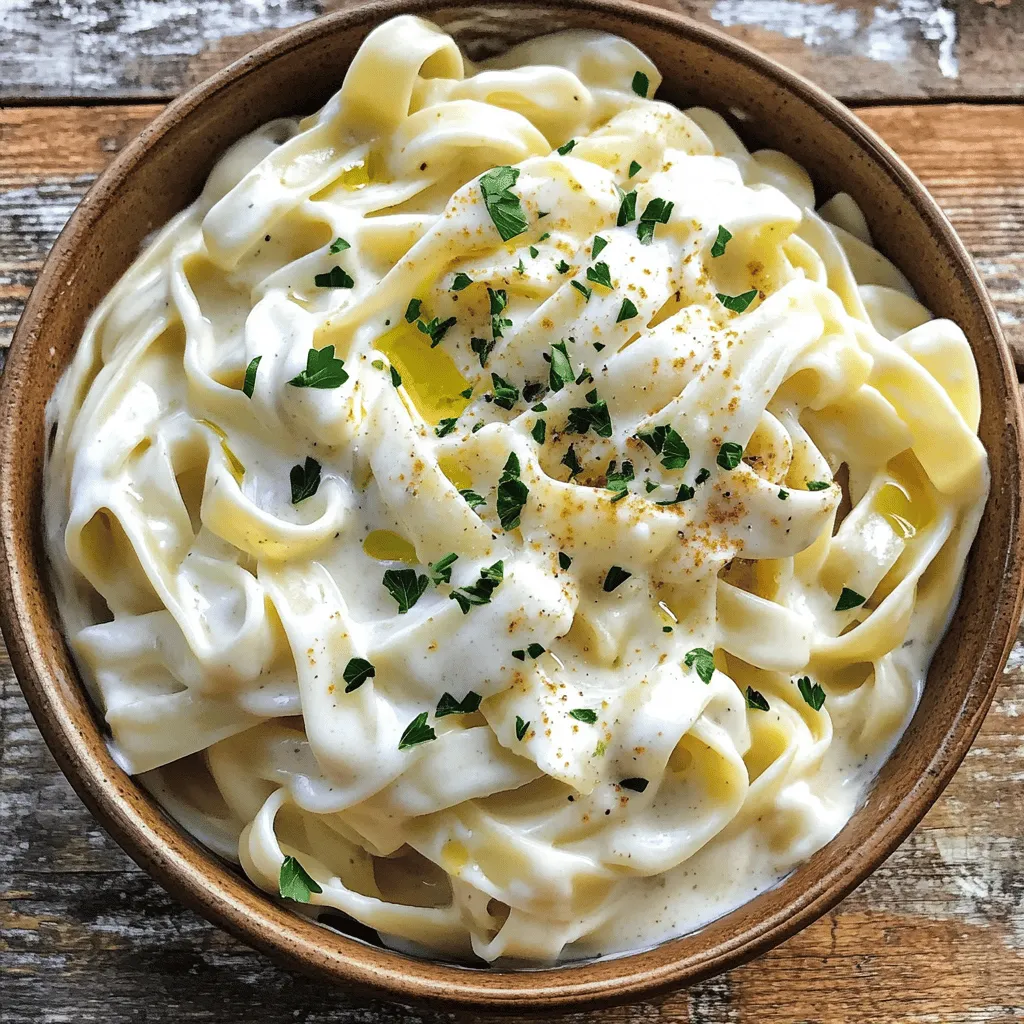
Are you ready to indulge in a creamy, dairy-free pasta you can whip up in no time? My Vegan Cashew
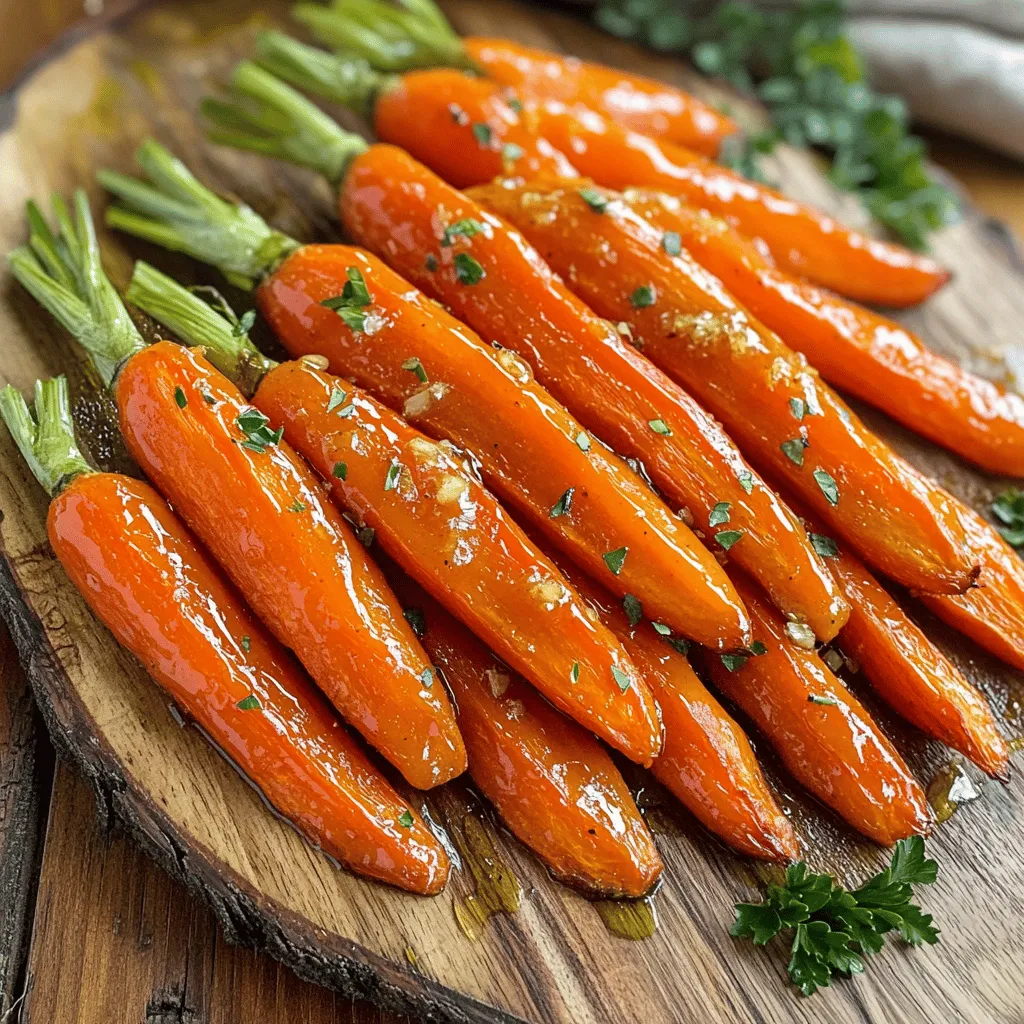
Looking for a delicious side dish that’s both easy and impressive? Honey Garlic Butter Roasted Carrots might just be your
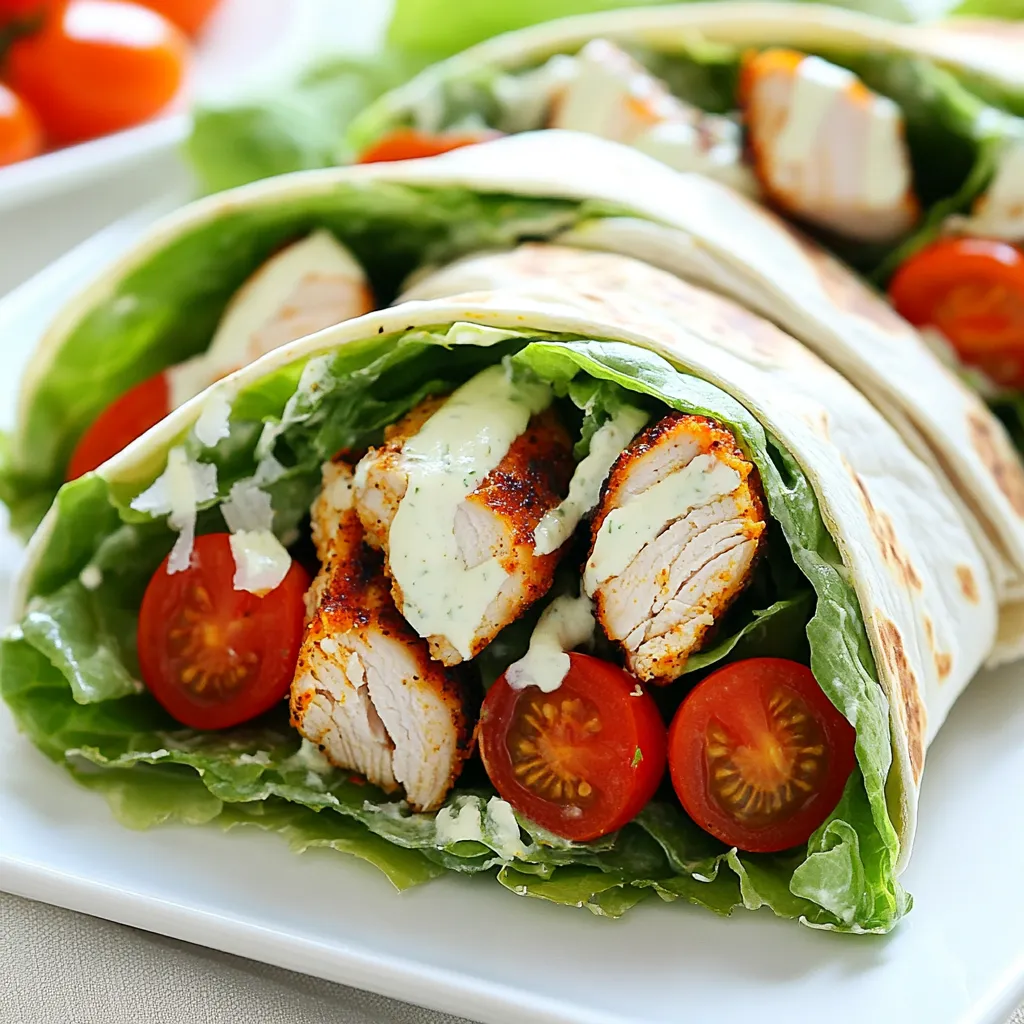
Ready to spice up your meal routine? Cajun Chicken Caesar Wraps are your answer! They’re easy to make, packed with
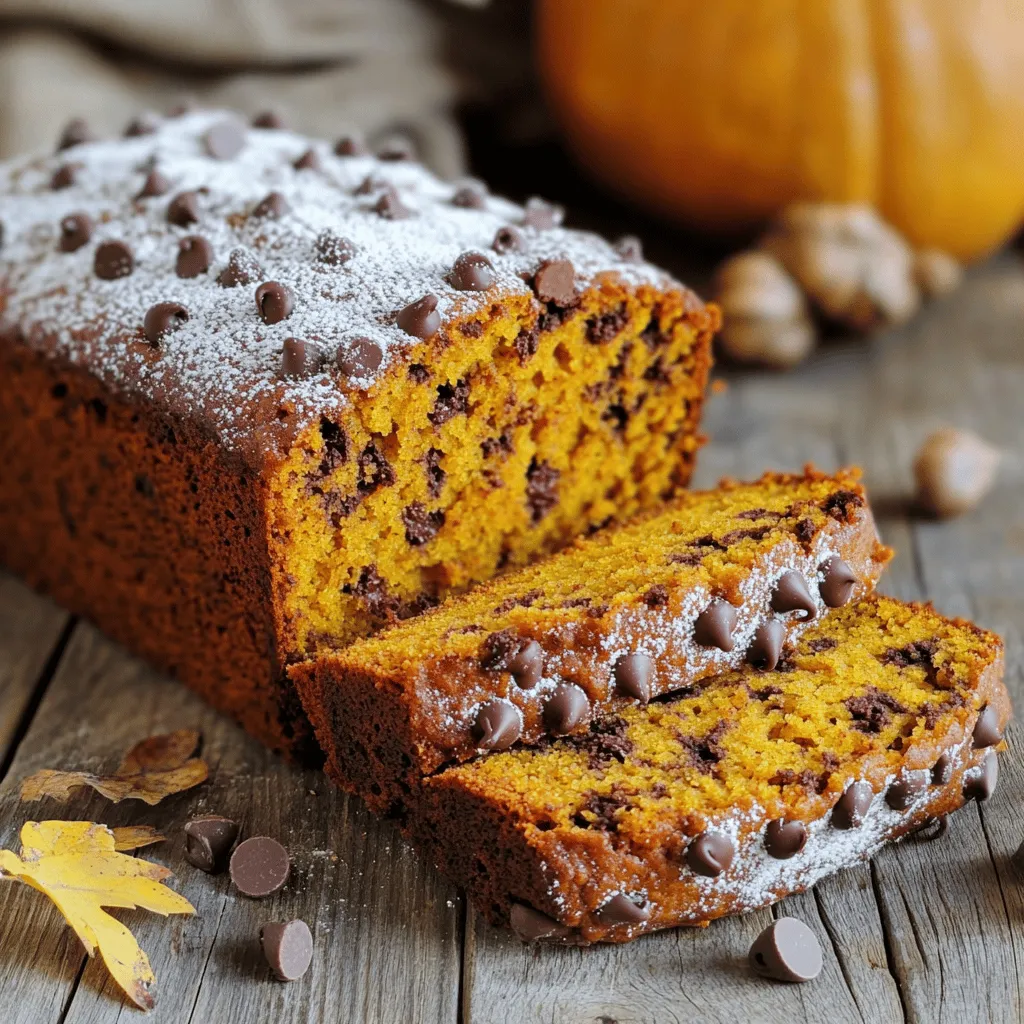
Are you ready to indulge in a cozy treat? This Chocolate Chip Pumpkin Bread recipe blends rich pumpkin flavor with
