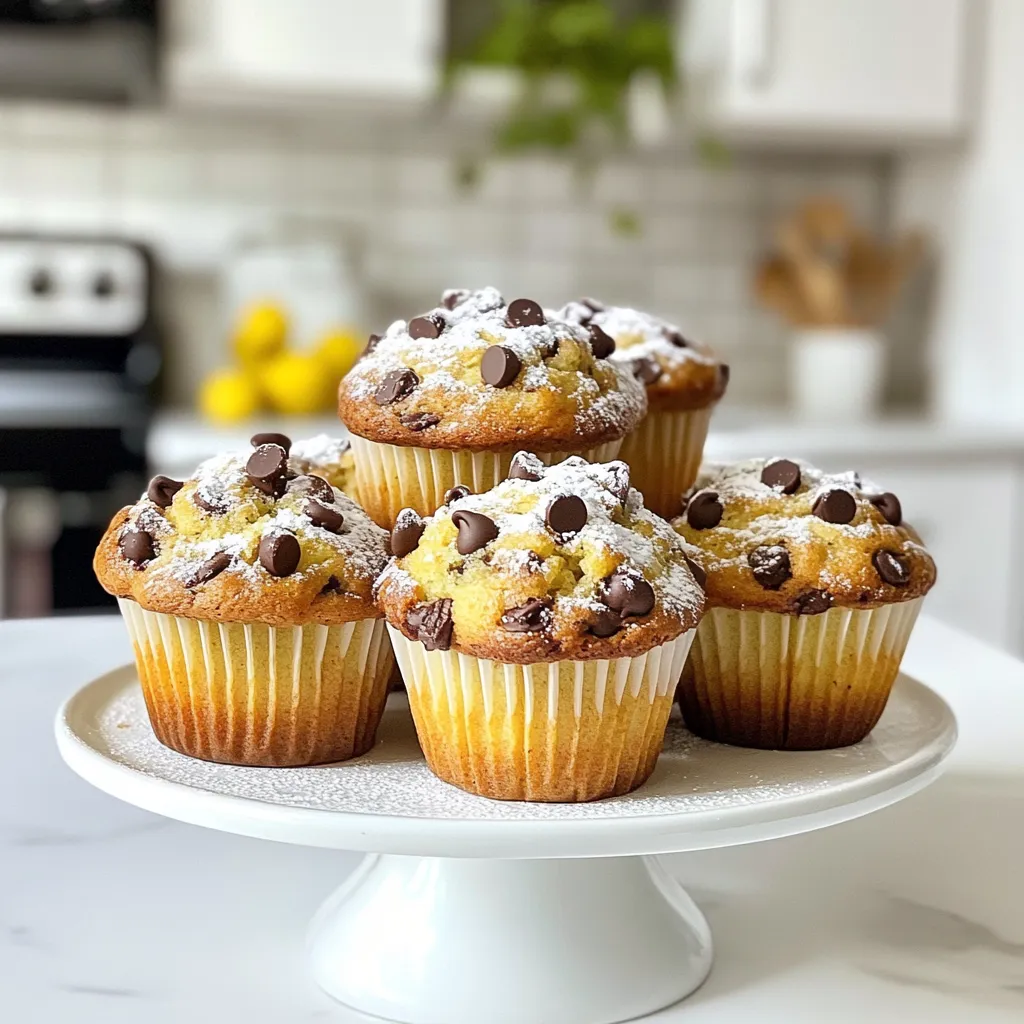
Chocolate Chip Zucchini Muffins Tasty and Simple Treat
Looking for a tasty way to sneak in some veggies? These Chocolate Chip Zucchini Muffins are the perfect treat! With
Looking for a tasty way to sneak in some veggies? These Chocolate Chip Zucchini Muffins are the perfect treat! With
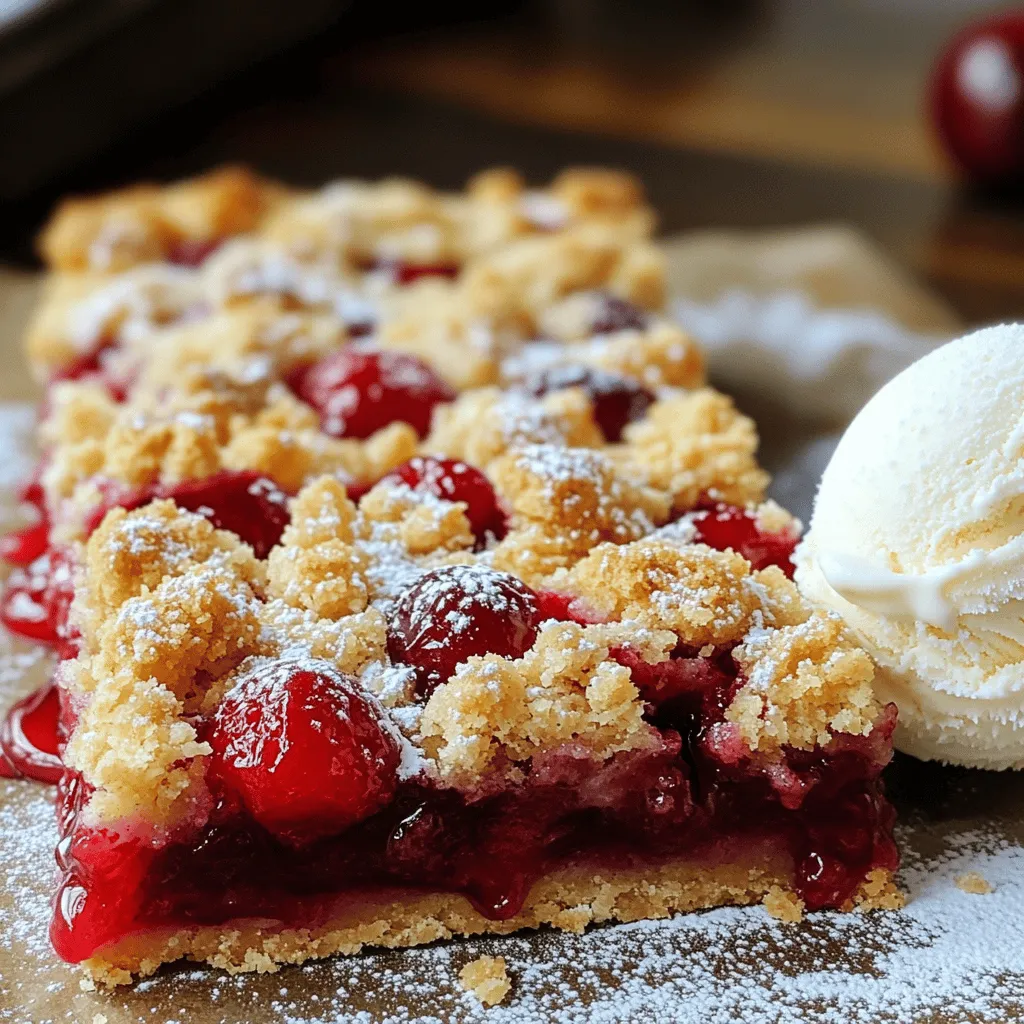
Craving a sweet treat that’s both easy and delicious? Look no further! These Cherry Pie Crumble Bars are the perfect
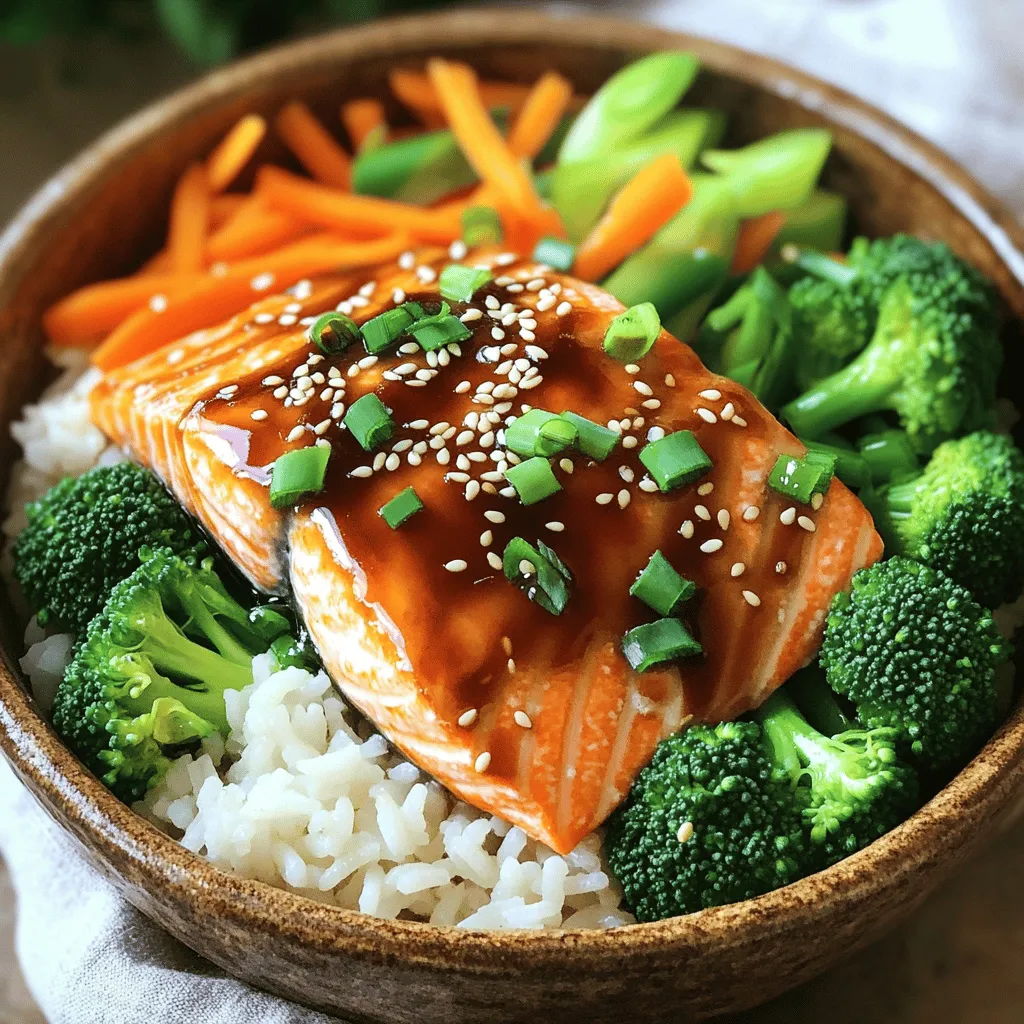
Craving a tasty and healthy meal? Teriyaki Salmon Rice Bowls fit the bill! This bowl brings together tender salmon, fluffy
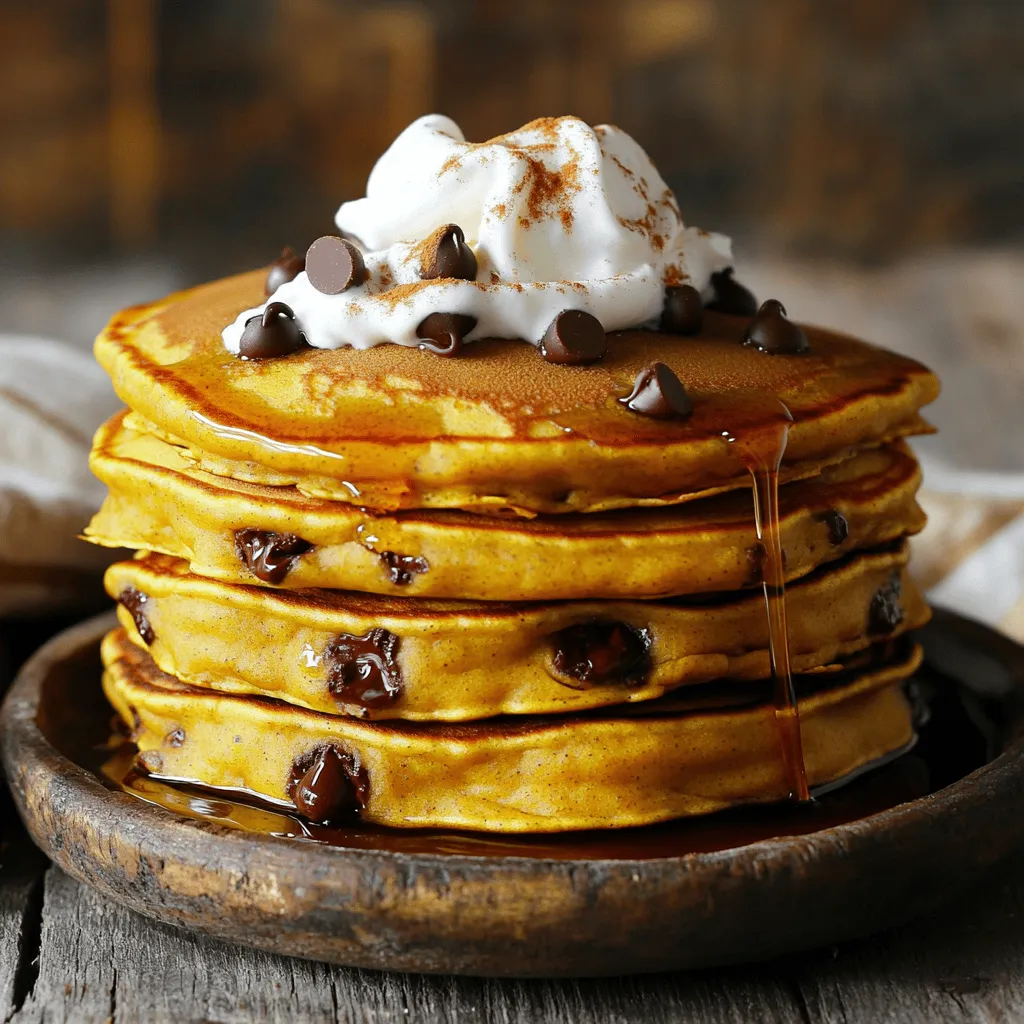
Looking for a fun and tasty way to enjoy breakfast? These Chocolate Chip Pumpkin Pancakes combine classic flavors with a
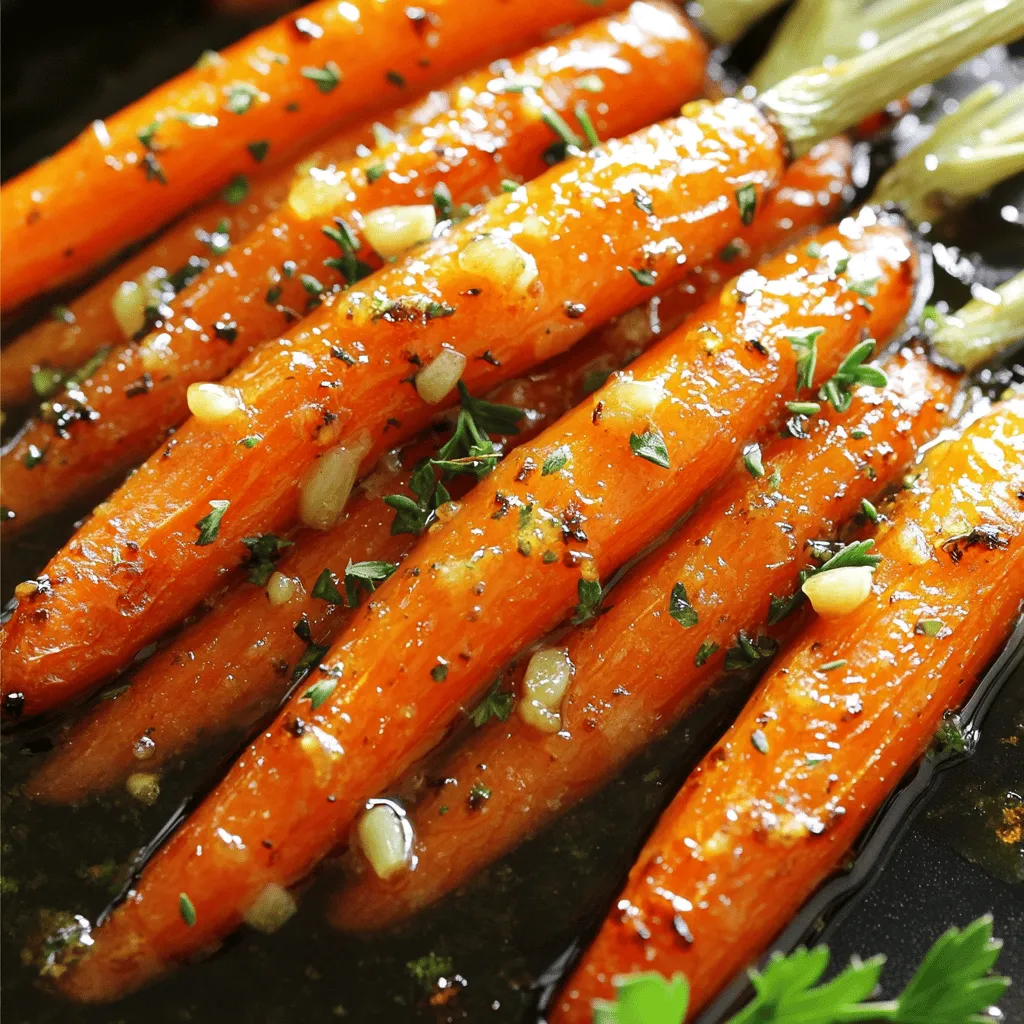
Looking for a tasty side dish that will wow your guests? Honey Garlic Roasted Carrots might just be your answer.
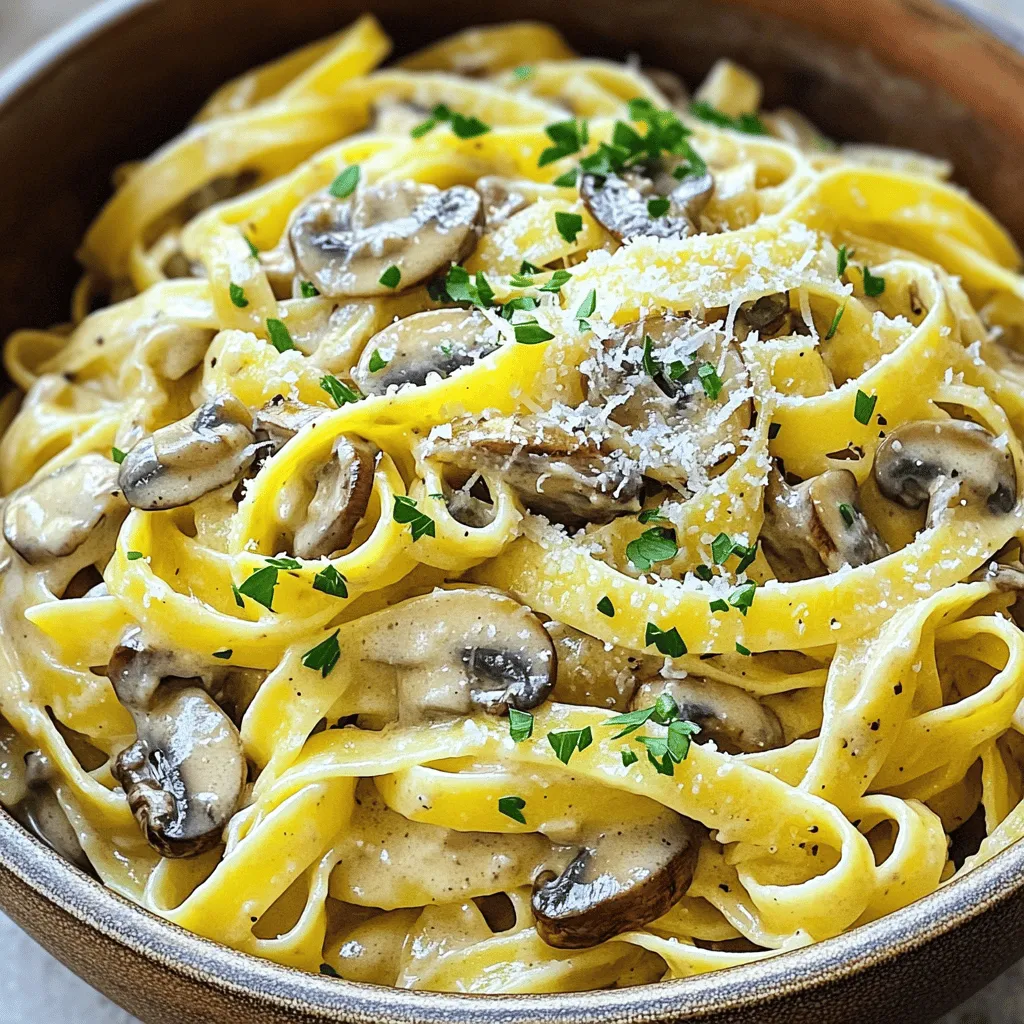
If you’re craving a cozy meal that dazzles your taste buds, look no further! Creamy Mushroom Marsala Pasta is the
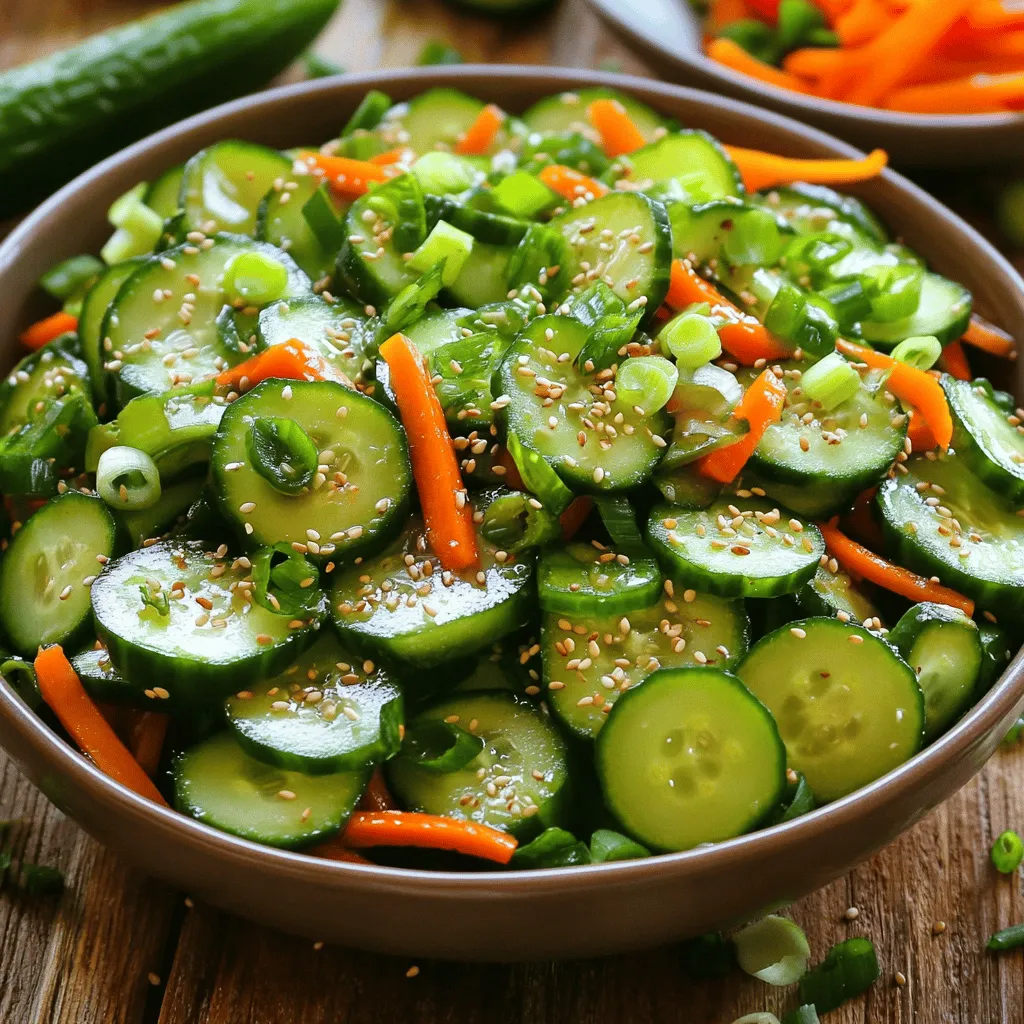
If you’re looking for a vibrant salad that bursts with flavor, try this Asian Sesame Cucumber Salad! It’s fresh, crunchy,
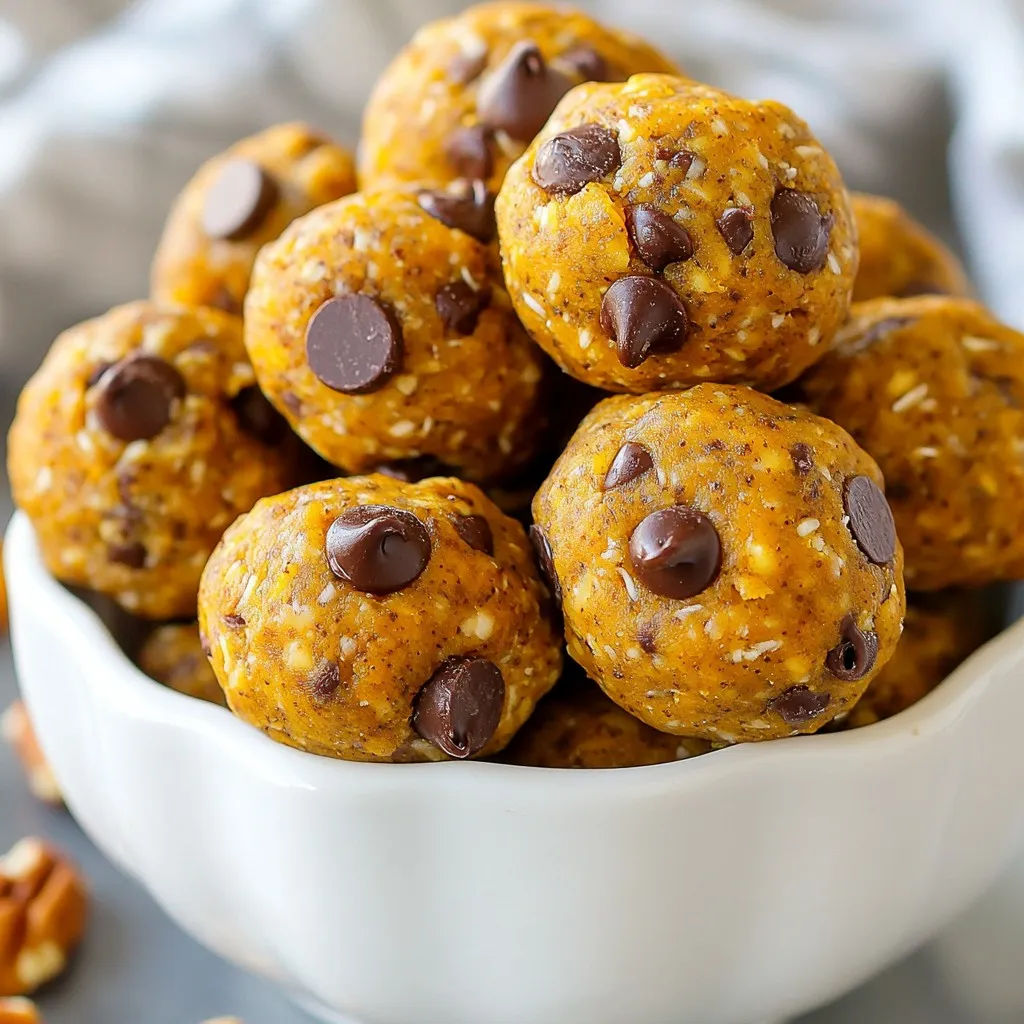
Dive into fall with my Pumpkin Spice Energy Balls! This simple, healthy snack blends the cozy flavors of autumn with
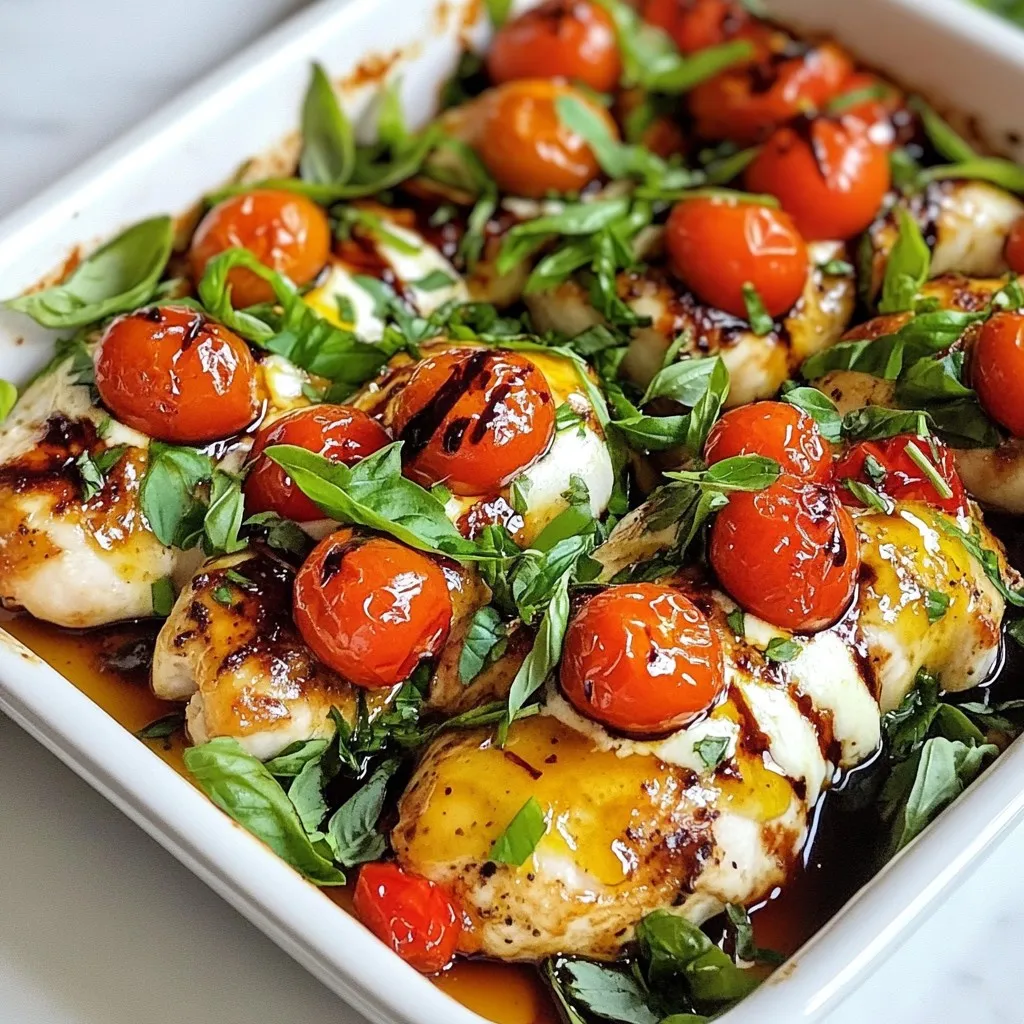
Looking for a quick, tasty dish that impresses anyone? The Caprese Chicken Bake is simple yet bursting with flavor. With
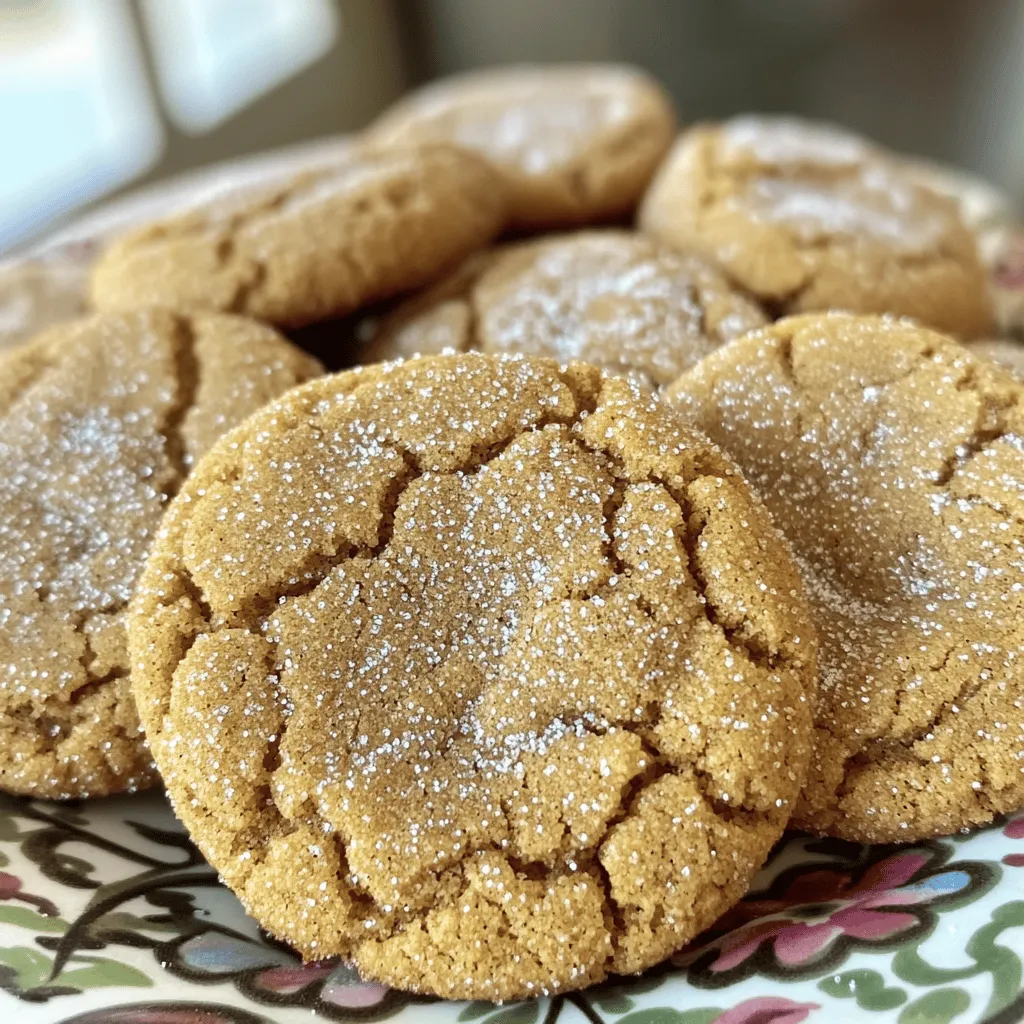
Ready to fill your kitchen with irresistible aromas? My Chewy Ginger Molasses Cookies are a delightful treat you won’t want
