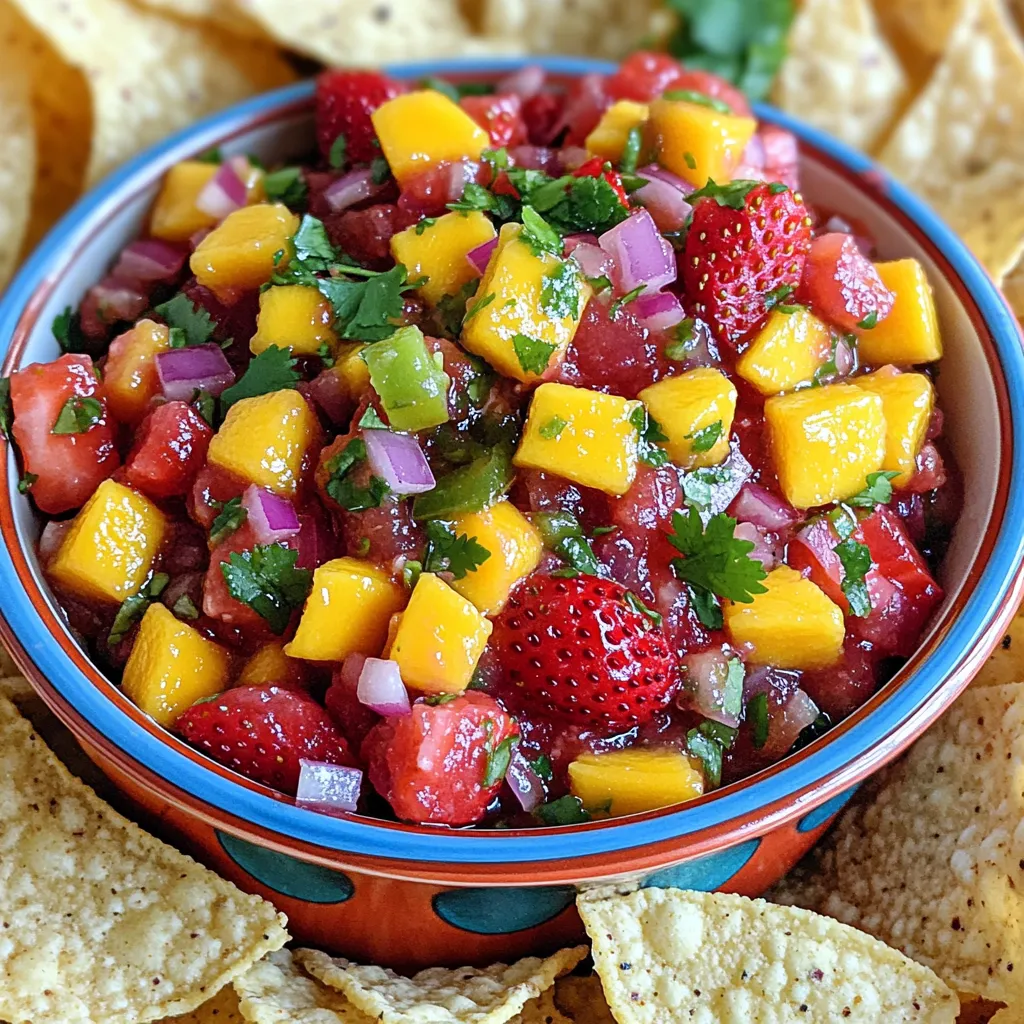
Strawberry Mango Salsa Fresh and Flavorful Delight
Looking for a fresh and tasty twist to liven up your meals? Strawberry Mango Salsa is a vibrant blend that
Looking for a fresh and tasty twist to liven up your meals? Strawberry Mango Salsa is a vibrant blend that

Are you ready to spice up your snack game? These Jalapeno Pretzel Bites are the perfect mix of cheesy goodness

Are you ready to spice up your dinner routine? Buffalo Chicken Stuffed Zucchini Boats are the perfect blend of flavor
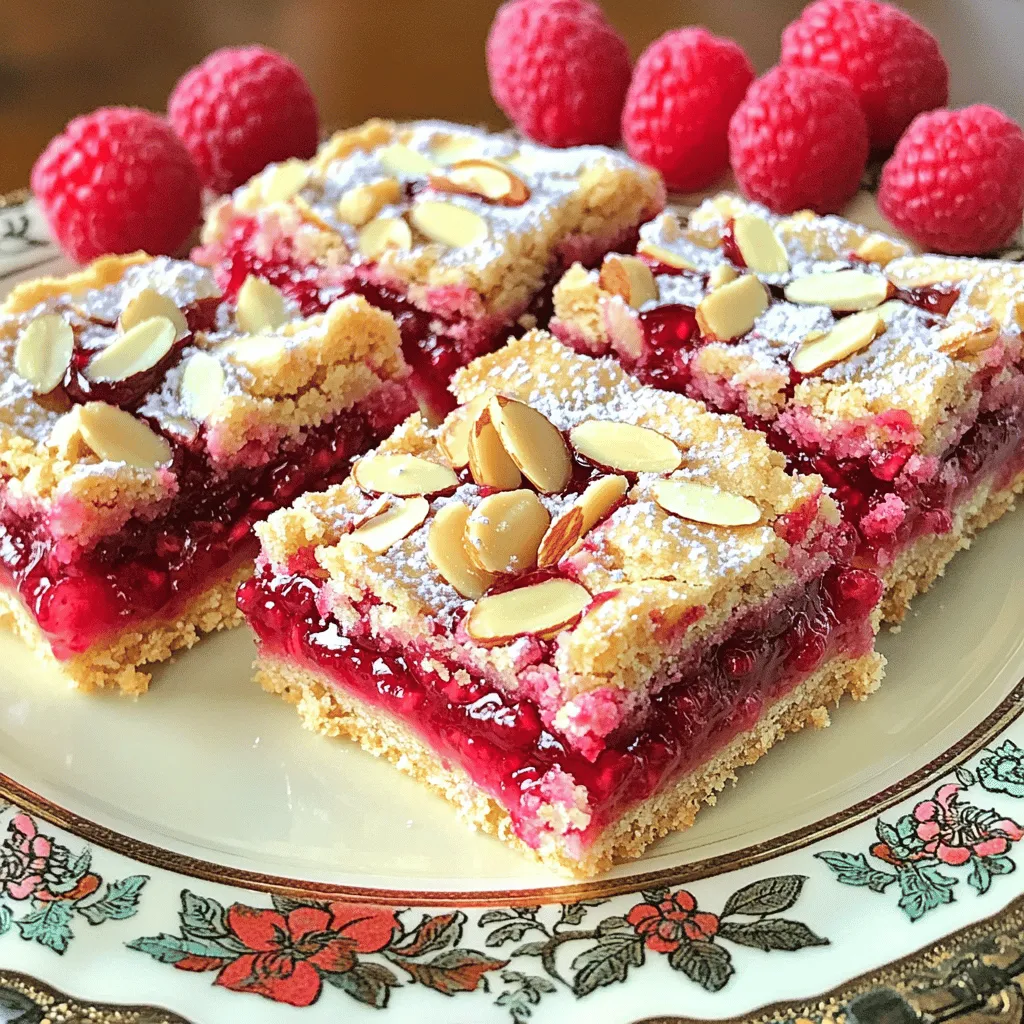
If you crave a simple treat bursting with flavor, you’ll love these Raspberry Almond Shortbread Bars. This easy recipe combines
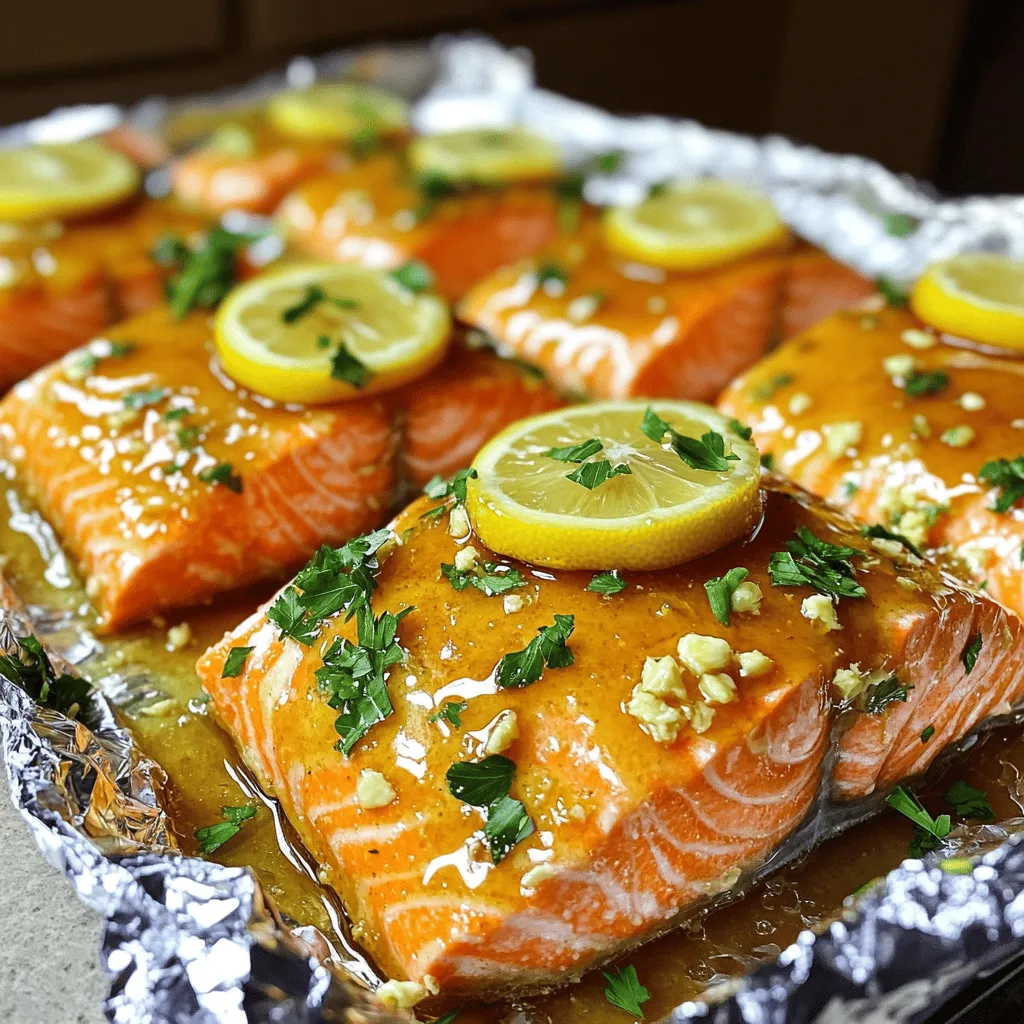
Looking for a quick and tasty dinner idea? This Honey Garlic Butter Salmon in Foil is just what you need!
Are you ready to bake something delicious? Raspberry Almond Shortbread Bars are both tasty and simple to make! With a
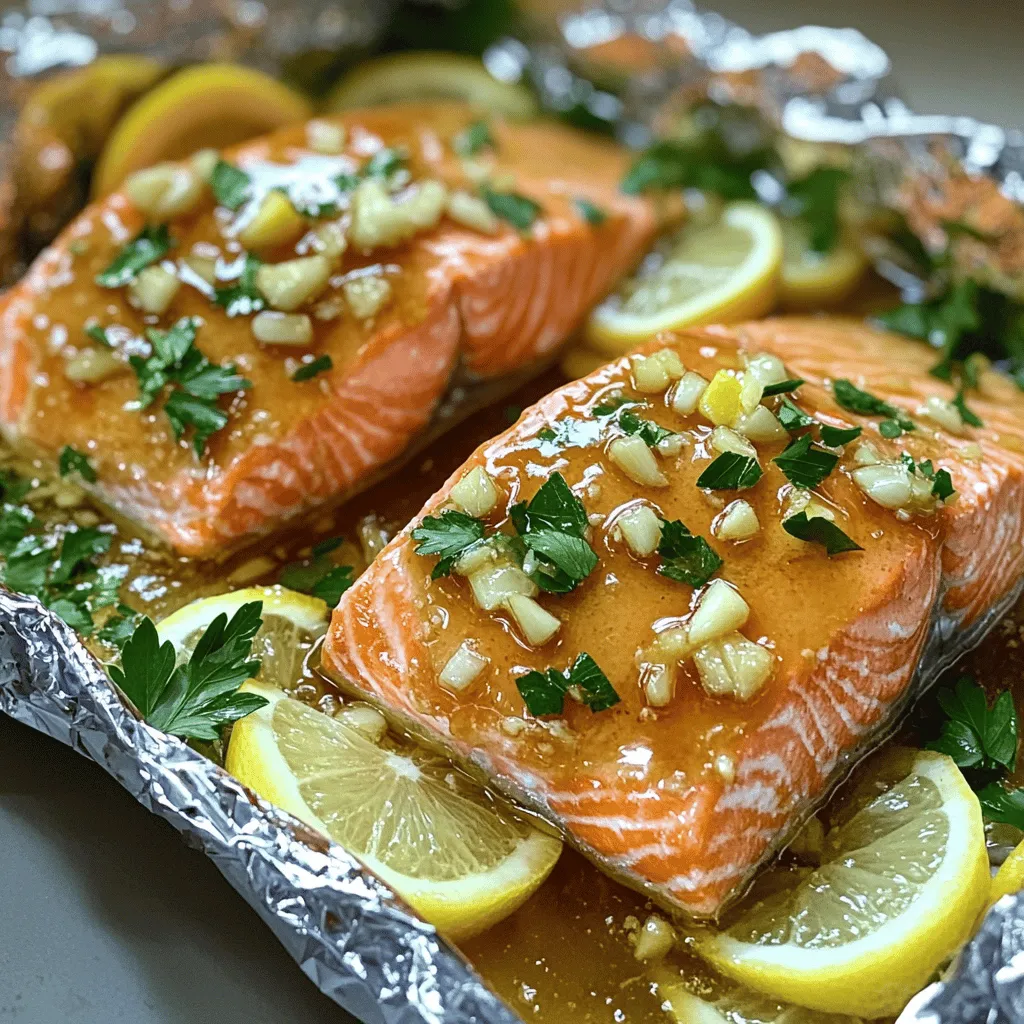
Craving a quick, tasty dinner? My Honey Garlic Butter Salmon in Foil recipe delivers! You’ll savor the perfect blend of
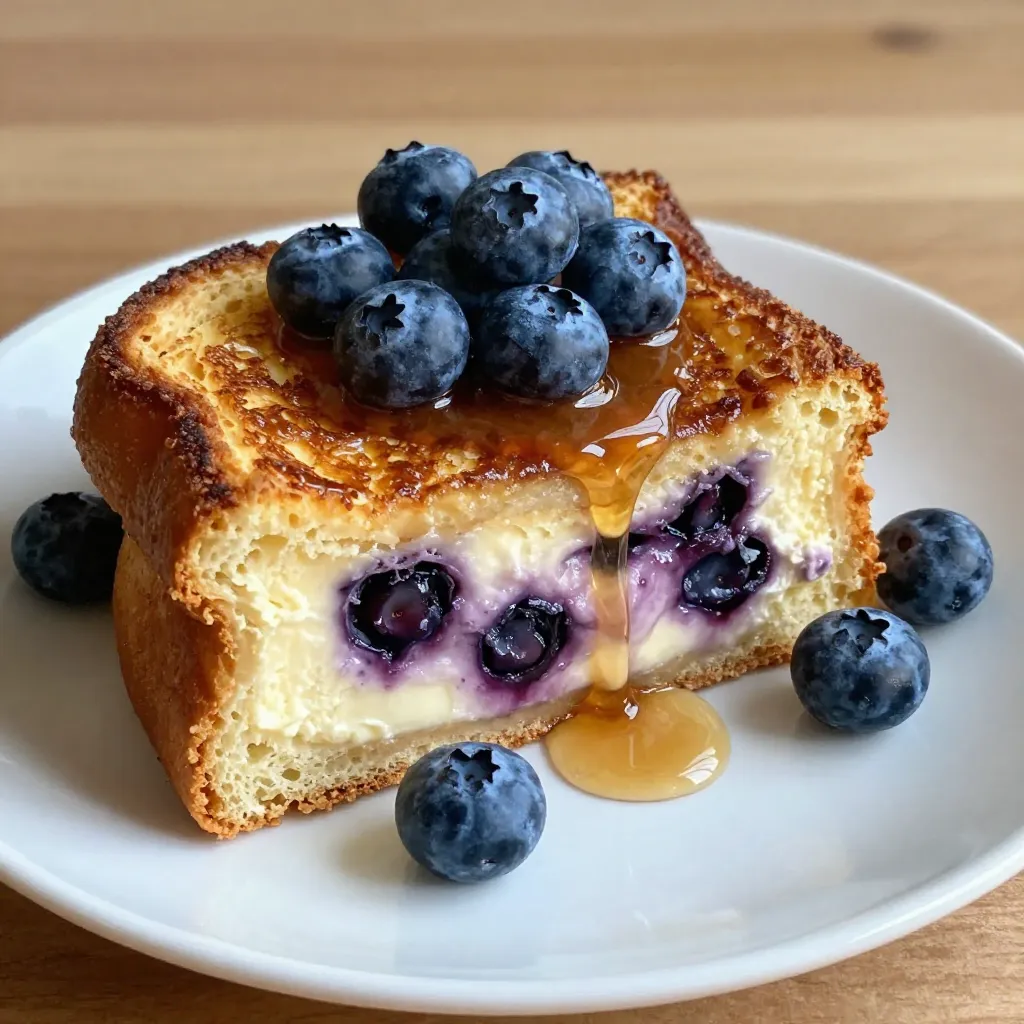
If you love breakfast treats that taste like dessert, you’re in for a real treat! Today, I’m sharing my Blueberry
 for more details on how to put it all together! 1. Preheat the oven to 400°F (200°C). This step helps the sprouts roast evenly. 2. In a big bowl, toss the halved Brussels sprouts with: - 3 tablespoons extra virgin olive oil - 2 tablespoons pure maple syrup - 1 tablespoon smooth Dijon mustard - 1 teaspoon garlic powder - Sea salt and freshly ground black pepper to taste Make sure each sprout gets coated well. This mix gives a sweet and tangy flavor. 3. Spread the Brussels sprouts on a baking sheet in a single layer. This helps them roast properly. 4. Roast for 20-25 minutes. Stir halfway through to ensure they brown well. 5. If you use pecans, add them in the last 5 minutes. This toasts them for extra crunch. 6. Once roasted, take the baking sheet out of the oven. Sprinkle dried cranberries on top. They add sweetness and color. 7. Serve warm as a side dish or mix them into any meal. These Maple Dijon Brussels Sprouts will impress everyone at your table. For the full recipe, check out the link. To get the best roast, always preheat your oven to 400°F (200°C). This step helps the Brussels sprouts cook evenly. If you skip this, they may turn out soggy. Next, avoid overcrowding the pan. Spread the sprouts out in a single layer. This ensures that hot air can flow around them, creating those crispy edges we all love. If they are too close, they’ll steam instead of roast. To make your dish pop, consider garnishing with fresh herbs like parsley or chives. They add color and a fresh taste. You can also sprinkle some lemon zest for a bright finish. For added flavor, try mixing in spices. A pinch of cayenne pepper gives a nice kick. You could also use smoked paprika for a deeper, smoky flavor. Feel free to experiment! I recommend using a heavy-duty baking sheet. A good sheet can handle high heat and distribute it evenly. Non-stick options work well, too, as they help with easy removal. A sturdy mixing bowl is also key. It should be large enough to toss the sprouts without making a mess. A good bowl makes mixing easy and fun. For the full recipe, check out the details above! {{image_4}} You can switch maple syrup for honey or agave syrup. Both options work well. Adjust the sweetness to suit your taste. If you like it sweeter, add more honey. For a milder flavor, use less agave. Each sweetener gives a unique twist to the dish. If you prefer a different crunch, try almonds or walnuts. They both add great flavor. You can roast these nuts with spices like paprika or cayenne for extra zest. This simple step boosts the overall taste and makes your dish pop. Brussels sprouts are great, but you can swap them out. Green beans or asparagus can work well, too. For these veggies, adjust the cooking time. Green beans may need less time, while asparagus cooks faster. Keep an eye on them to get the best results. When you have leftovers, let them cool first. Store Brussels sprouts in an airtight container. You can keep them in the fridge for up to 4 days. This way, they stay fresh and tasty. To freeze Maple Dijon Brussels Sprouts, cool them completely after cooking. Place them in freezer-safe bags or containers. They can last for about 3 months. When you’re ready to eat, thaw them overnight in the fridge. The oven is best for reheating leftovers. Preheat it to 350°F (175°C) and spread the sprouts on a baking sheet. Heat for about 10-15 minutes until warm. This keeps them crispy. You can use the microwave if you’re short on time. Place them in a microwave-safe dish and cover it. Heat in short bursts, stirring in between. This keeps them moist but may lose some crispness. To make this dish gluten-free, you can use a gluten-free Dijon mustard. Regular Dijon may contain gluten, so check the label. All other ingredients here are naturally gluten-free. This way, you can enjoy a tasty meal without worry. Yes, you can prepare Maple Dijon Brussels Sprouts ahead of time. Just roast them as directed and let them cool. Store in an airtight container in the fridge for up to three days. When you're ready to eat, reheat in the oven at 350°F (175°C) until warm. These Brussels sprouts pair well with various main dishes. Try serving them alongside roasted chicken or grilled salmon. They also work great with plant-based proteins like quinoa or lentils. For sides, consider creamy mashed potatoes or a fresh salad. This recipe is vegetarian since it uses olive oil and plant-based ingredients. To make it vegan, ensure your Dijon mustard is free from animal products. The recipe remains delicious and suitable for vegans without any changes. Enjoy this Maple Dijon Brussels Sprouts delight with full confidence! For the full recipe, check above. In this blog post, I covered how to make Maple Dijon Brussels Sprouts from start to finish. We discussed ingredients, step-by-step cooking instructions, and tips for the perfect roast. You discovered variations to suit your taste and learned how to store leftovers. Maple Dijon Brussels Sprouts make a great dish, either as a side or a main meal. So, get cooking and enjoy this flavorful treat that everyone will love.](https://spoonfulsavory.com/wp-content/uploads/2025/07/4d5cbb24-e031-418e-b56a-4216c092a223.webp)
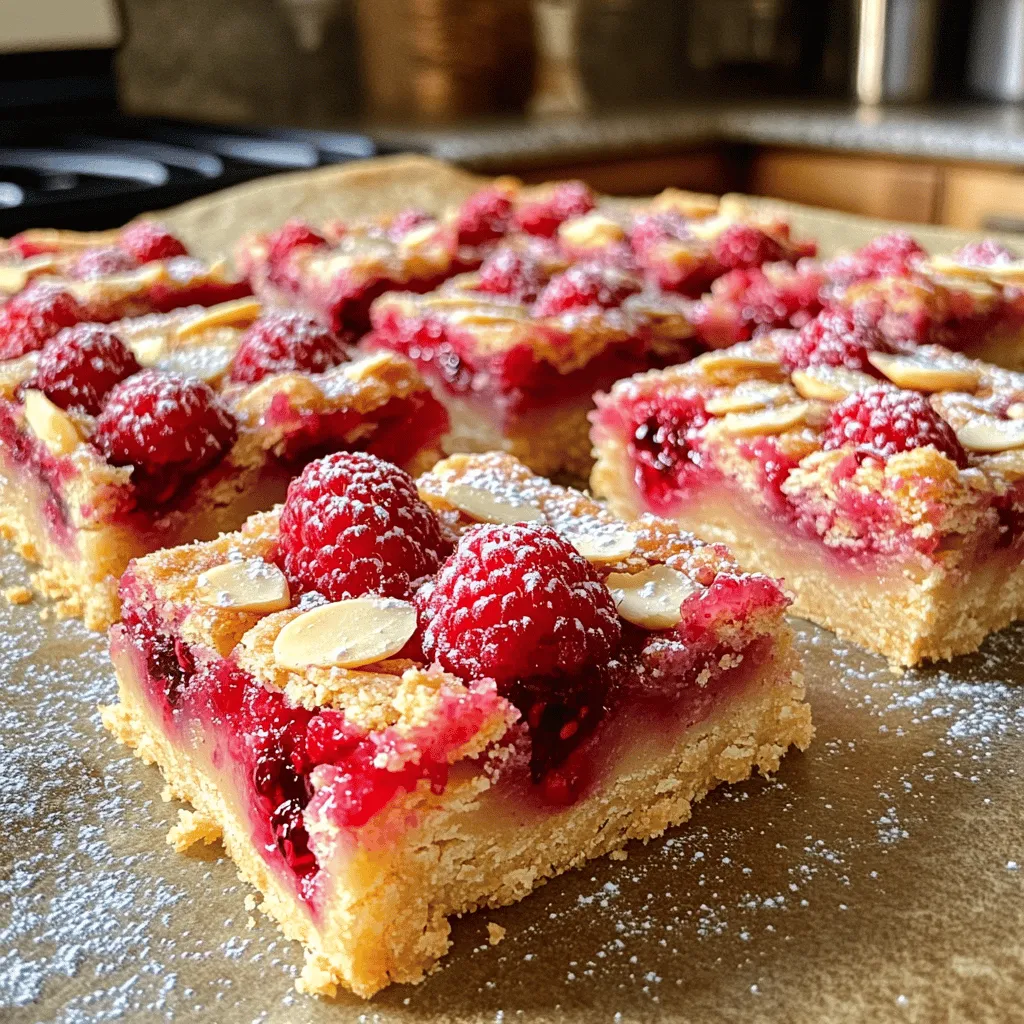
Are you ready to elevate your dinner game? Maple Dijon Brussels Sprouts are a tasty roasted delight that combines sweet
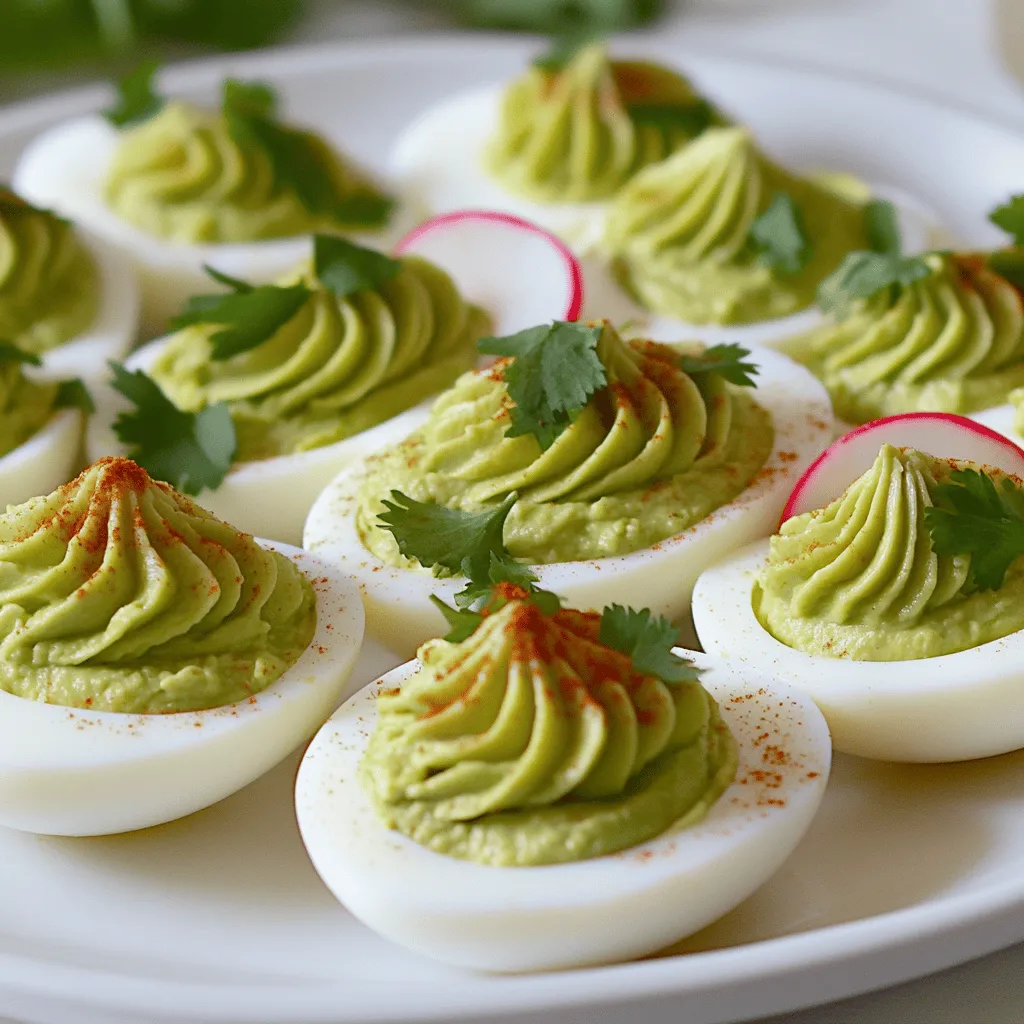
If you’re looking for a delicious and healthy snack, Avocado Deviled Eggs are perfect! They combine creamy avocado with zesty
