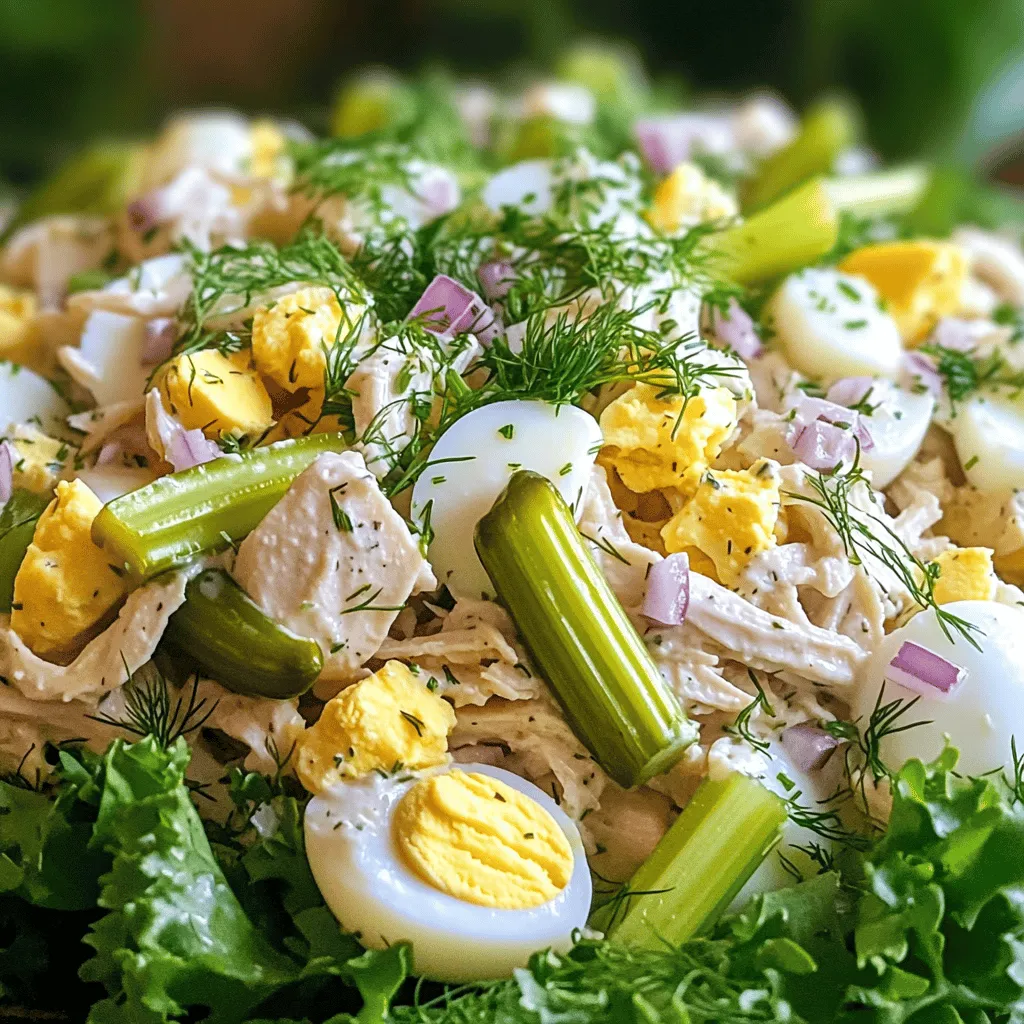
Pickle Ranch Chicken and Egg Salad Flavorful Delight
Craving a tasty and easy meal? Look no further! My Pickle Ranch Chicken and Egg Salad will wow your taste
Craving a tasty and easy meal? Look no further! My Pickle Ranch Chicken and Egg Salad will wow your taste
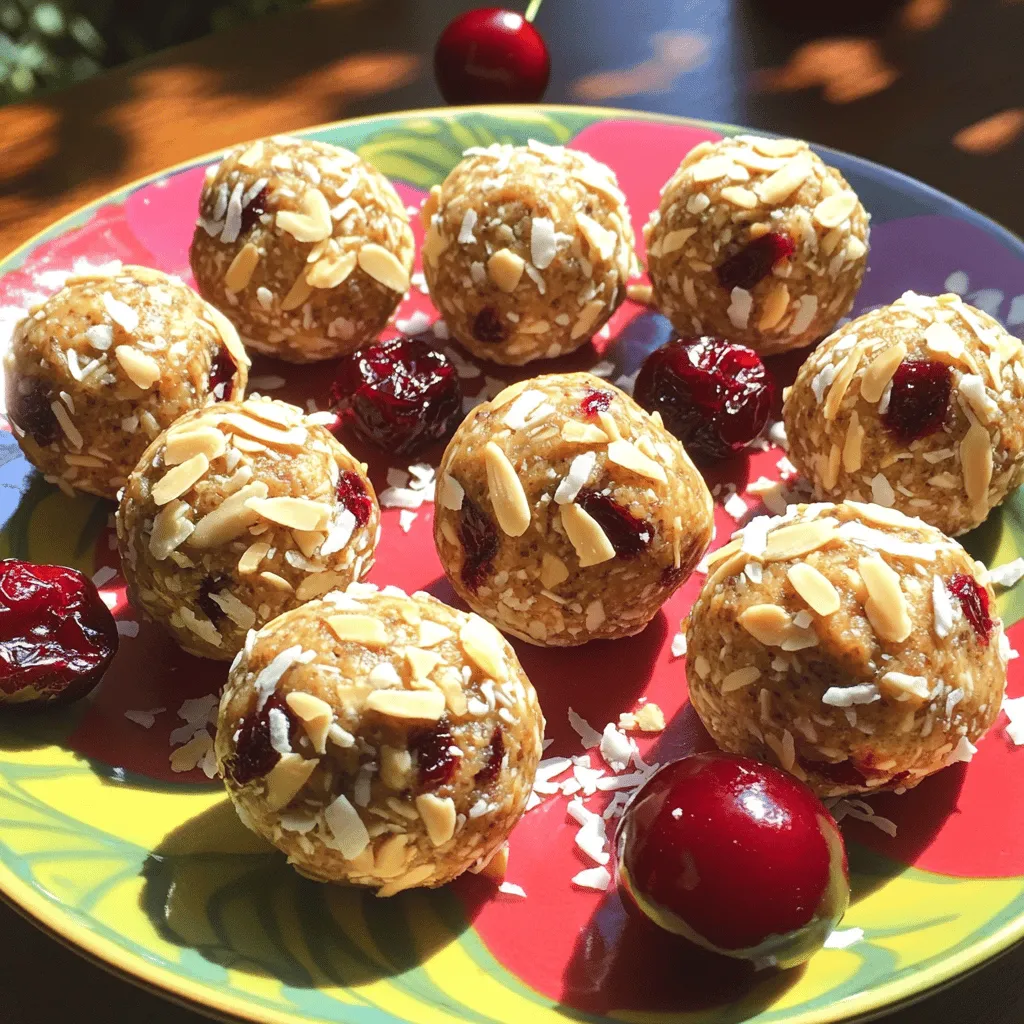
Looking for a healthy snack that packs a punch? Cherry Almond Protein Balls are nutritious, easy to make, and delicious!
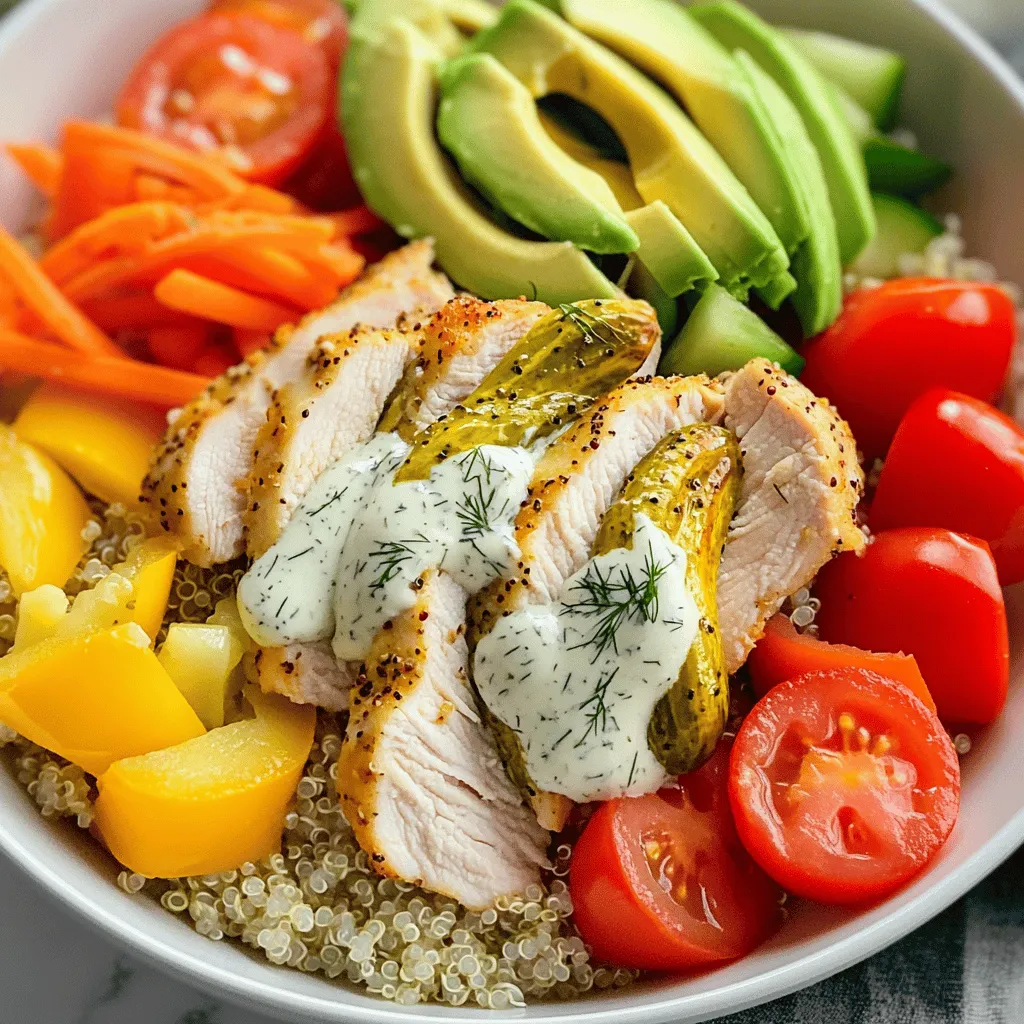
Looking for a meal that packs a punch of flavor and nutrients? Dive into my Pickle Ranch Chicken and Veggie
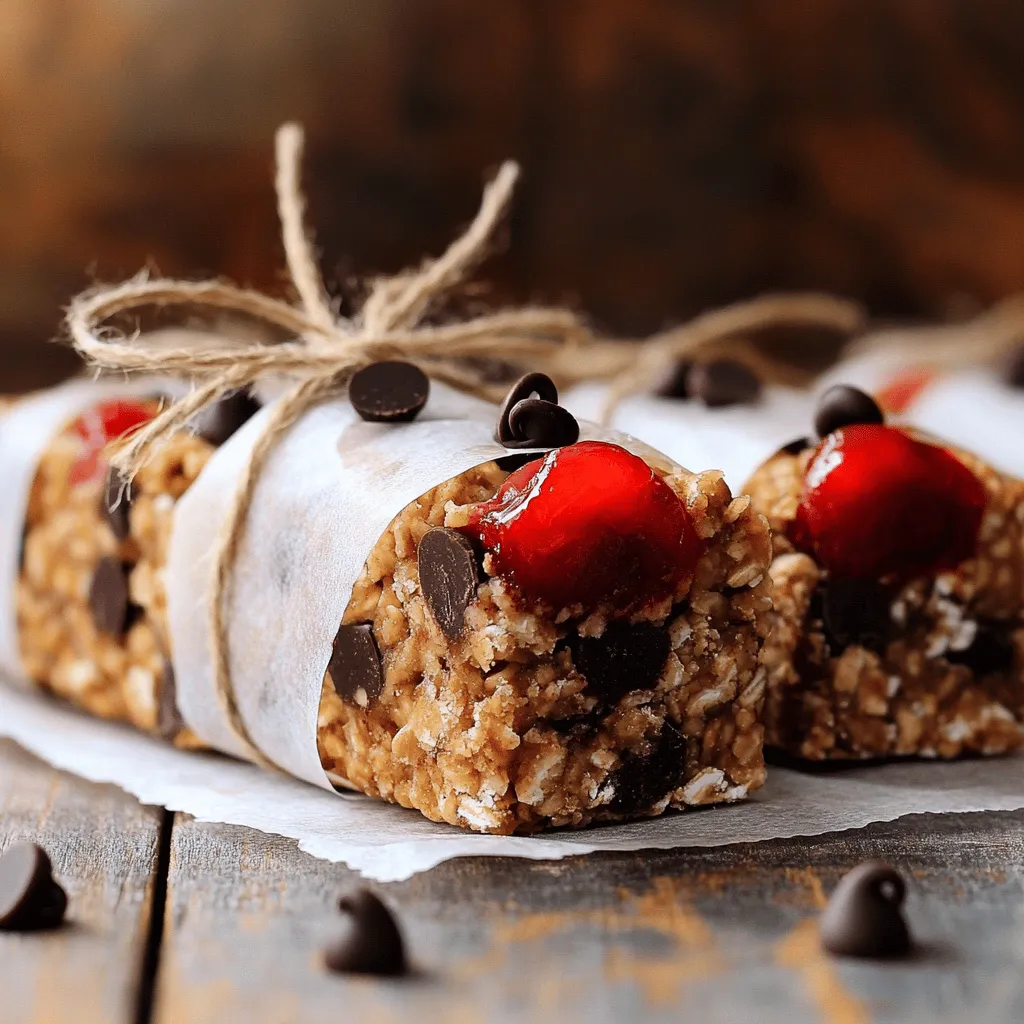
Looking for a tasty snack that packs a protein punch? You need to try my Cherry Chocolate Protein Bars. They
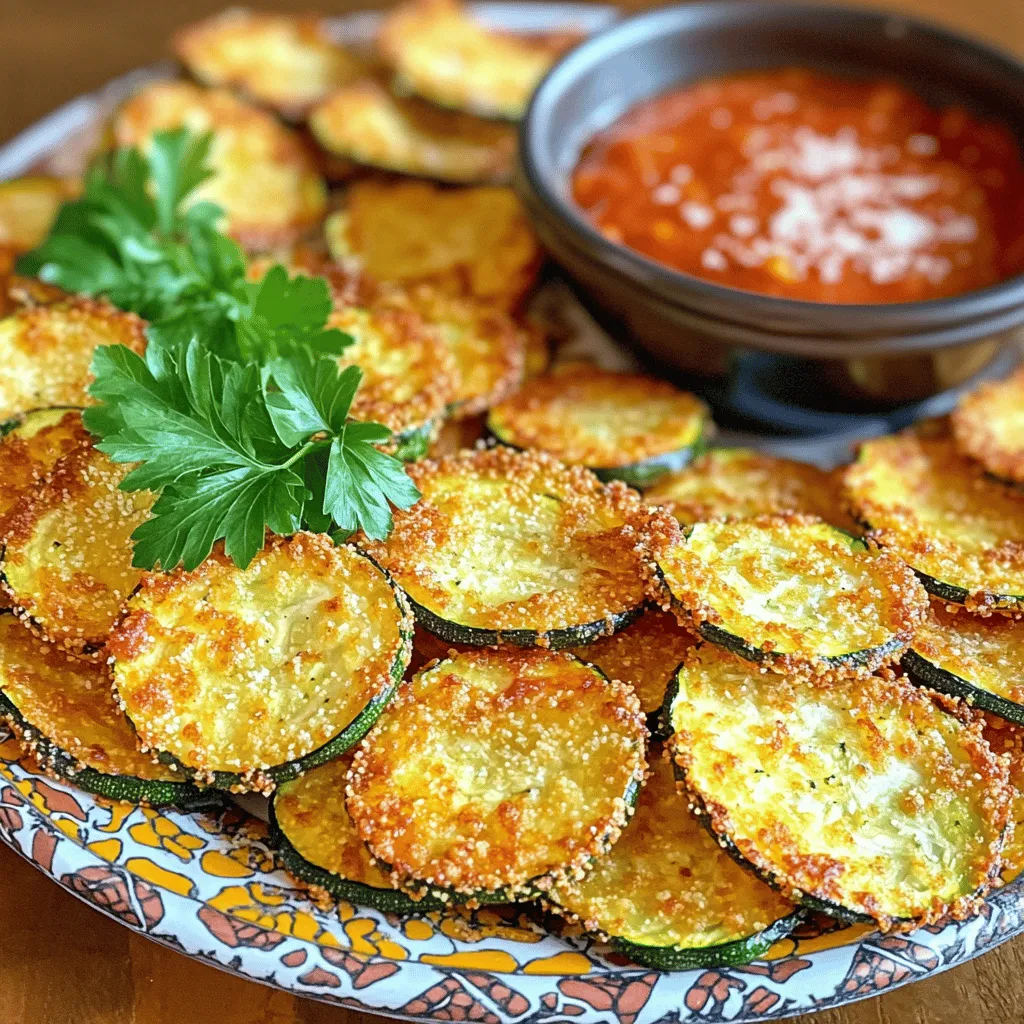
Looking for a healthy snack that’s crunchier than chips? Try these crispy air fryer zucchini chips! They’re simple to make
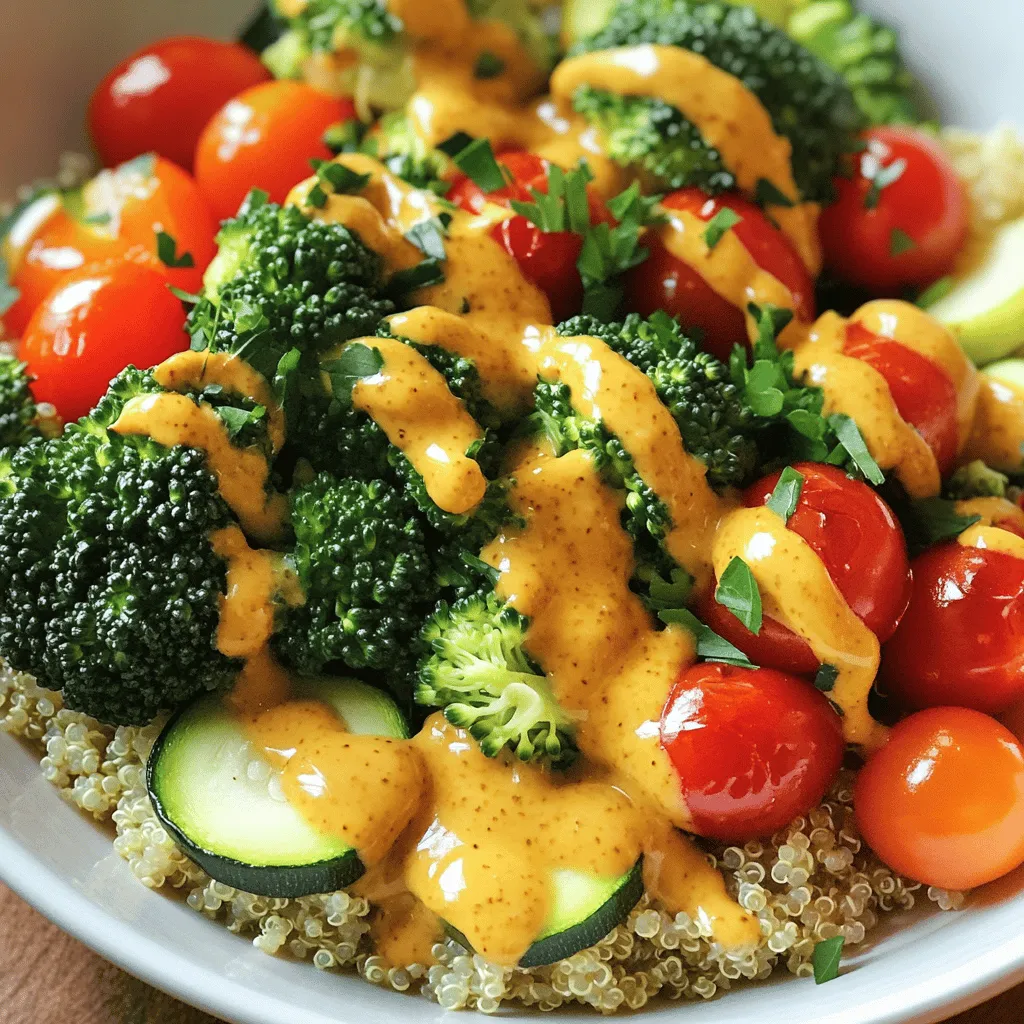
Craving a fresh and tasty meal? You’ll love these Honey Mustard Veggie Bowls! This dish is not just quick to
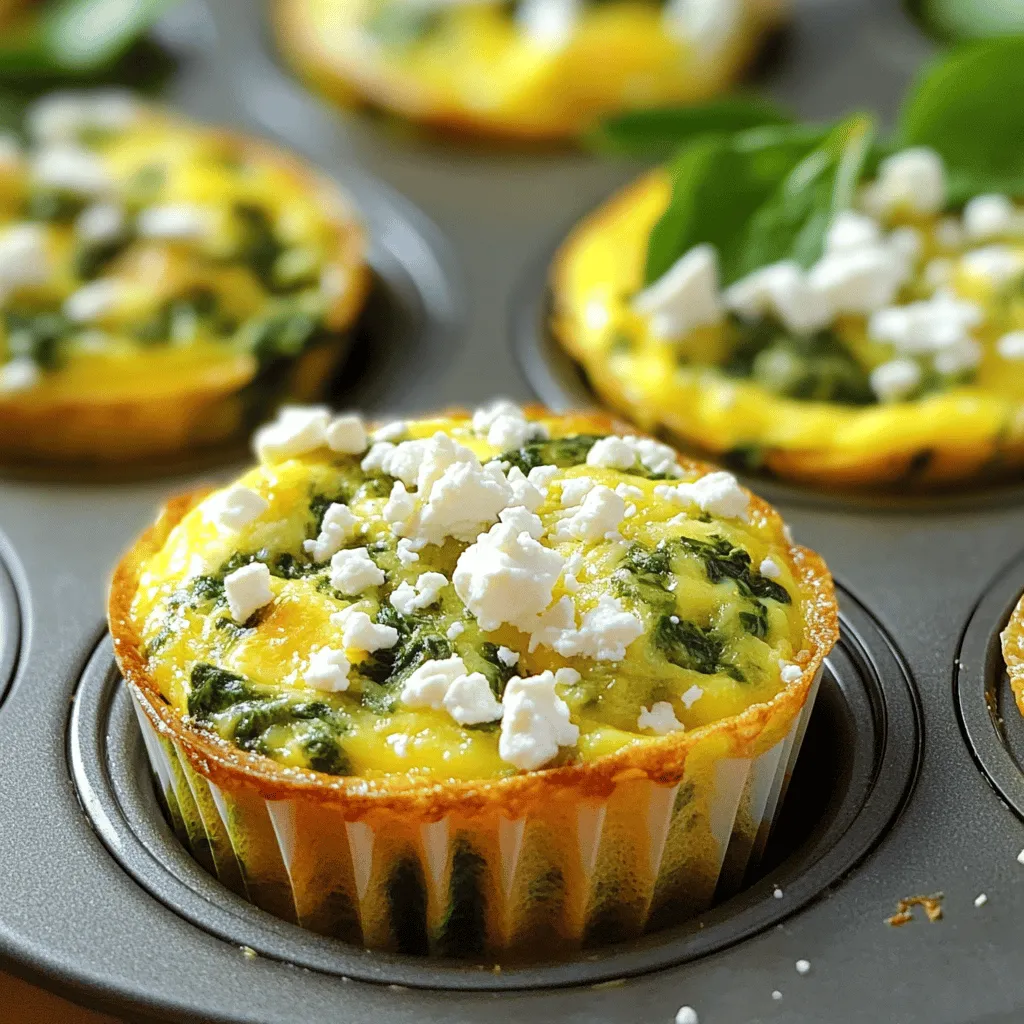
Looking for an easy, tasty breakfast that packs a punch? Try these Spinach Feta Egg Muffins! Packed with nutritious spinach
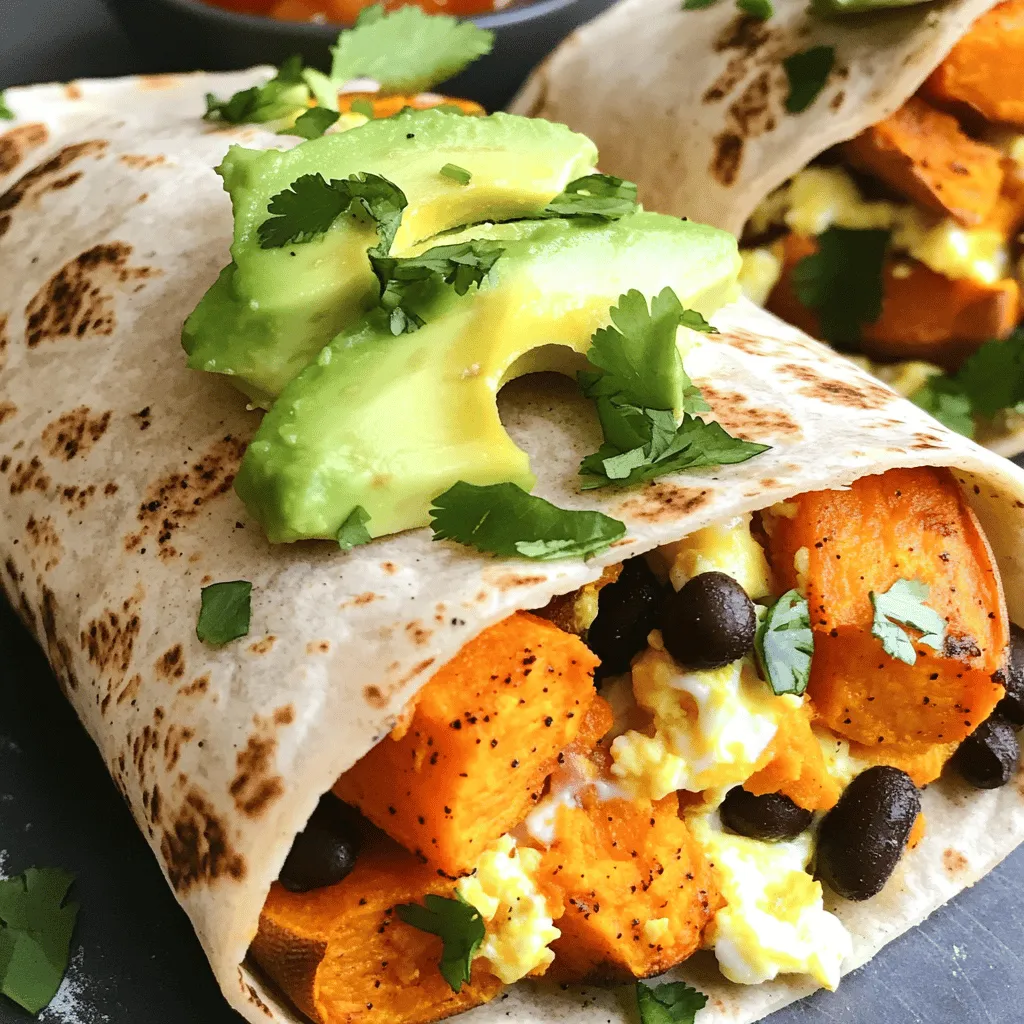
Looking for a fun and easy way to kickstart your day? These Sweet Potato Breakfast Burritos are the answer! Packed
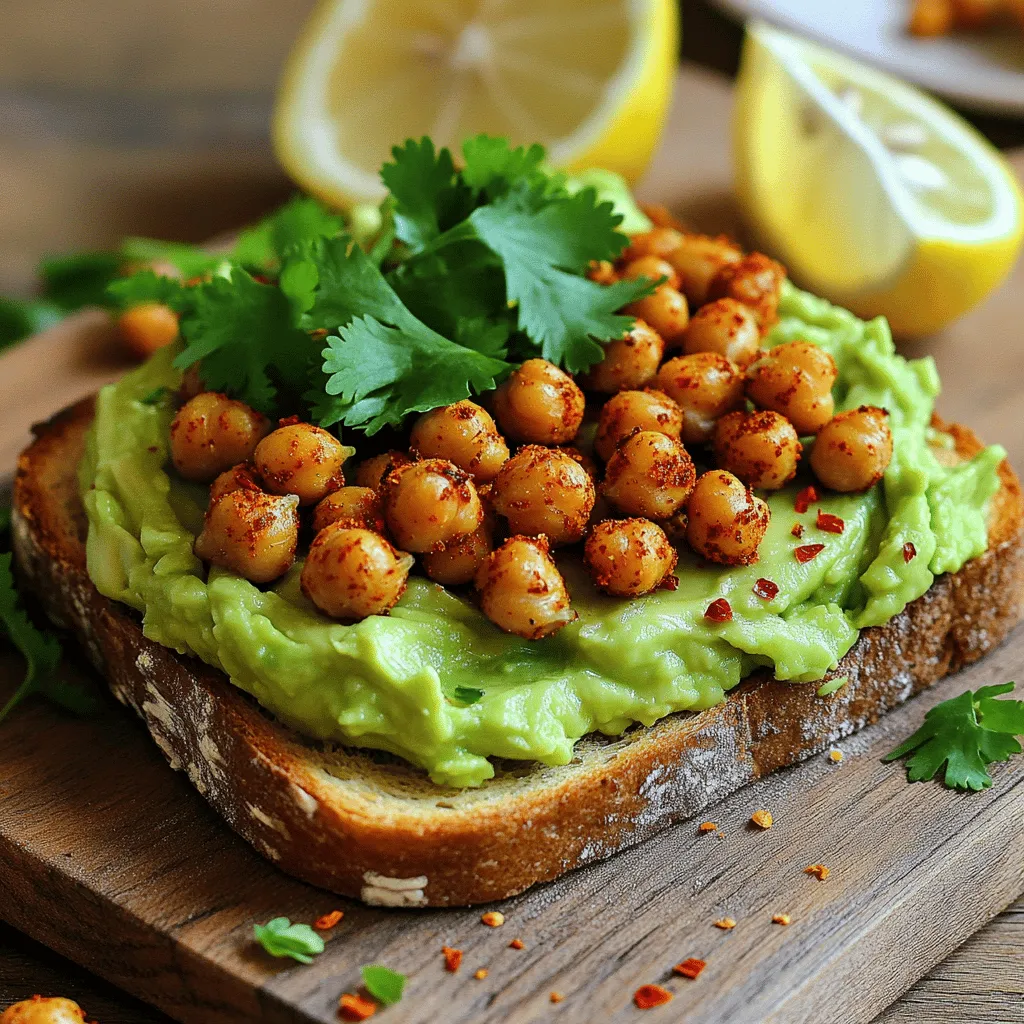
Craving a fresh twist on your breakfast? Try my Savory Avocado Toast with Spicy Chickpeas! This recipe is easy to
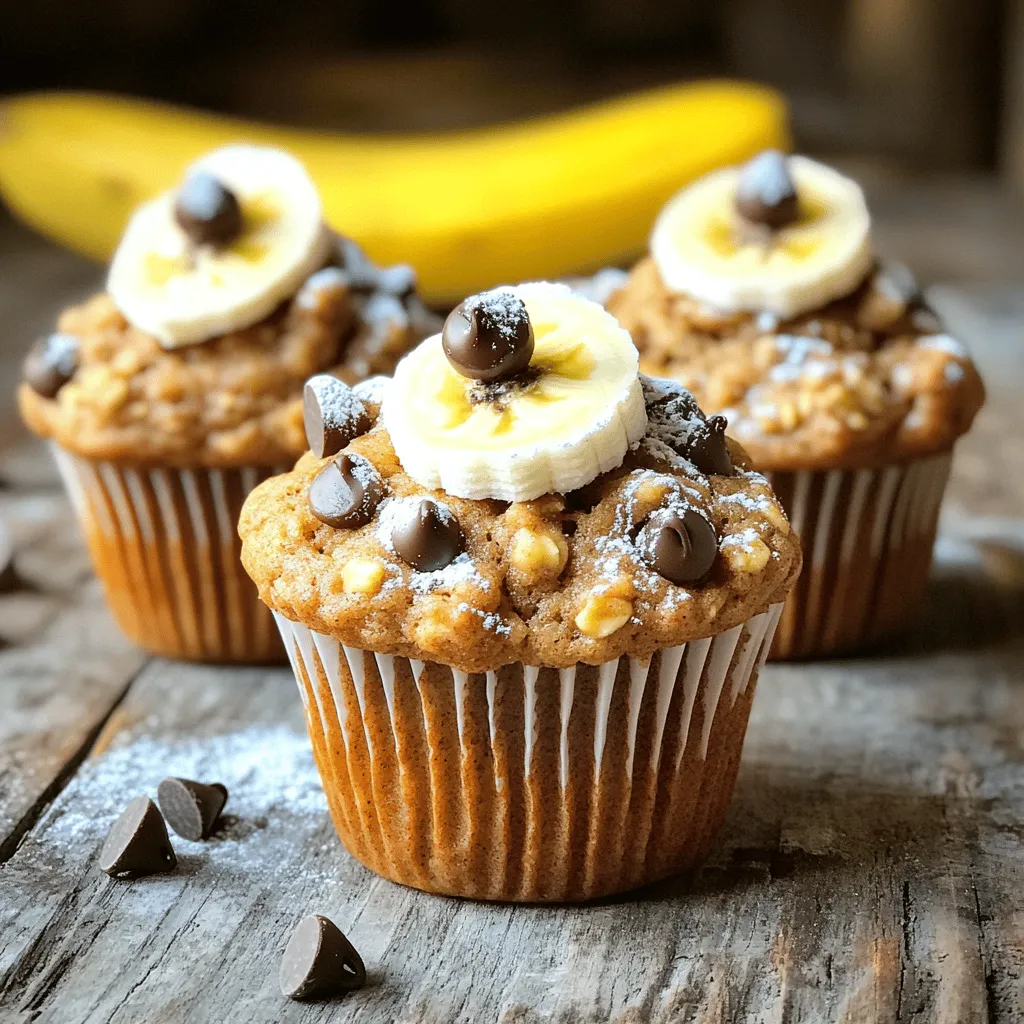
If you crave a snack that’s both healthy and tasty, look no further! My Peanut Butter Oatmeal Muffins pack the
