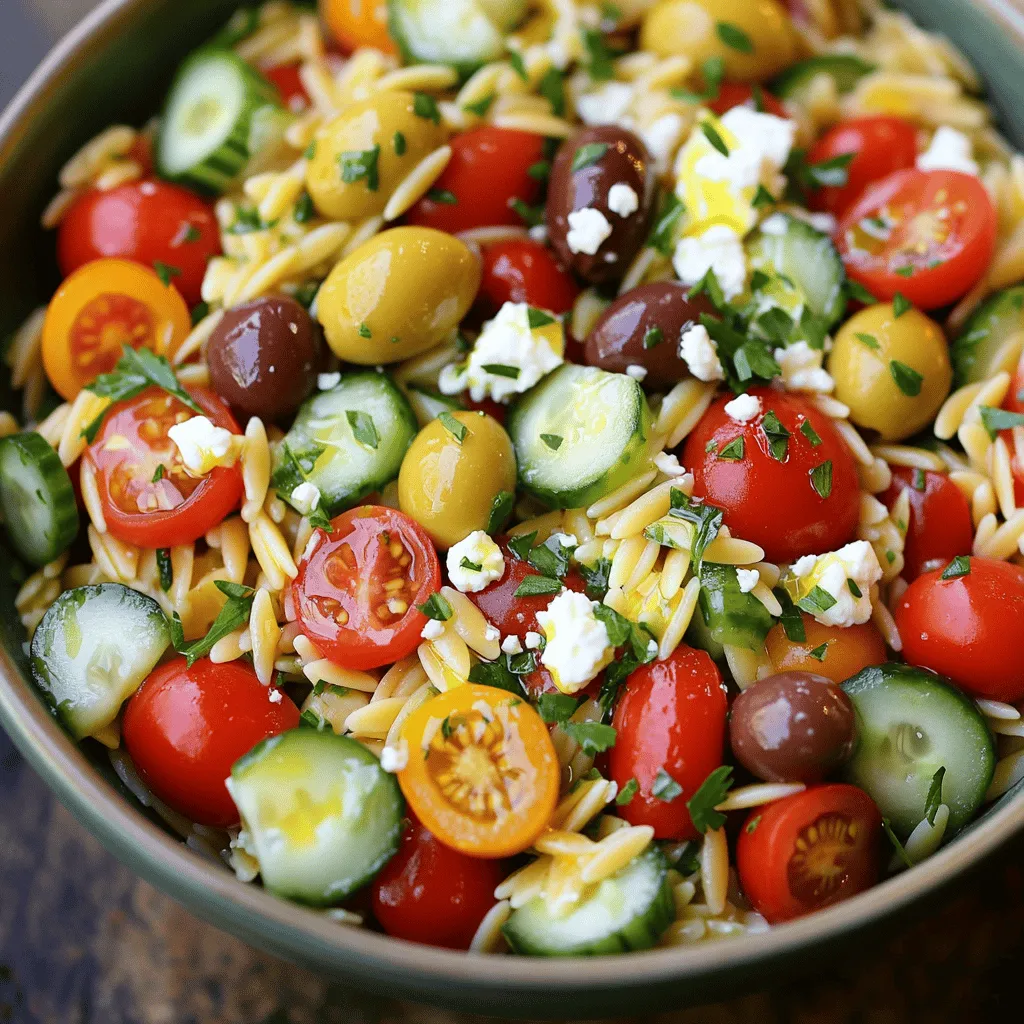
Greek Orzo Salad Fresh and Flavorful Delight
Are you ready to enjoy a dish that bursts with flavor? Greek Orzo Salad is a colorful mix of fresh
Are you ready to enjoy a dish that bursts with flavor? Greek Orzo Salad is a colorful mix of fresh
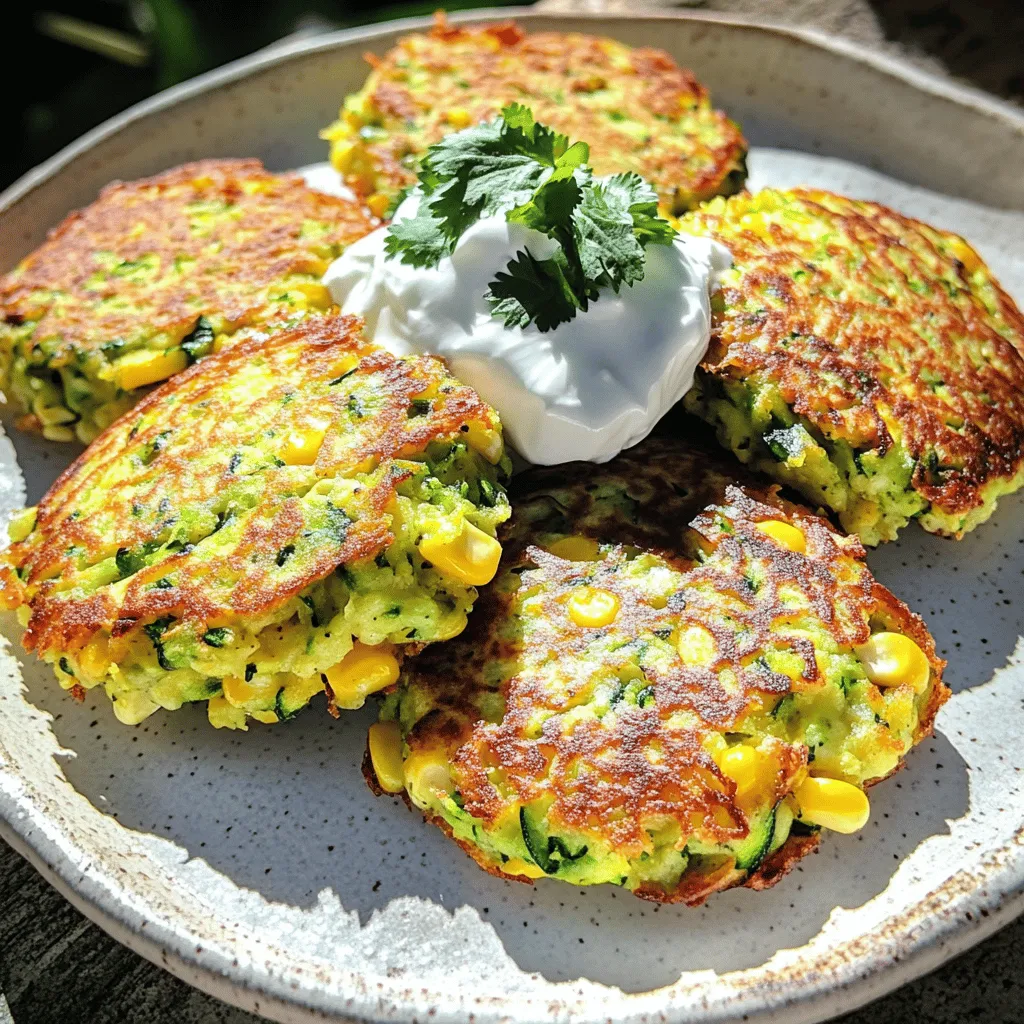
If you’re searching for a simple and tasty treat, look no further! These zucchini corn fritters are a delightful balance

Ready to warm up with a bowl of Easy Roasted Tomato Soup? This simple recipe bursts with flavor and is

Craving a tasty and easy meal? Look no further than grilled BBQ chicken skewers! This recipe combines juicy chicken, sweet

Are you ready to make a fun and tasty meal? Veggie quesadilla stacks are easy, flavorful, and perfect for any
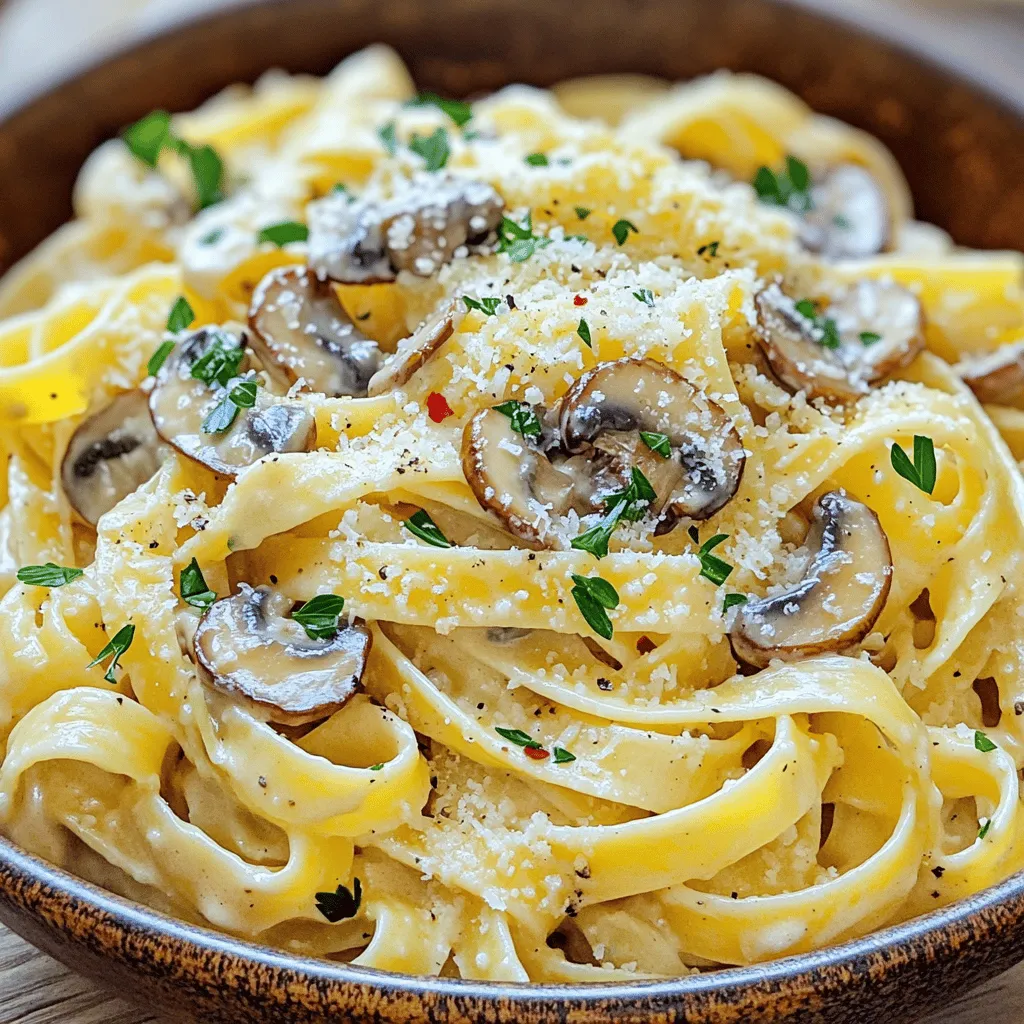
Craving a rich and creamy meal? Look no further than Creamy Garlic Mushroom Pasta! This dish is packed with flavor,
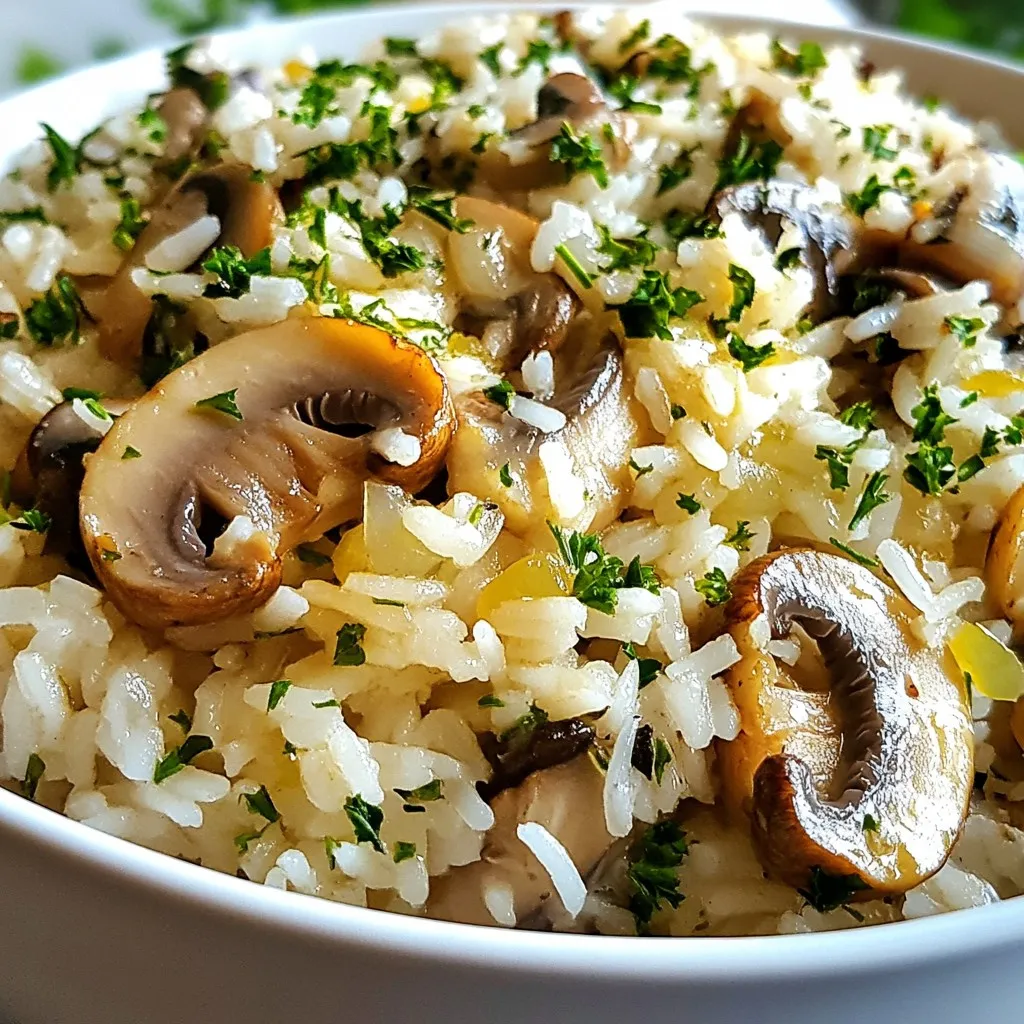
Are you ready to elevate your mealtime with a dish that’s bursting with flavor? Garlic Butter Mushroom Rice is not

Are you ready to spice up your dinner routine? These Spicy Cajun Chicken Wraps pack a punch of flavor and

Ready for a simple dinner that packs a punch? Sheet Pan Honey Garlic Chicken is your answer! This dish brings

Craving a sweet, tangy treat to cool you off this summer? Look no further! These Raspberry Lemonade Bars are your
