
Zesty Avocado Lime Dip Fresh and Flavorful Delight
Are you ready to elevate your snack game? This Zesty Avocado Lime Dip is fresh, flavorful, and super easy to
Are you ready to elevate your snack game? This Zesty Avocado Lime Dip is fresh, flavorful, and super easy to
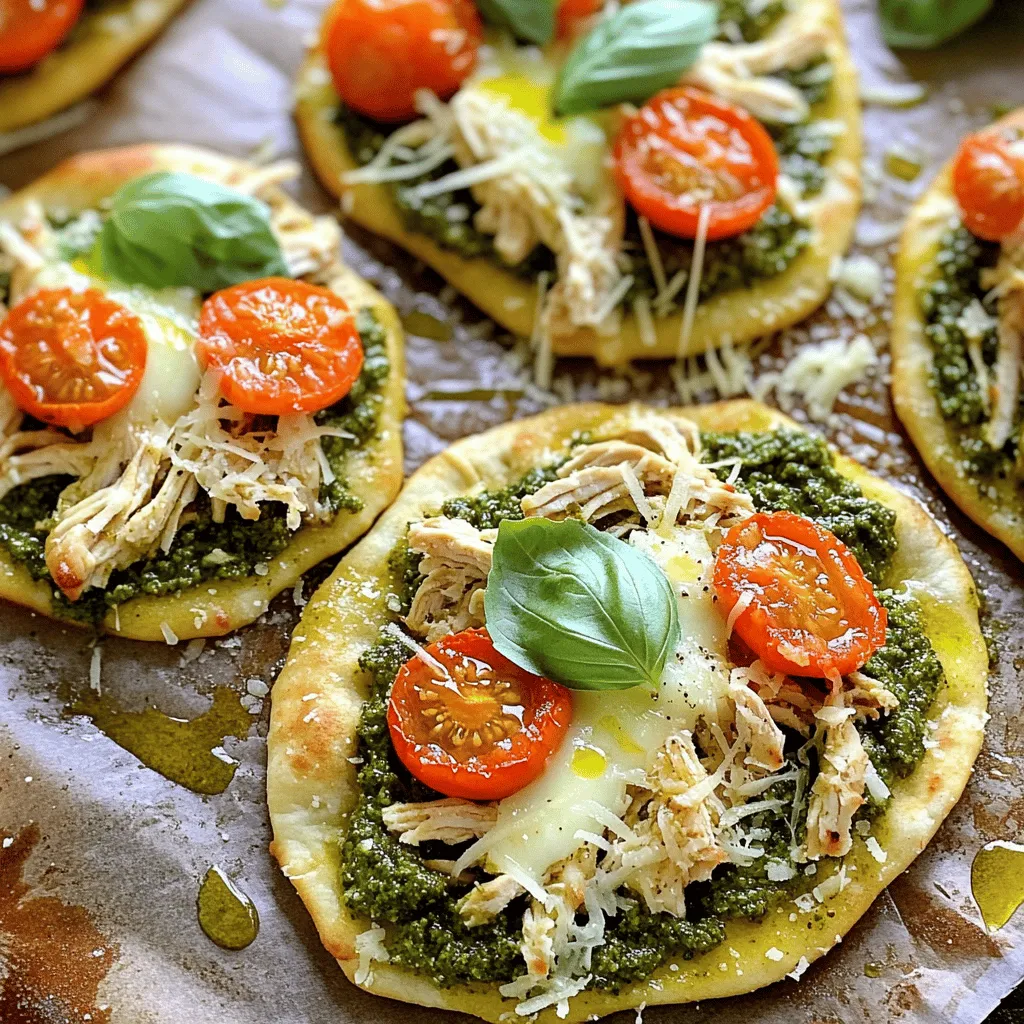
Looking for a quick and tasty meal? Look no further! My Easy Chicken Pesto Flatbread recipe is a winner for
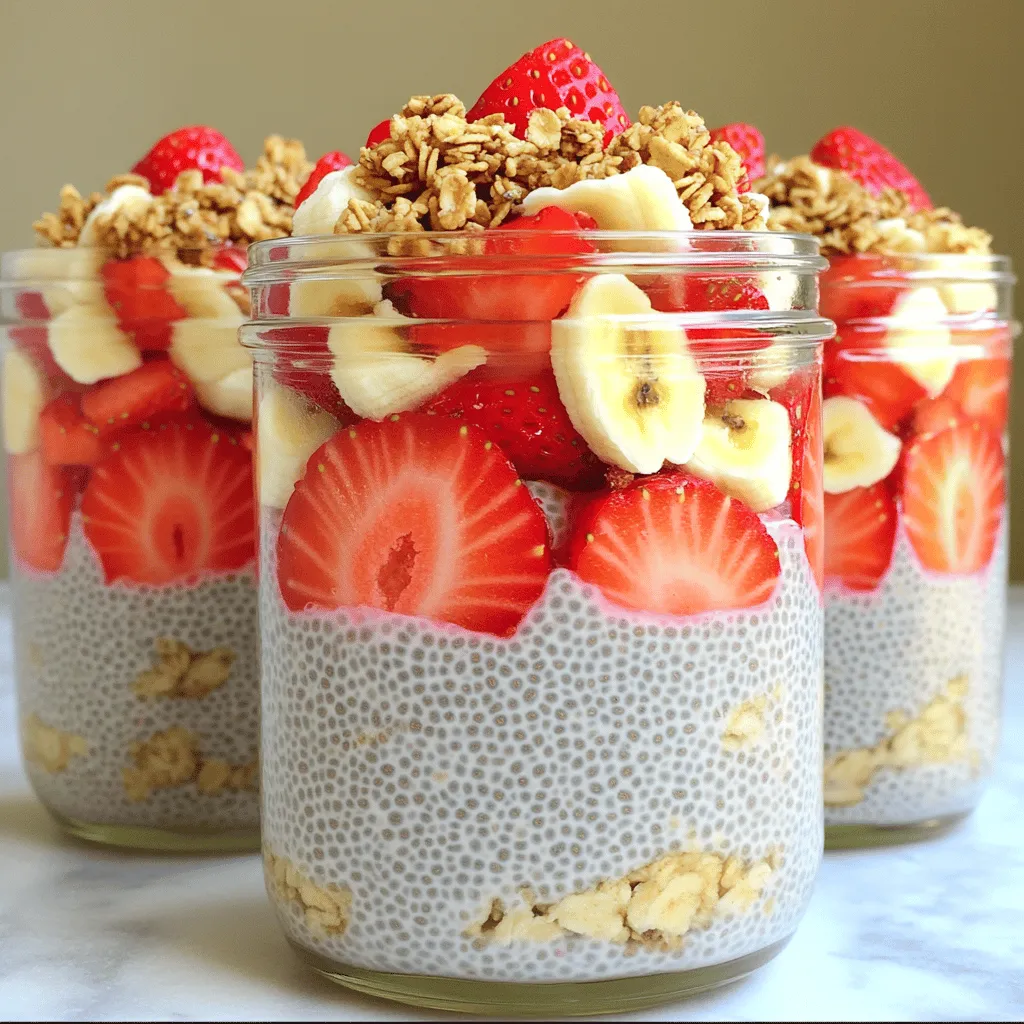
If you’re looking for a tasty and healthy treat, you’ve found it! Strawberry Banana Chia Pudding is simple to make
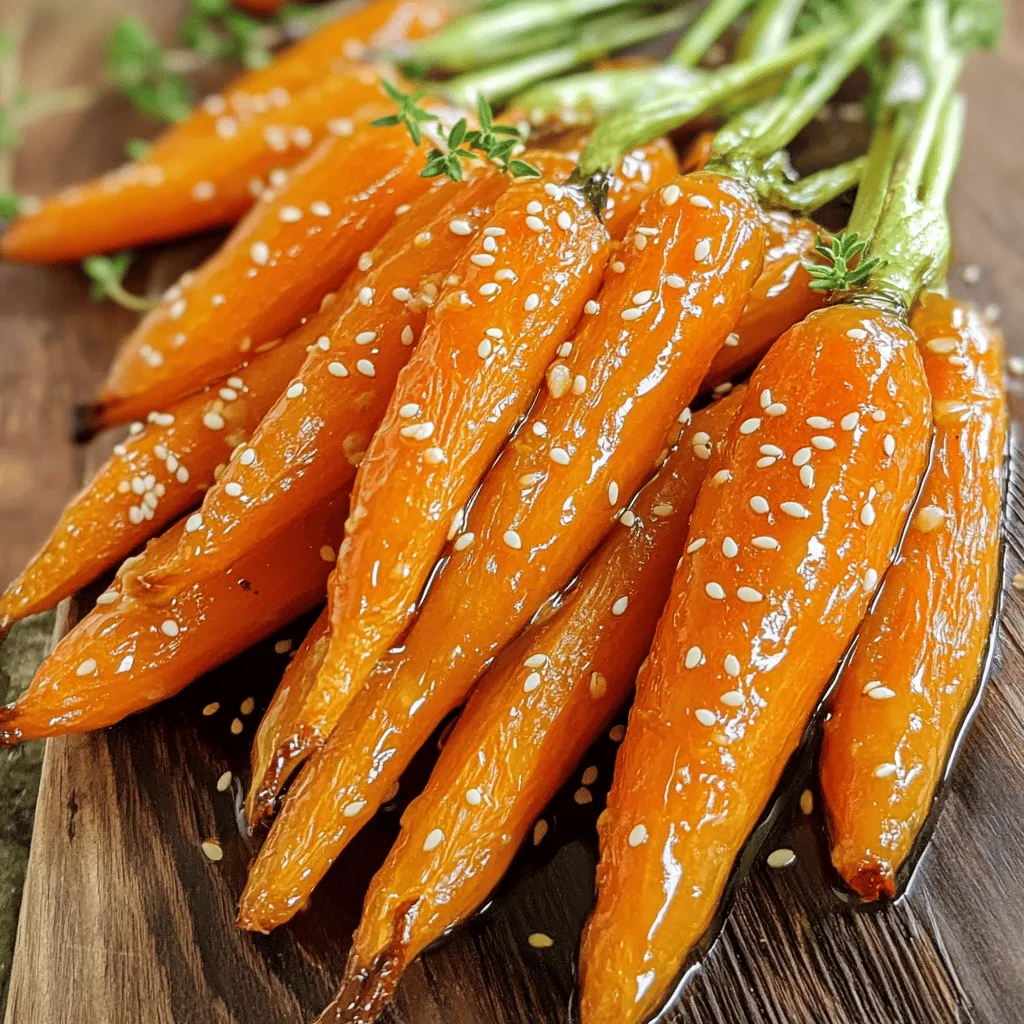
Looking for a simple yet delicious side dish? Honey Garlic Roasted Carrots are here to impress! With just a handful

If you crave a dessert that’s both zesty and moist, you’re in for a treat! This Lemon Yogurt Bundt Cake
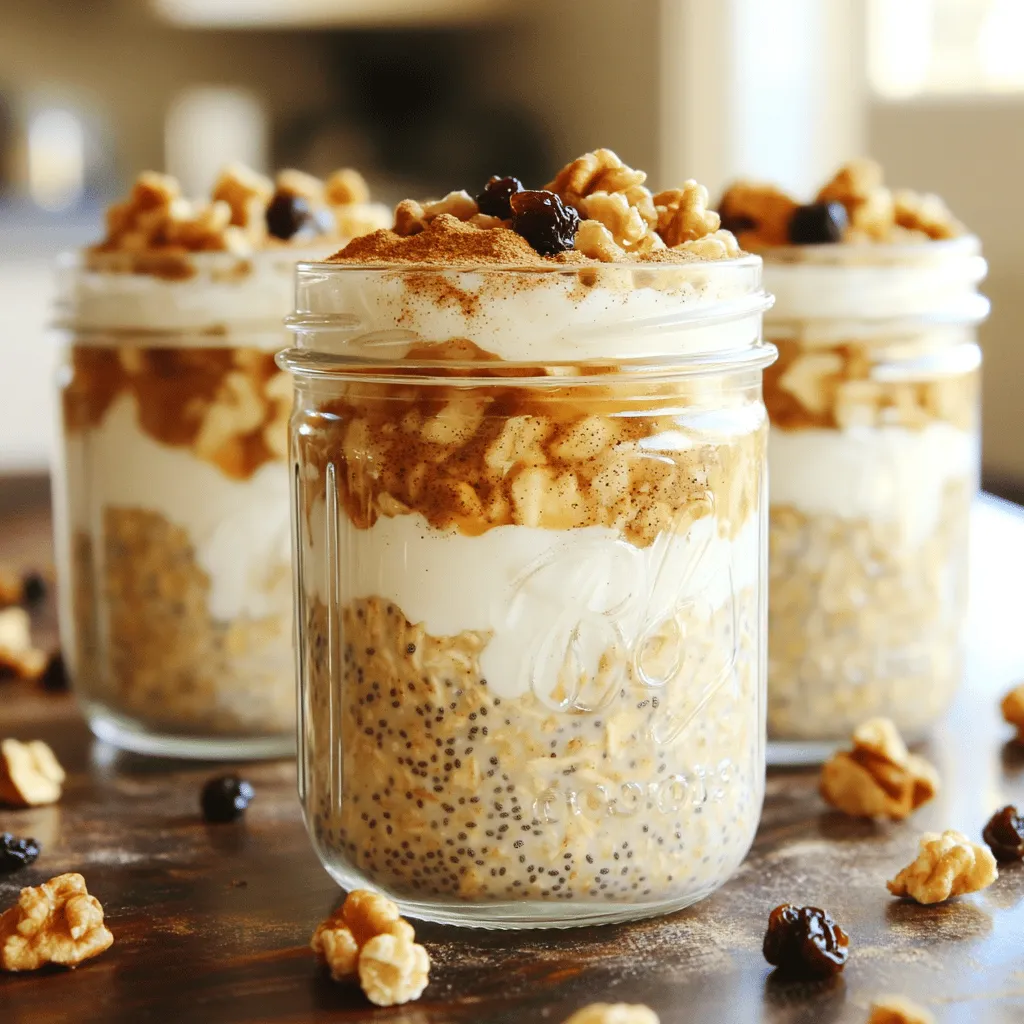
Start your day with joy and ease by making Cinnamon Roll Overnight Oats! This tasty breakfast recipe is not only
![To make Easy Sheet Pan Gnocchi, you will need a few simple ingredients. Here’s your list: - 1 pound gnocchi (store-bought or homemade) - 1 cup cherry tomatoes, halved - 1 bell pepper (choose your favorite color), sliced into strips - 1 medium zucchini, sliced into half-moons - 2 cups fresh spinach, roughly chopped - 3 tablespoons extra-virgin olive oil - 1 teaspoon garlic powder - 1 teaspoon Italian seasoning blend - Salt and freshly ground black pepper to taste - 1/2 cup feta cheese, crumbled - Fresh basil leaves, for a vibrant garnish Each ingredient adds flavor and color to the dish. Gnocchi serves as the heart, while the veggies bring freshness. Olive oil helps everything roast nicely. The feta cheese adds creaminess and tang. You can use this [Full Recipe] to guide your cooking. Enjoy the process of gathering these ingredients! This recipe shows you how to create a quick and tasty sheet pan gnocchi. You start by mixing the gnocchi and veggies, then bake to perfection. I shared tips on swaps, storage, and easy serving ideas. Whether you prefer a twist with cheese or different veggies, this dish offers many options. Easy cleanup makes this a win. Enjoy your tasty masterpiece!](https://spoonfulsavory.com/wp-content/uploads/2025/06/12f2c832-94a2-4066-b103-7bfc1ff756f4.webp)
Looking for a simple, flavorful meal? My Easy Sheet Pan Gnocchi recipe is just what you need! With just a
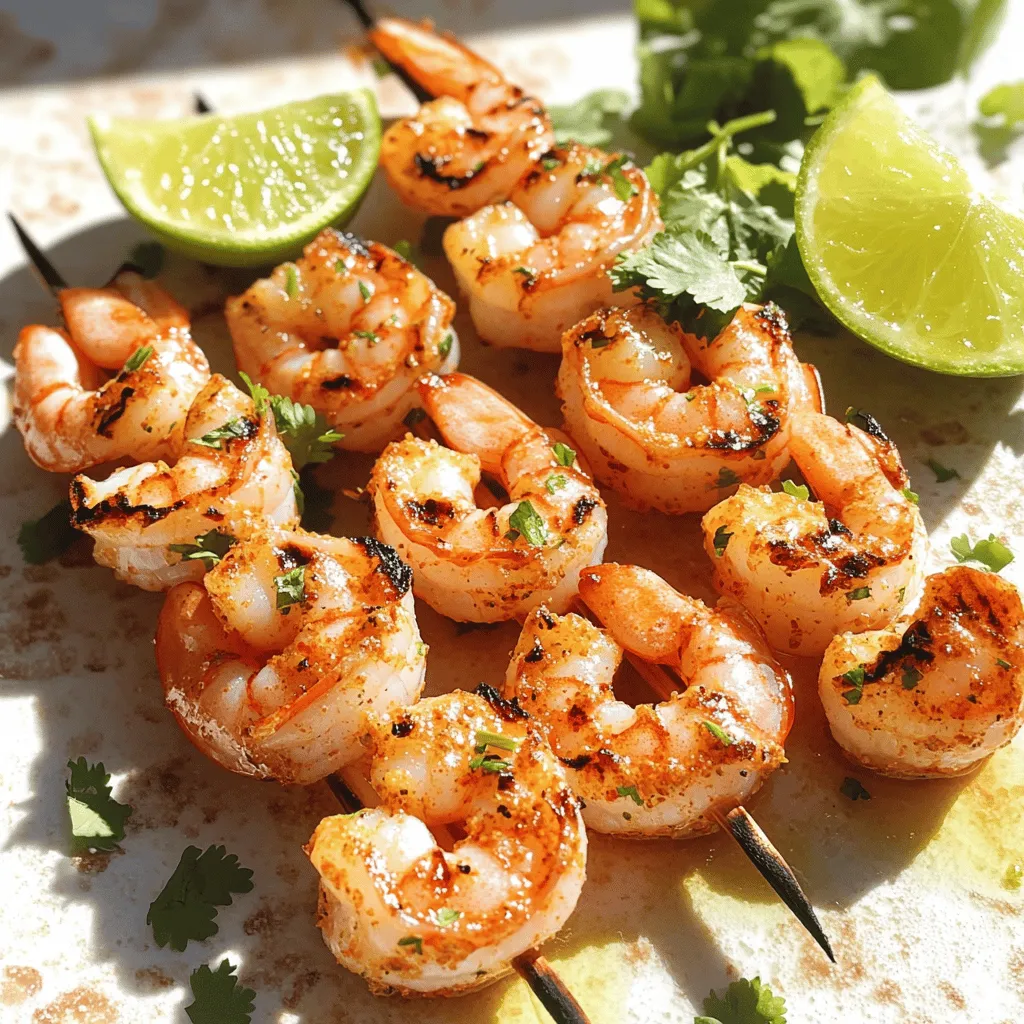
Are you ready to spice up your dinner routine? This Chili Lime Grilled Shrimp recipe brings bold flavors and a
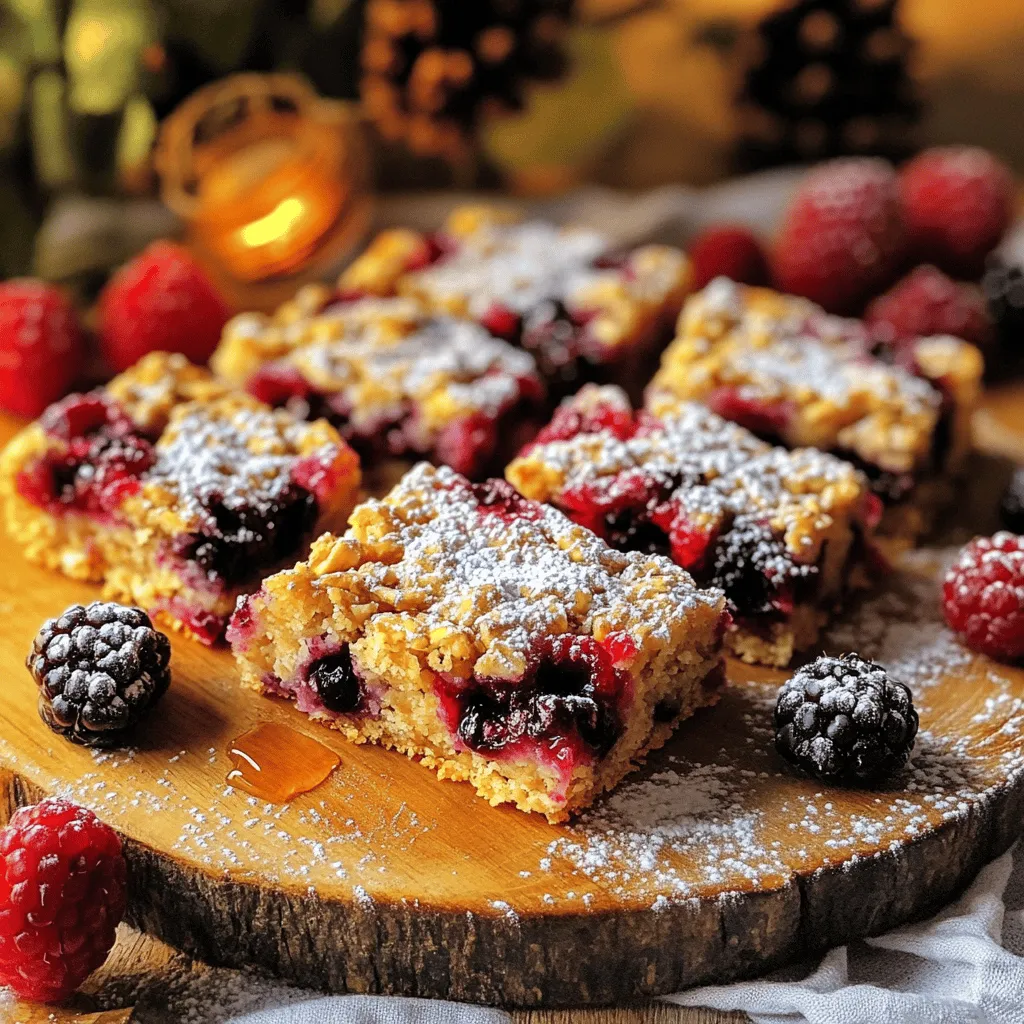
Looking for a quick, healthy snack that’s also delicious? You’ll love these Healthy Berry Oatmeal Bars! Packed with nutrients and
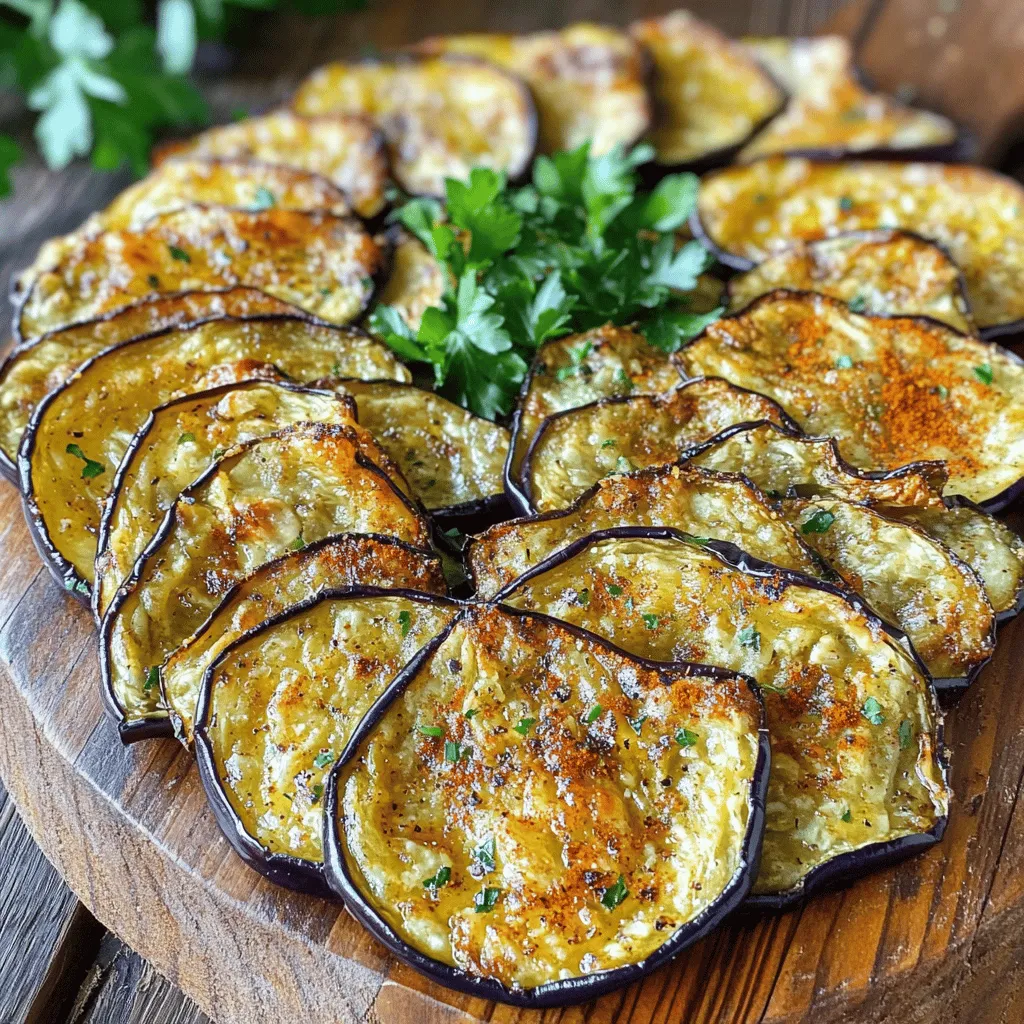
Looking for a tasty and healthy snack? Look no further! Baked eggplant chips are your answer. These crunchy delights are
