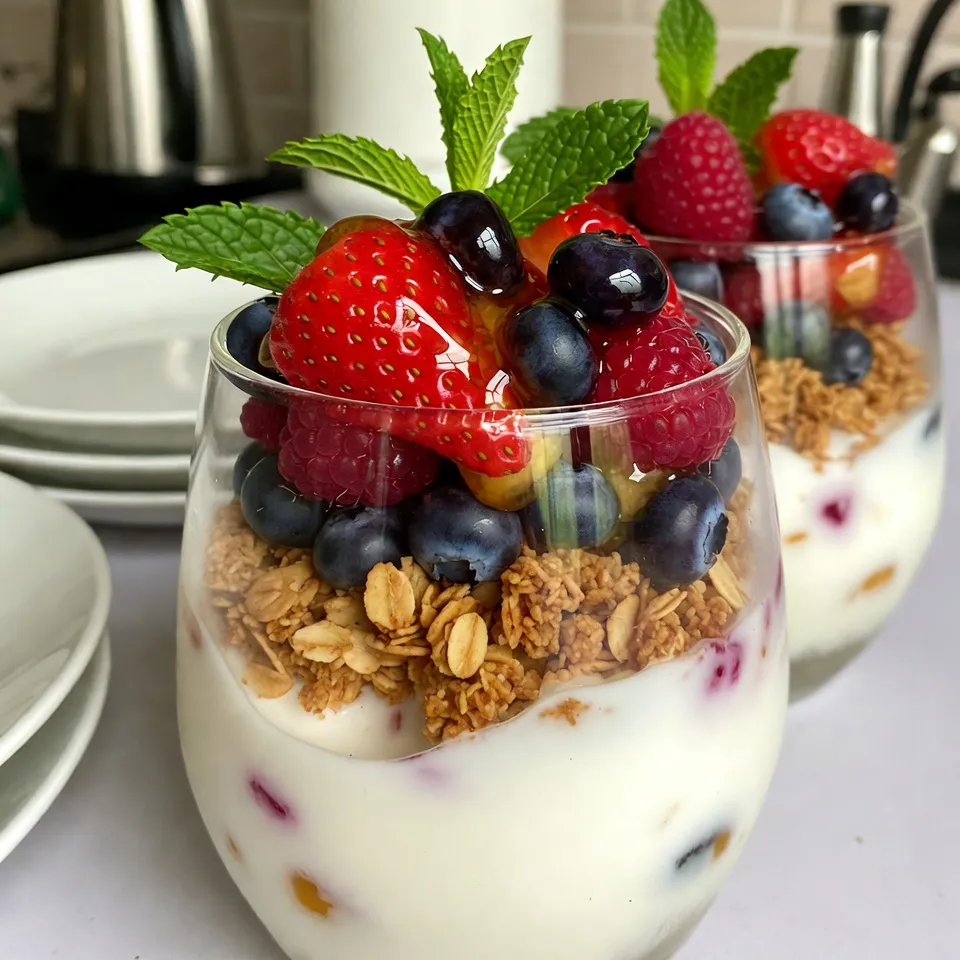
Honey Berry Yogurt Parfaits Fresh and Tasty Treat
Get ready to enjoy a fresh and tasty treat with my Honey Berry Yogurt Parfaits! This layered delight is a
Get ready to enjoy a fresh and tasty treat with my Honey Berry Yogurt Parfaits! This layered delight is a

Are you ready to dive into a world of sweet delight? Chocolate-dipped peanut butter cookies are a perfect treat for
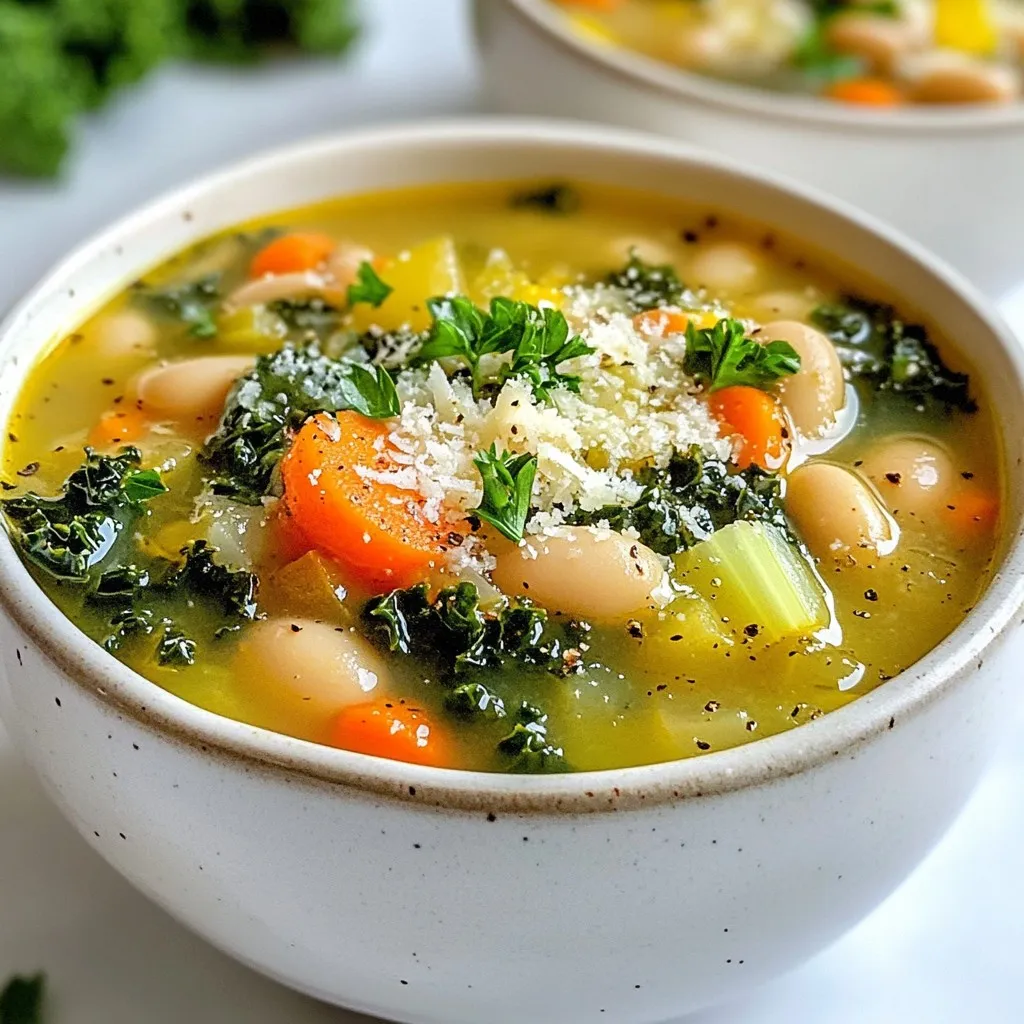
Looking for a dish that’s both tasty and simple? You’ve found it! Tuscan White Bean Soup is hearty, warm, and
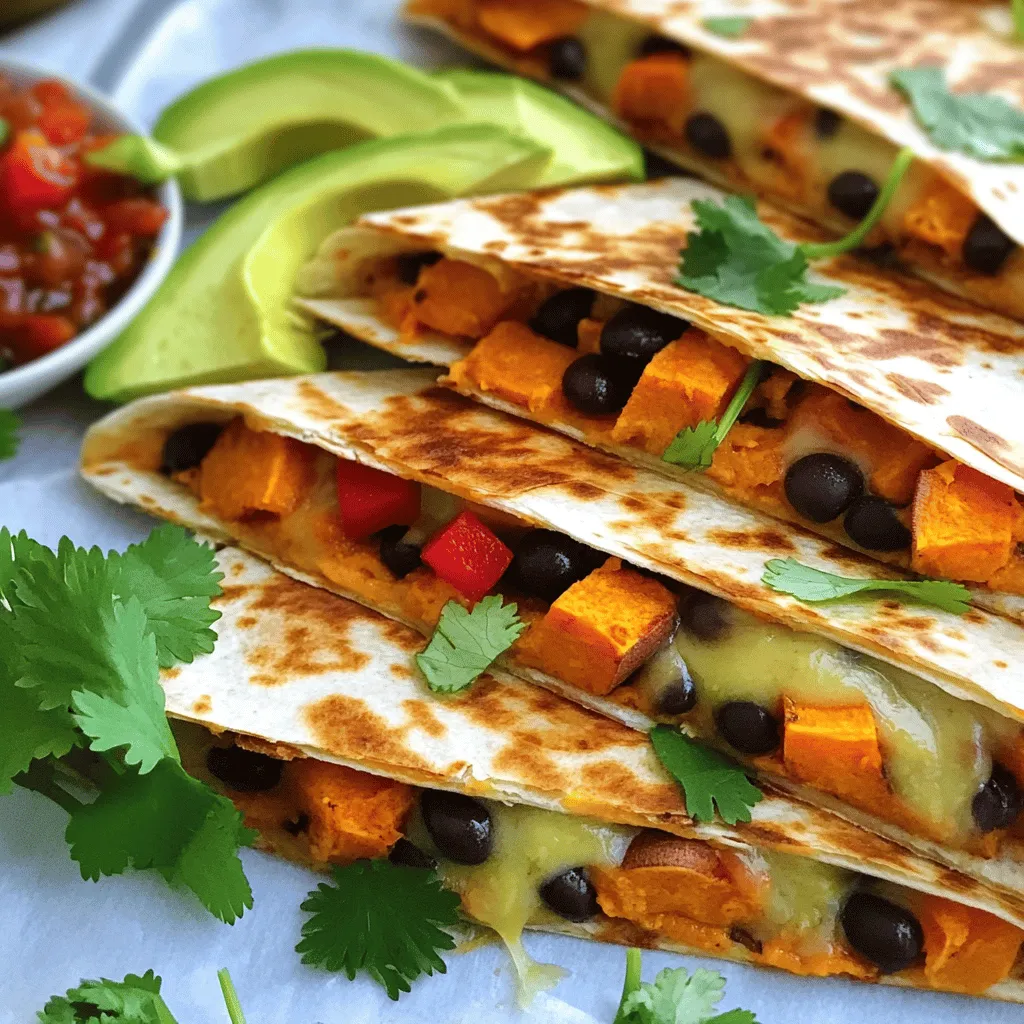
Craving a meal that’s both tasty and healthy? You’re in the right place! Sweet Potato Black Bean Quesadillas pack a
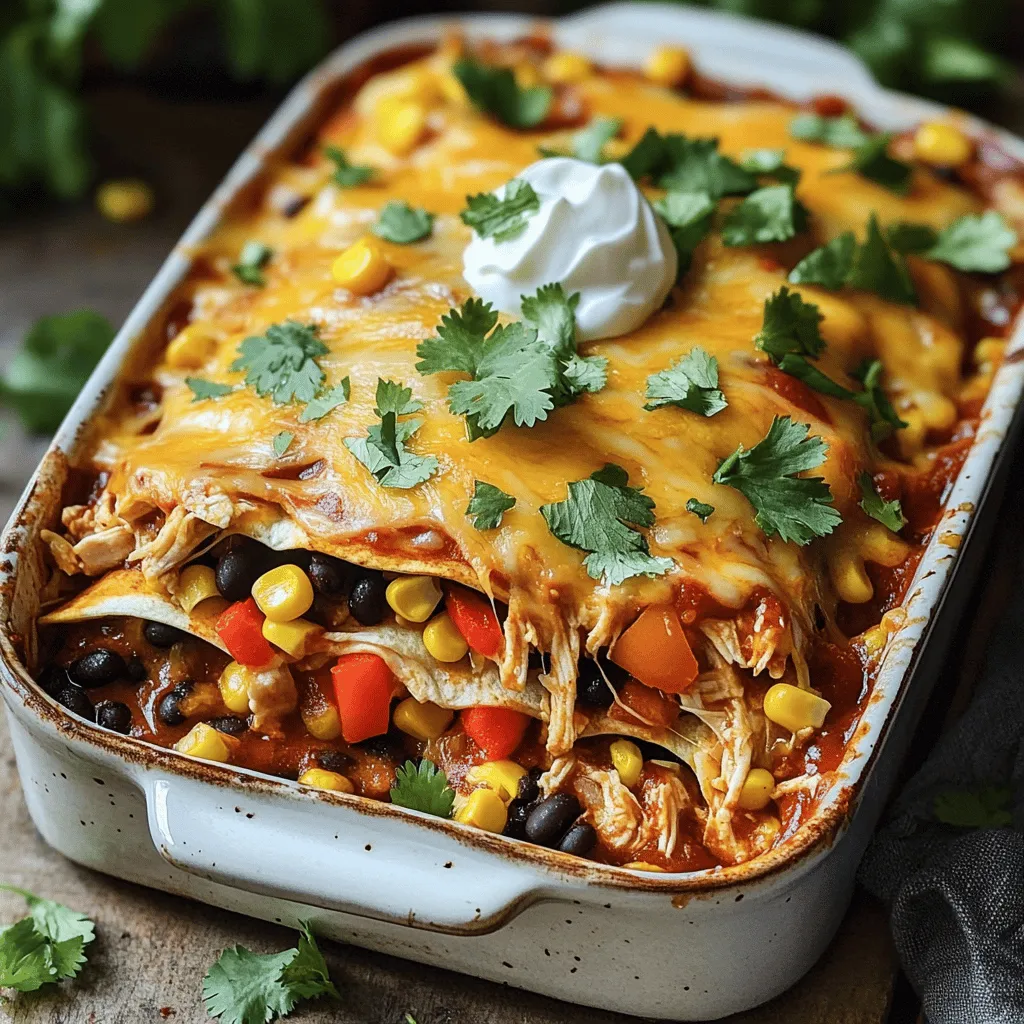
![To make these tasty wraps, you need a few simple ingredients. Here’s what to gather: - 2 cups cooked chicken, shredded - 1/2 cup peanut butter - 2 tablespoons soy sauce - 1 tablespoon fresh lime juice - 1 tablespoon honey or maple syrup - 1 teaspoon minced garlic - 1 teaspoon grated fresh ginger - 1 cup shredded carrots - 1 cup cucumber, cut into matchsticks - 1 red bell pepper, thinly sliced - 1/4 cup fresh cilantro, chopped - 4 large lettuce leaves - 1/4 cup chopped peanuts - Red pepper flakes (optional) You can change up the wraps to fit your taste. Here are some fun options: - Avocado slices for creaminess - Sliced scallions for a fresh bite - Cooked shrimp or tofu for a protein twist - Other veggies like bell peppers or radishes for crunch Now, let’s look at what makes these wraps good for you. Each wrap gives you: - Protein from the chicken and peanut butter - Healthy fats from peanut butter and nuts - Vitamins from fresh veggies like carrots and cucumbers - A balance of carbs from honey and veggies These wraps are not just delicious; they also pack a nutritious punch. Enjoy them for lunch or dinner, and feel good about what you eat! For more details, check the Full Recipe. First, gather your ingredients. You need peanut butter, soy sauce, lime juice, honey, minced garlic, and grated ginger. In a bowl, mix the peanut butter, soy sauce, lime juice, honey, garlic, and ginger. Whisk until smooth. Taste it. If you want it sweeter, add more honey. This sauce packs a lot of flavor and is the heart of your wraps. Next, take your cooked chicken. I recommend using grilled or rotisserie chicken for the best taste. In a clean bowl, drizzle half of your peanut sauce over the chicken. Toss it well to coat every piece. This step adds depth to your filling. Set the rest of the sauce aside for later use. Now it's time to wrap! Take a large lettuce leaf and lay it flat. Spoon the peanut sauce-coated chicken into the center. On top of the chicken, add shredded carrots, cucumber slices, and red bell pepper strips. Sprinkle some fresh cilantro for a burst of flavor. If you like spice, add red pepper flakes. Carefully fold the sides of the lettuce around the filling. Secure it with a toothpick if needed. Repeat with the rest of your ingredients. Serve with the leftover peanut sauce on top or as a dip. Enjoy your tasty and easy meal! For the full recipe, check out the detailed guide. To get the best texture in your wraps, use fresh lettuce. Romaine or Butterhead works well. These types hold the filling nicely without tearing. Make sure the chicken is shredded finely. This helps it mix well with the other ingredients. If you want a crunch, add chopped peanuts on top. You can boost the flavor in many ways. Try adding more lime juice for extra zing. If you like it spicy, toss in red pepper flakes. Want a sweeter taste? Add more honey or maple syrup to your sauce. You can also swap the peanut butter for almond butter. This gives a nice twist to the dish. Feel free to mix in other veggies like bell peppers or green onions for added crunch and flavor. One mistake is not tasting the sauce. Always check if it's sweet or salty enough for your liking. Another mistake is overfilling the wraps. If you pack them too tight, they may break. Lastly, don’t skip the resting time. Let the wraps sit for a few minutes before serving. This helps the flavors blend well. For the full recipe, check out the main article. {{image_4}} You can make these wraps vegetarian or vegan with a few simple swaps. Instead of chicken, use cooked tofu or tempeh. Both options soak up flavors well and give you a protein boost. For the peanut sauce, ensure you use maple syrup instead of honey. This keeps things plant-based. You can also add more veggies like bell peppers, zucchini, or even avocado for creaminess. If you need gluten-free wraps, make sure to use tamari instead of soy sauce. Tamari is a great gluten-free alternative that keeps the taste intact. You can also look for gluten-free wraps or lettuce leaves as your base. These wraps are naturally gluten-free, making it easy to enjoy without worry. Feel free to get creative with your fillings. Try shredded cabbage for crunch or add sliced radishes for a peppery kick. You could also include fresh herbs like mint or basil for a flavor boost. Other proteins like shrimp or duck can add a new twist. If you want it spicy, add some jalapeños or sriracha to the chicken mixture. The options are endless! For the complete recipe, check out the Full Recipe. To store leftover wraps, place them in an airtight container. This keeps them fresh. You can keep them in the fridge for up to three days. If you want to keep them longer, consider freezing them. When freezing wraps, wrap each one in plastic wrap tightly. Then, place the wrapped wraps in a freezer-safe bag. This helps prevent freezer burn. You can freeze them for up to one month. Thaw them in the fridge overnight when you are ready to eat. To reheat the wraps, use a microwave or an oven. If using a microwave, heat for 30 seconds, then check. If using an oven, heat at 350°F for about 10 minutes. This warms them without making them soggy. If you want to keep the crunch, consider reheating without the sauce. You can drizzle the sauce on right before eating. Enjoy your Thai Peanut Chicken Wraps, even on day two! Check out the Full Recipe to make them fresh again. Yes, you can use other nut butters. Almond butter works great. Cashew butter is another tasty option. Each nut butter gives a unique flavor. Try them to find your favorite. Just keep the peanut butter's creamy texture in mind. You want your sauce smooth and easy to mix. To keep your wraps crisp, use fresh lettuce. Romaine or Butterhead is best. Avoid wet fillings. Pat veggies dry with a paper towel. You can also layer a slice of cucumber between the filling and leaf. This acts as a barrier. Serve the wraps right after making them for the best crunch. Many side dishes work well with these wraps. Here are some great options: - Fresh fruit salad - Thai cucumber salad - Crunchy veggie sticks - Jasmine rice or coconut rice - Edamame beans These sides add color and flavor to your meal. They also help balance the rich peanut sauce. For the full recipe and more tips, check out the [Full Recipe]. Thai Peanut Chicken Wraps are tasty and simple to make. We discussed key ingredients, including chicken and peanut sauce. You learned how to prepare the filling and assemble the wraps. I shared tips for texture and flavor customization. You can explore vegan and gluten-free options too. Remember to store leftovers properly for later meals. Avoid common mistakes for the best results. Enjoy making these wraps and feel free to change them to suit your taste!](https://spoonfulsavory.com/wp-content/uploads/2025/06/492335f3-a4f7-49e7-a867-3f40499f0067.webp)
If you’re looking for a quick meal that’s packed with flavor, Thai Peanut Chicken Wraps are the answer! I’ll show
Do you want a quick and tasty dinner? My Easy Chicken Enchilada Bake is the answer! It combines shredded chicken,
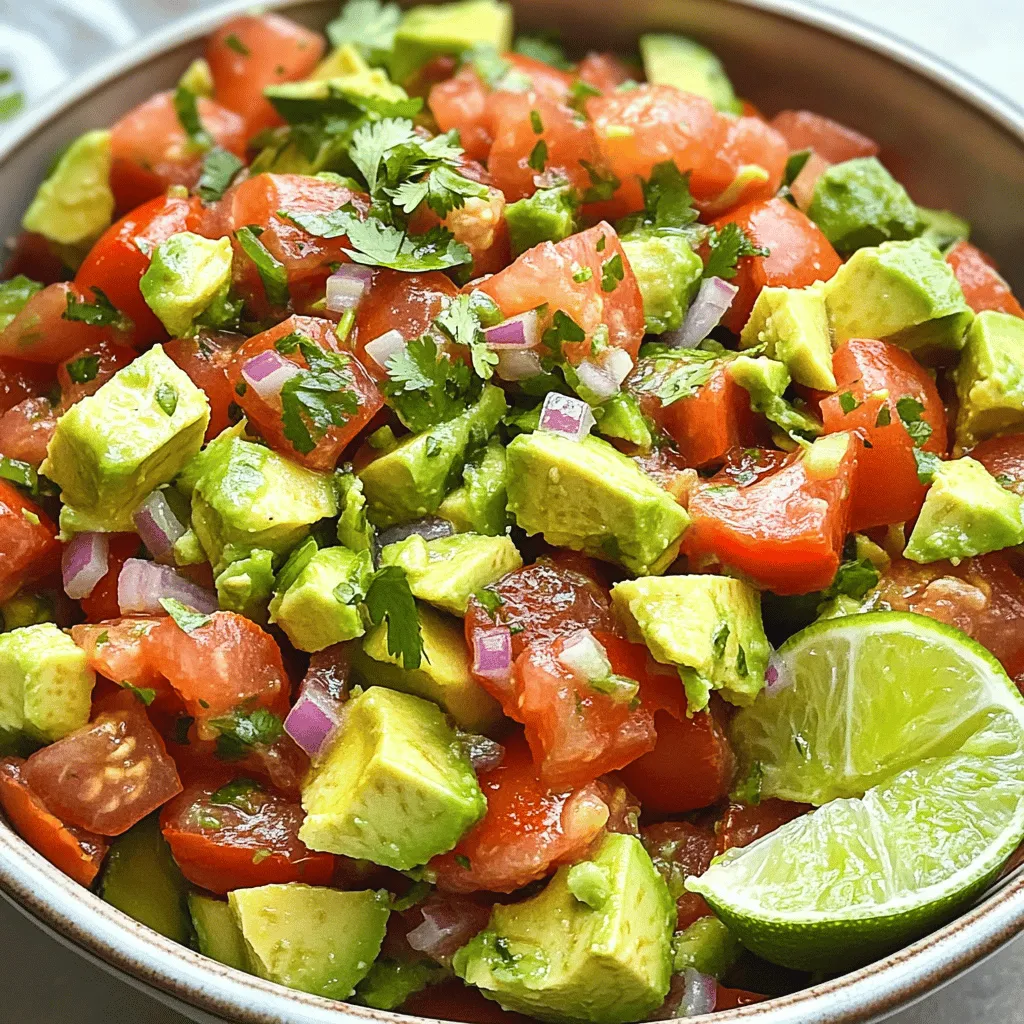
Looking for a quick, tasty dish that’s easy to make? This Simple Tomato Avocado Salad is a fresh and flavorful
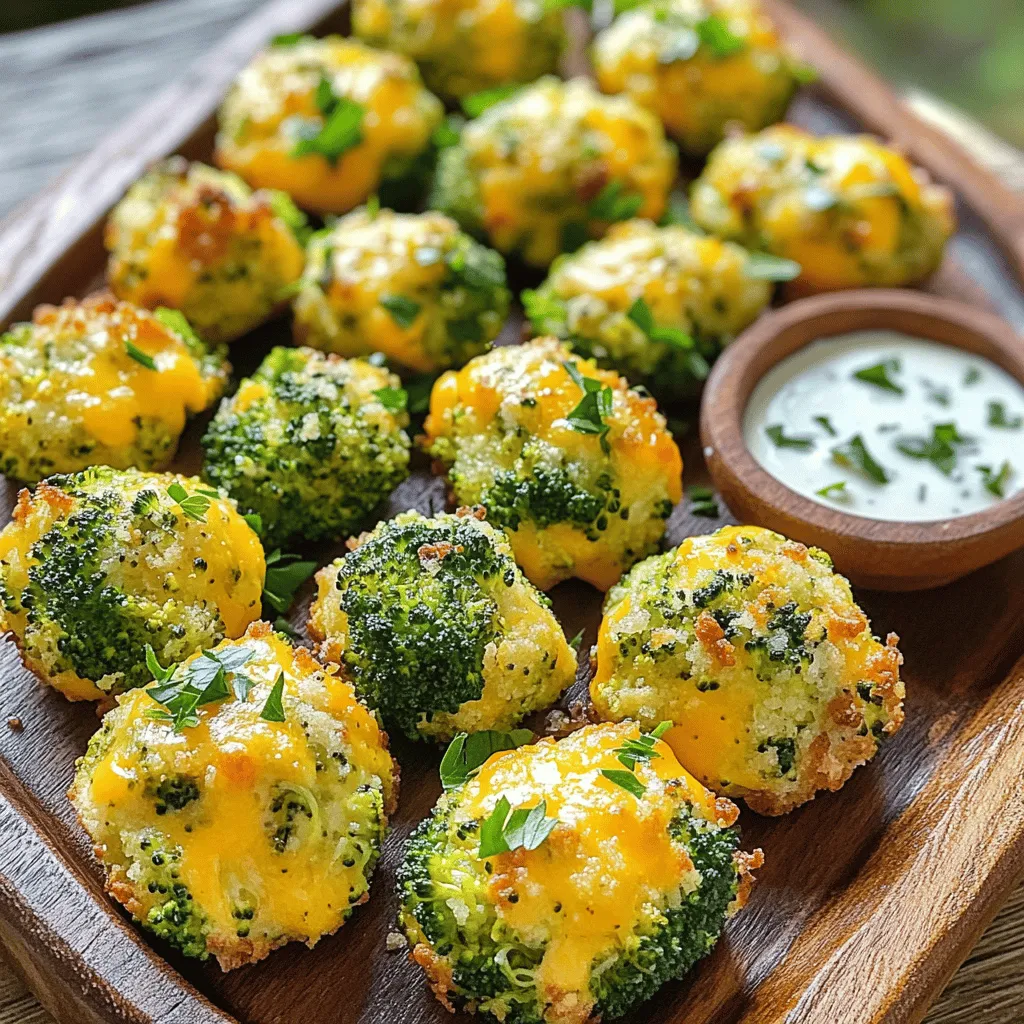
Are you ready to turn boring veggies into a tasty snack? My Cheesy Broccoli Bites are flavorful, easy to make,
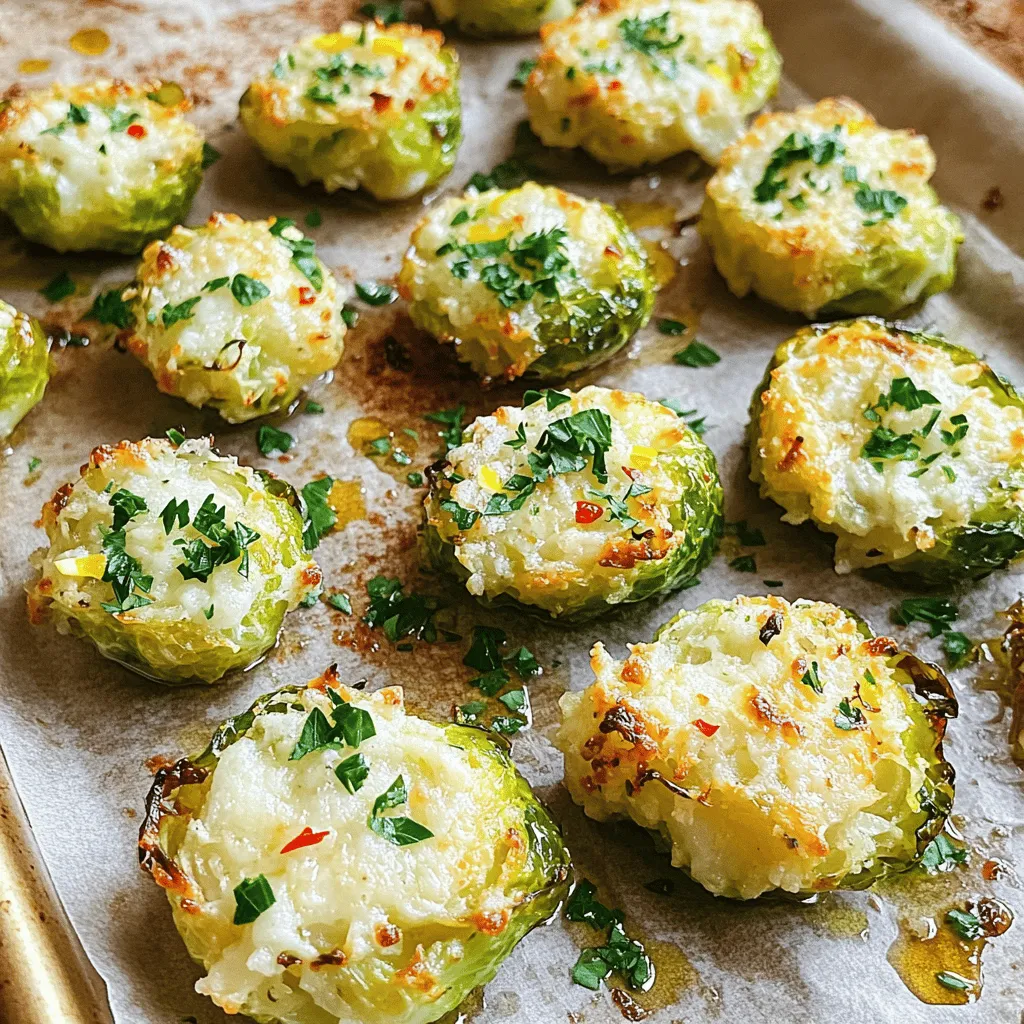
If you want an easy side dish that’s packed with flavor, look no further! Smashed Brussels Sprouts are crispy, savory,

Looking for a delicious way to stay cool and healthy? Try a Mango Dragonfruit Smoothie! This colorful treat blends ripe
