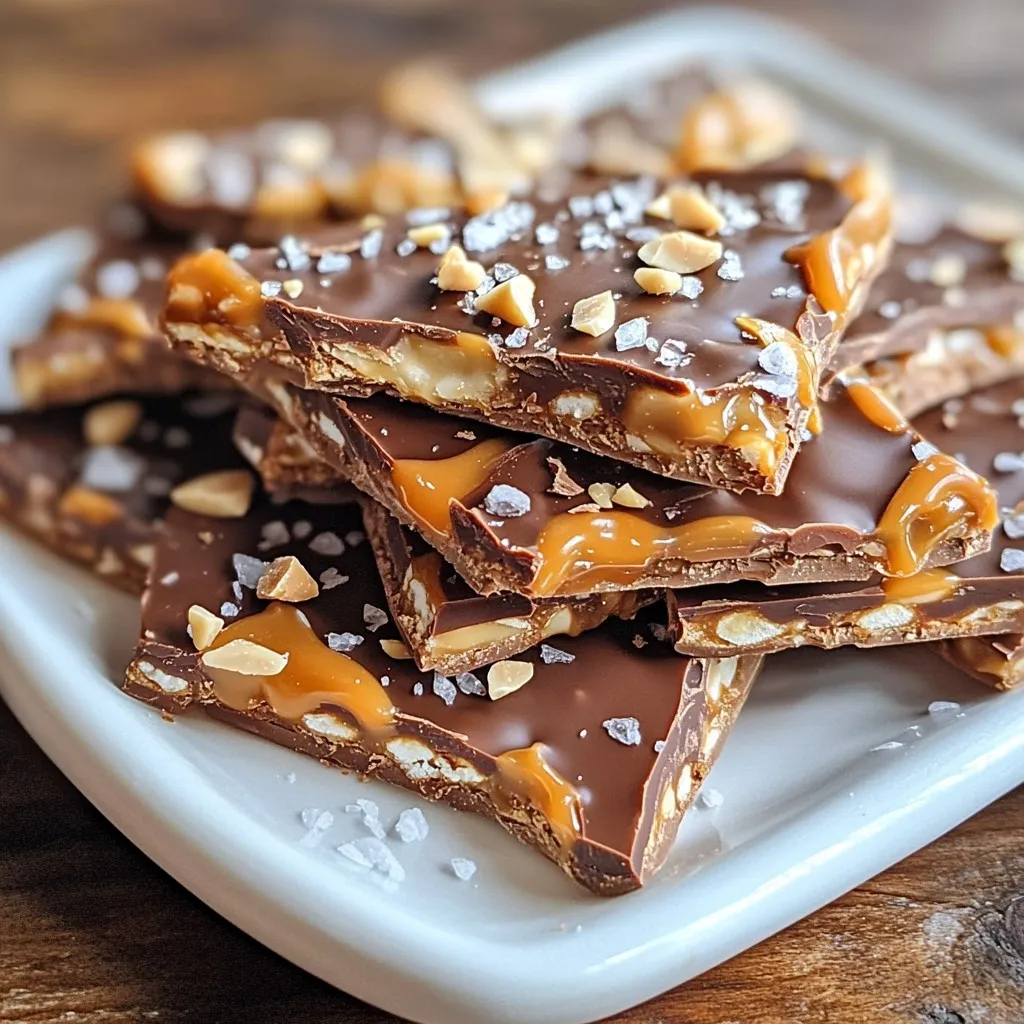
Chocolate Caramel Pretzel Bark Simple and Tasty Treat
Indulge your sweet tooth with my easy Chocolate Caramel Pretzel Bark! This tasty treat combines crunchy pretzels, creamy chocolate, and
Indulge your sweet tooth with my easy Chocolate Caramel Pretzel Bark! This tasty treat combines crunchy pretzels, creamy chocolate, and
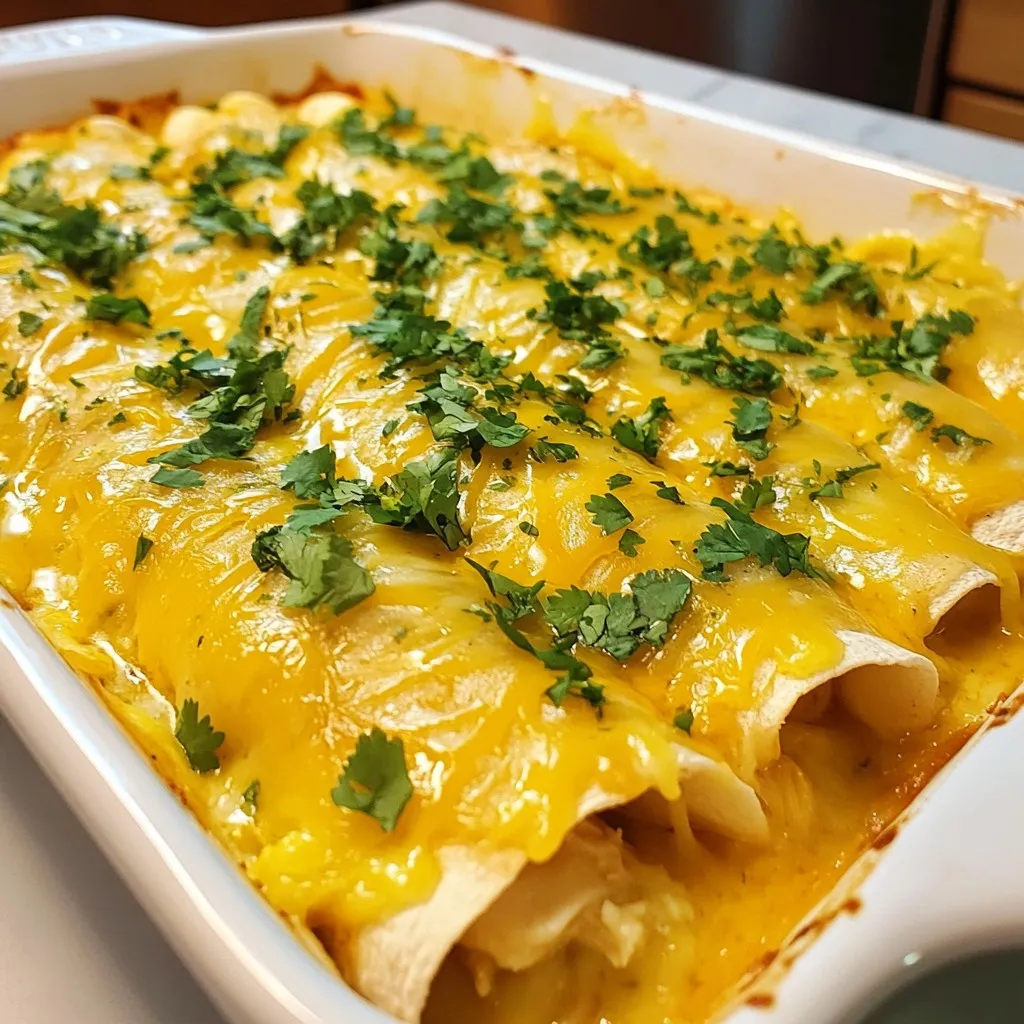
Looking for a delicious twist on classic enchiladas? You’re in the right place! Honey Lime Chicken Enchiladas combine tender chicken,
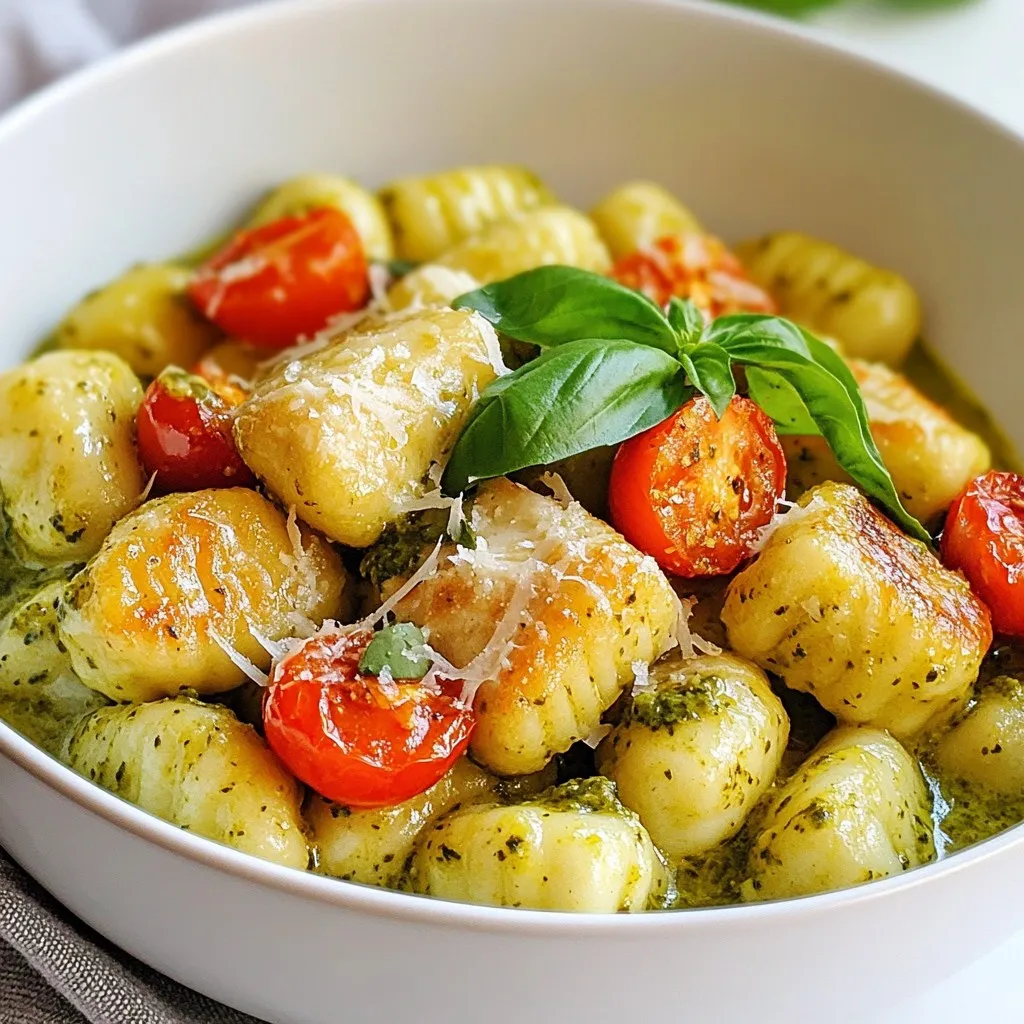
If you love creamy pasta dishes that burst with flavor, you’re in for a treat! My Creamy Pesto Chicken Gnocchi
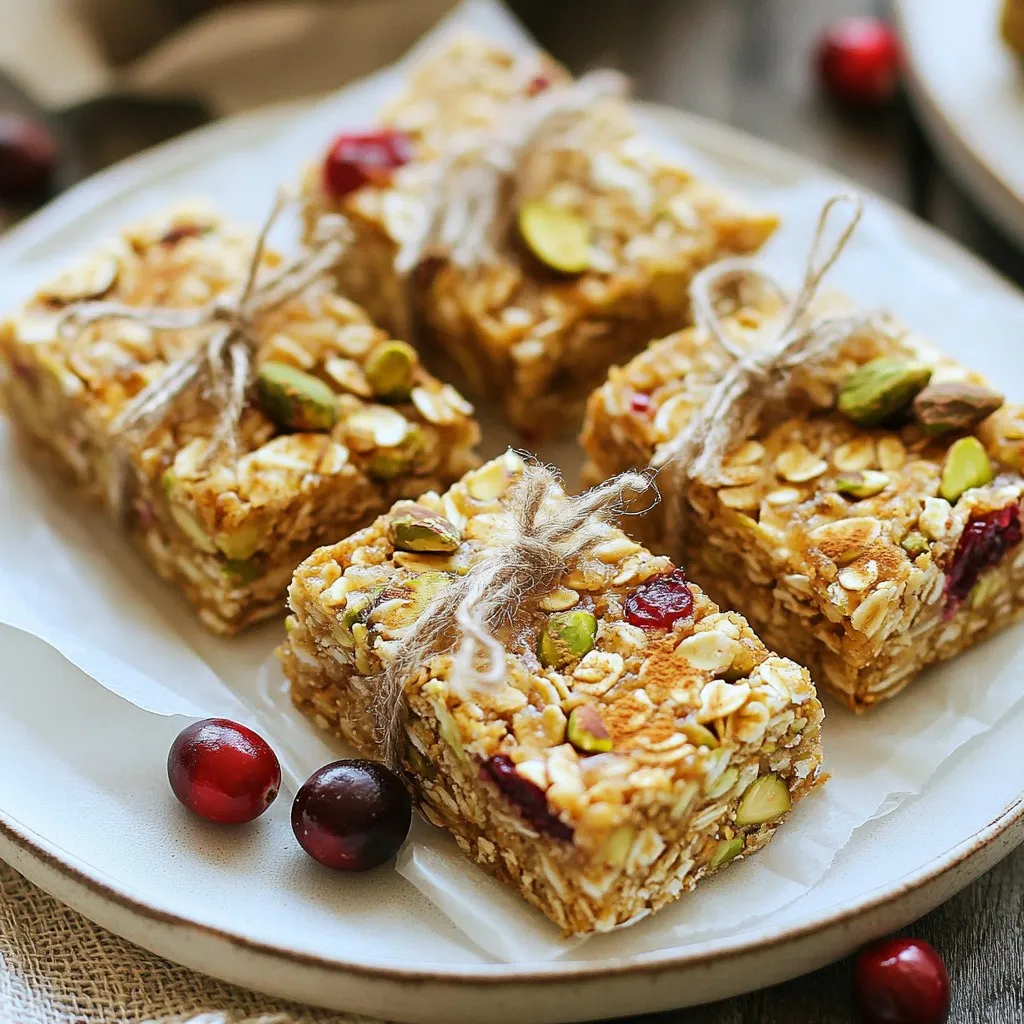
Looking for a quick, healthy snack? Try my Cranberry Pistachio Energy Bars! These bars are packed with nutrition and delicious
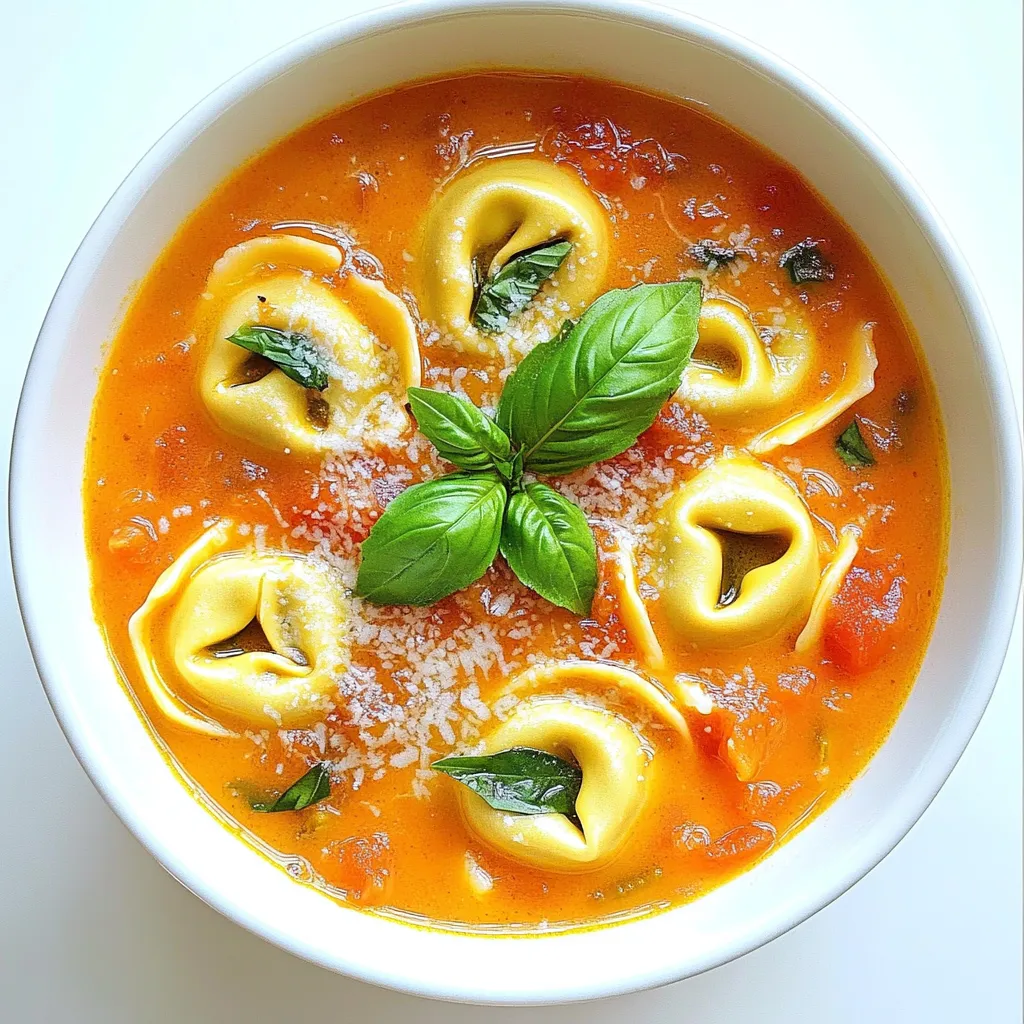
Looking for a warm, tasty meal that’s super easy to make? Creamy Tomato Tortellini Soup hits all the right notes!

Looking for a refreshing drink that bursts with flavor? A Mango Dragonfruit Smoothie is the perfect choice. It combines sweet

Get ready to excite your taste buds with Peppermint White Chocolate Muddy Buddies! This festive treat combines crunchy rice cereal
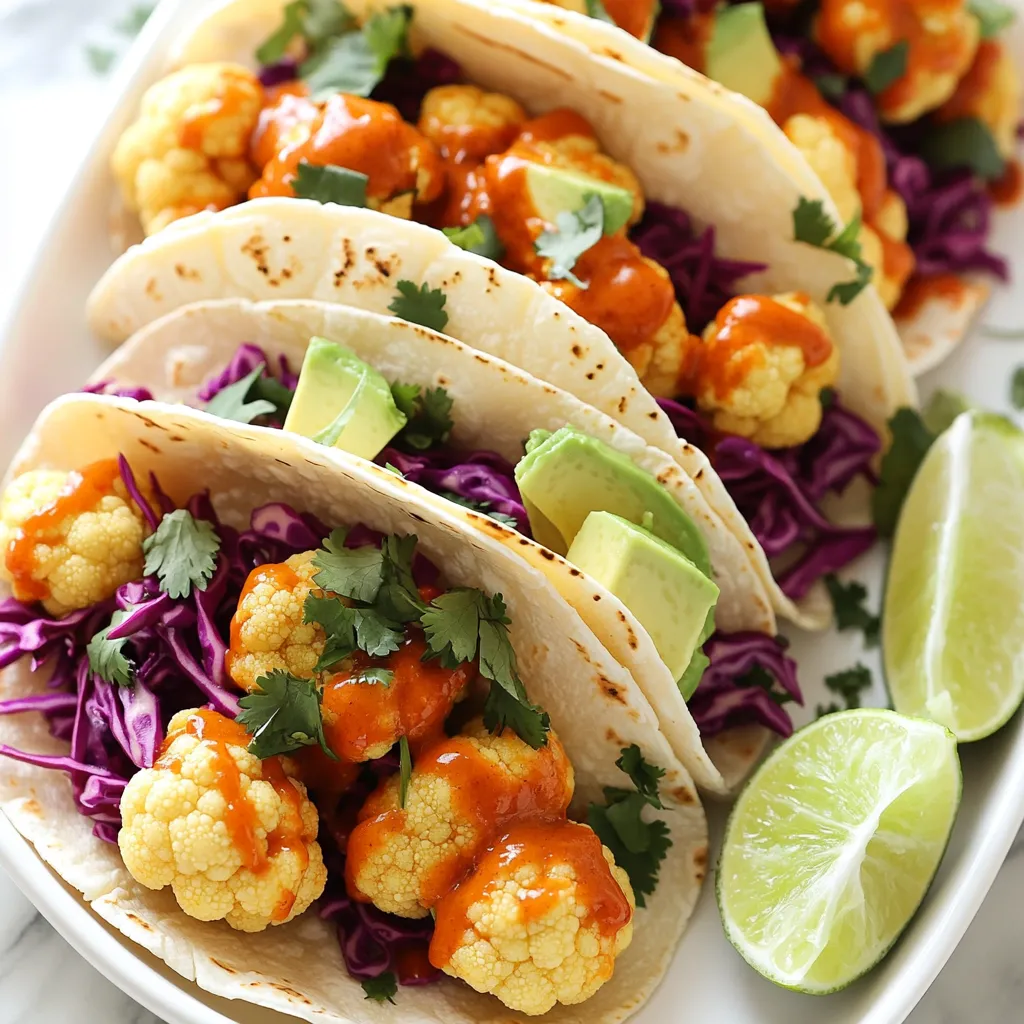
Are you ready to spice up your taco night with a twist? These Air Fryer Buffalo Cauliflower Tacos are not

Are you ready to bake the most delightful Chai Spiced Sugar Cookies? This soft and flavorful recipe will fill your

Get ready to flip your breakfast game with my Lemon Ricotta Pancakes! These pancakes are fluffy and packed with zesty
