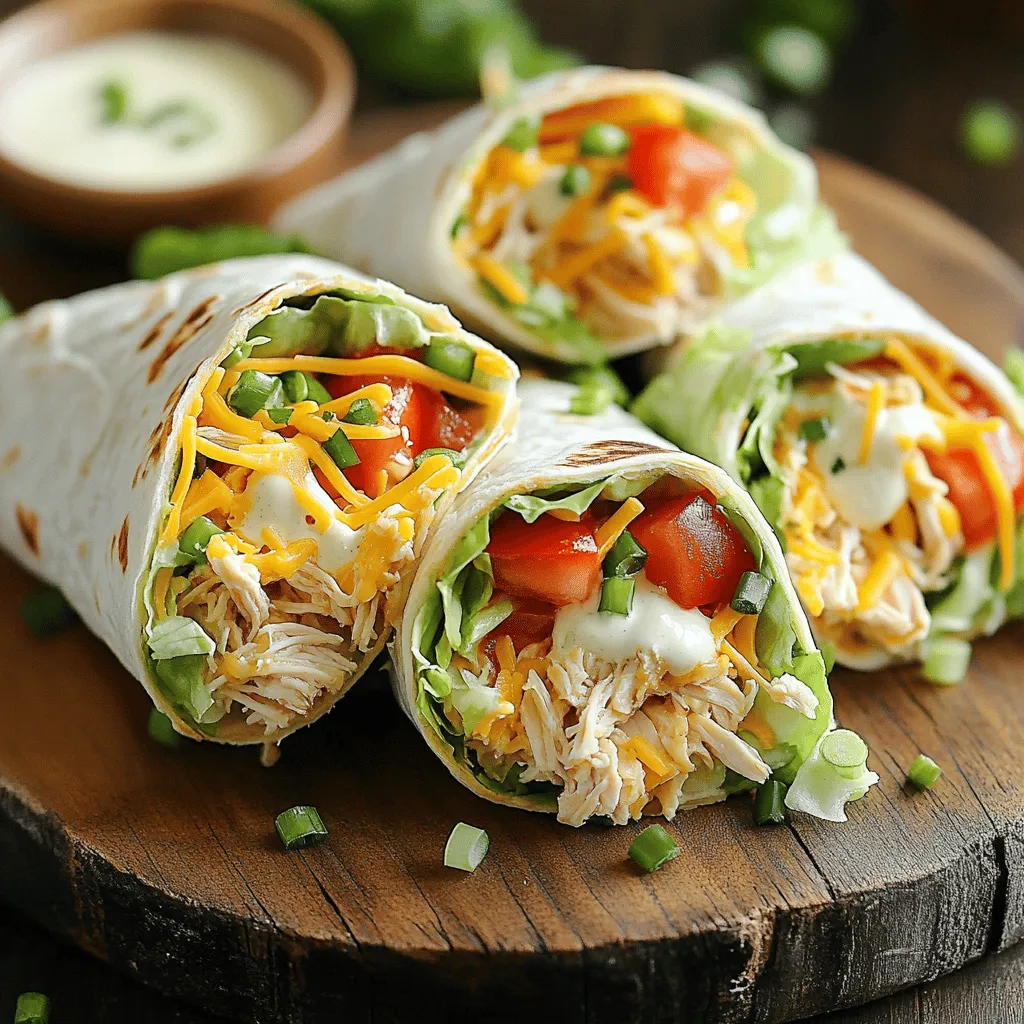
Easy Chicken Ranch Wraps Quick and Flavorful Meal
Looking for a quick and tasty meal? Easy Chicken Ranch Wraps are your answer! These wraps combine juicy chicken with
Looking for a quick and tasty meal? Easy Chicken Ranch Wraps are your answer! These wraps combine juicy chicken with
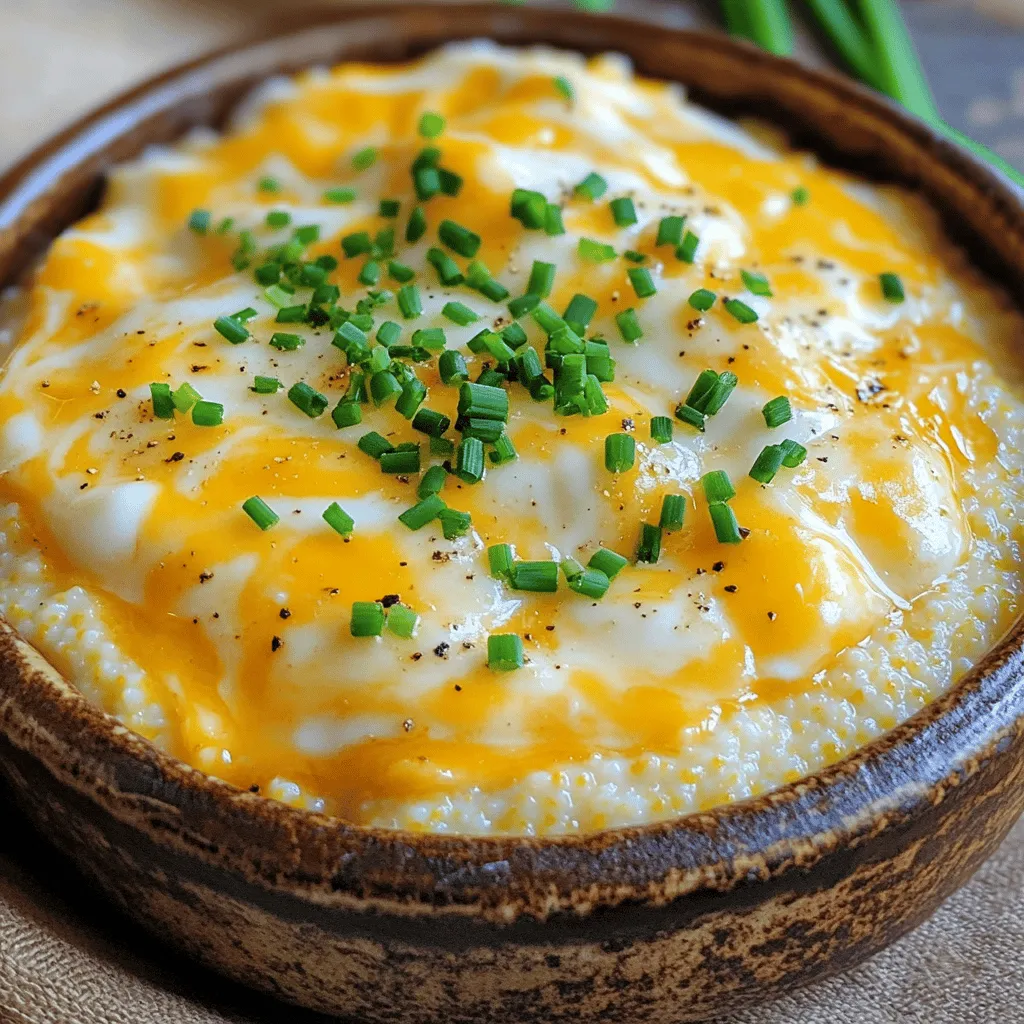
If you’re looking for a warm and creamy dish that feels like a hug, you’ve come to the right place.
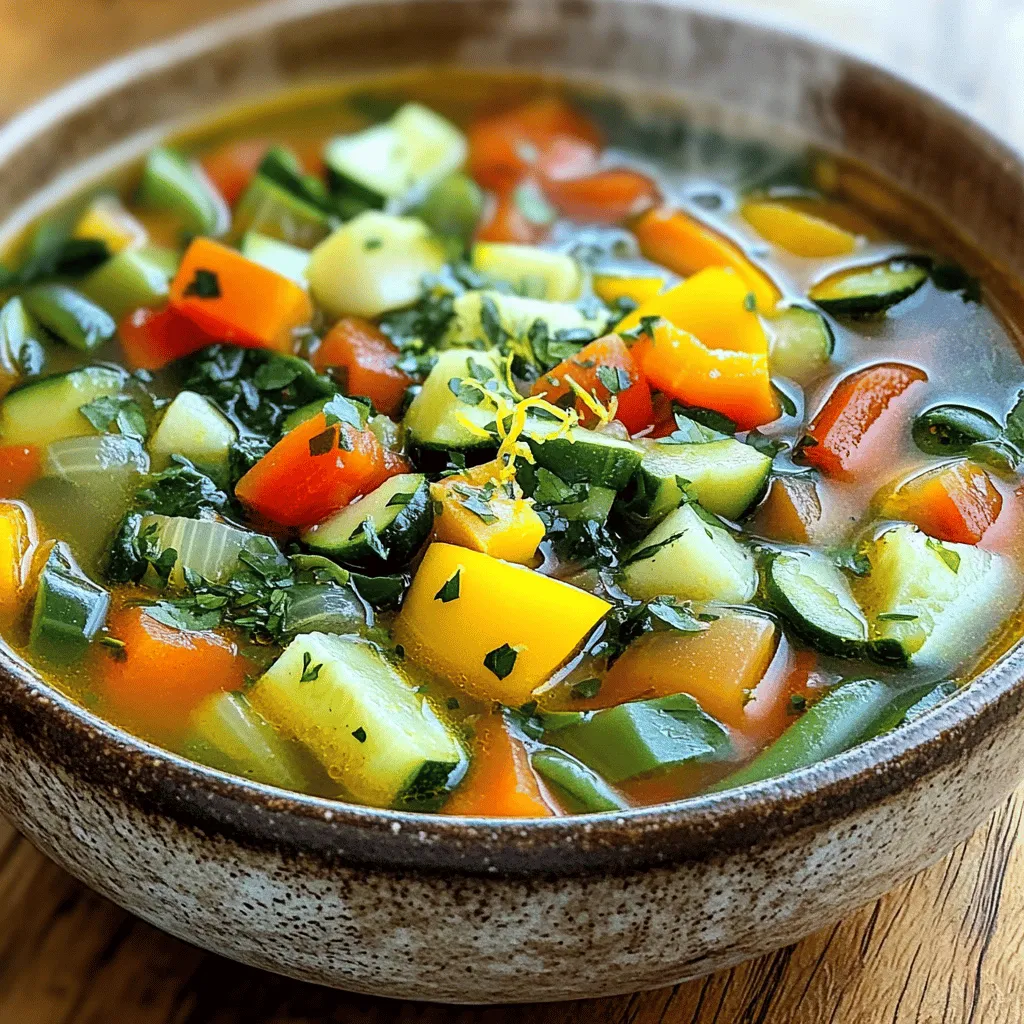
Looking for a warm and comforting meal? Look no further! This Classic Vegetable Soup is your answer. It’s hearty, healthy,
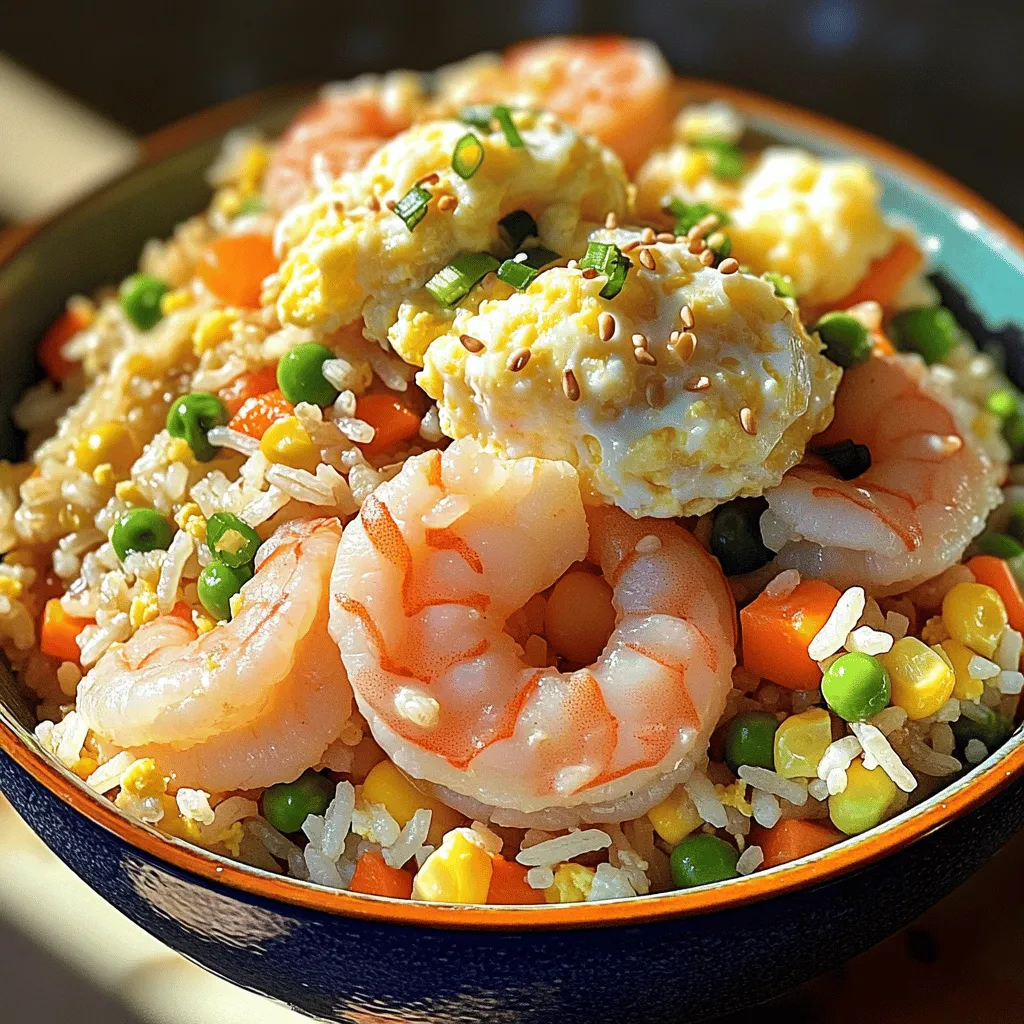
Ready to whip up a delicious meal? This Easy Shrimp Fried Rice recipe is quick and packed with flavor. With

Fall is the perfect time to indulge in sweet treats, and nothing says autumn quite like Caramel Pumpkin Spice Truffles.
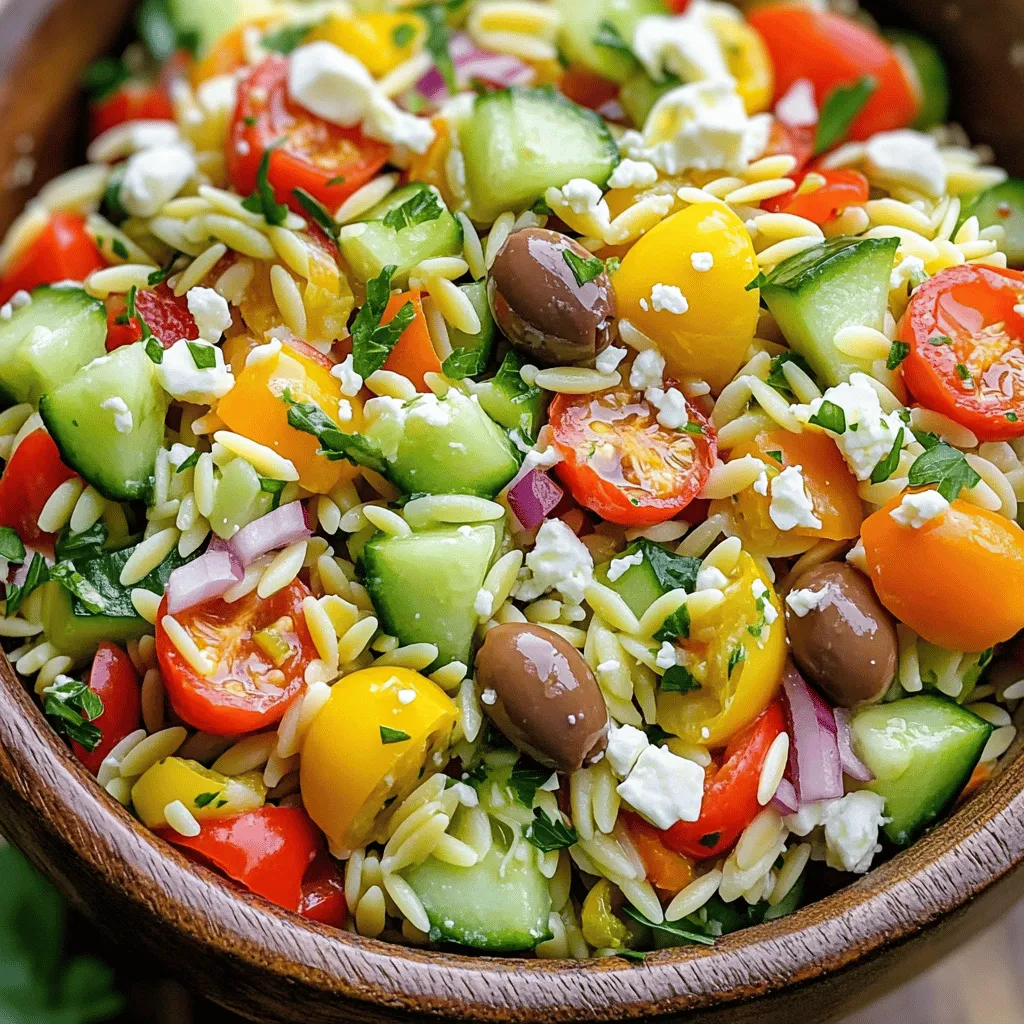
Are you ready to dive into a vibrant and fresh Greek Orzo Salad? This delightful dish combines tender orzo pasta

Are you craving delicious vegan chocolate chip cookies that are quick to make? You’ve come to the right place! I’ll
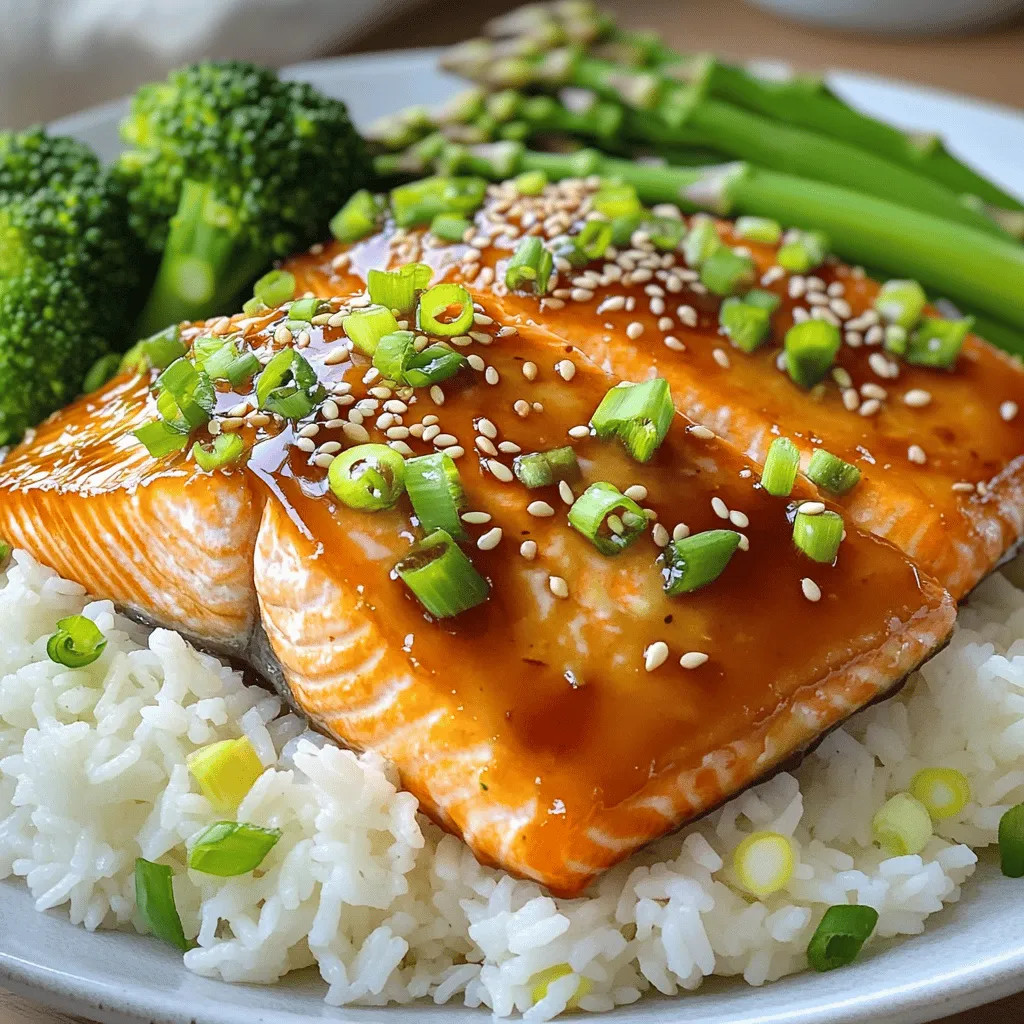
Looking for a quick, tasty dinner? This Easy Teriyaki Salmon recipe brings delicious flavors to your table with minimal effort.
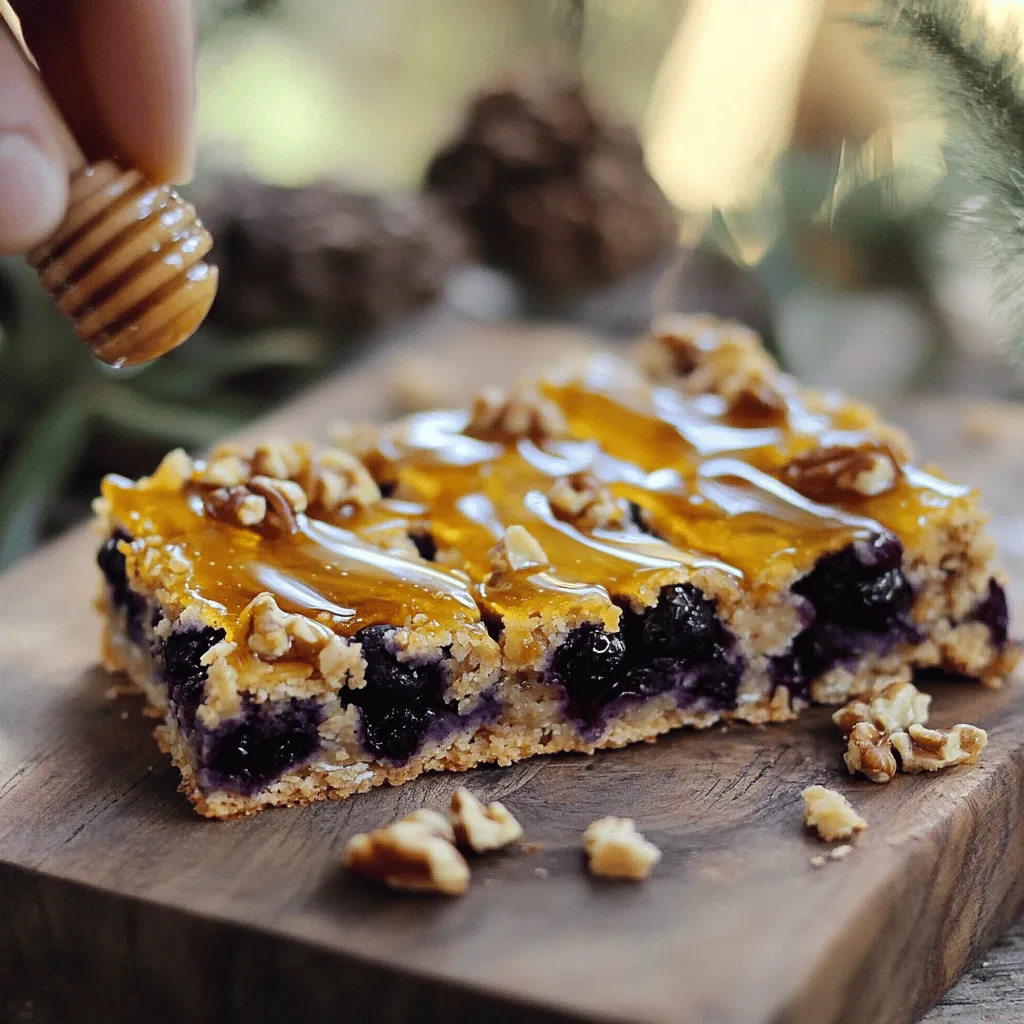
Looking for a snack that satisfies your sweet tooth and fuels your day? Look no further! These Blueberry Oatmeal Bars
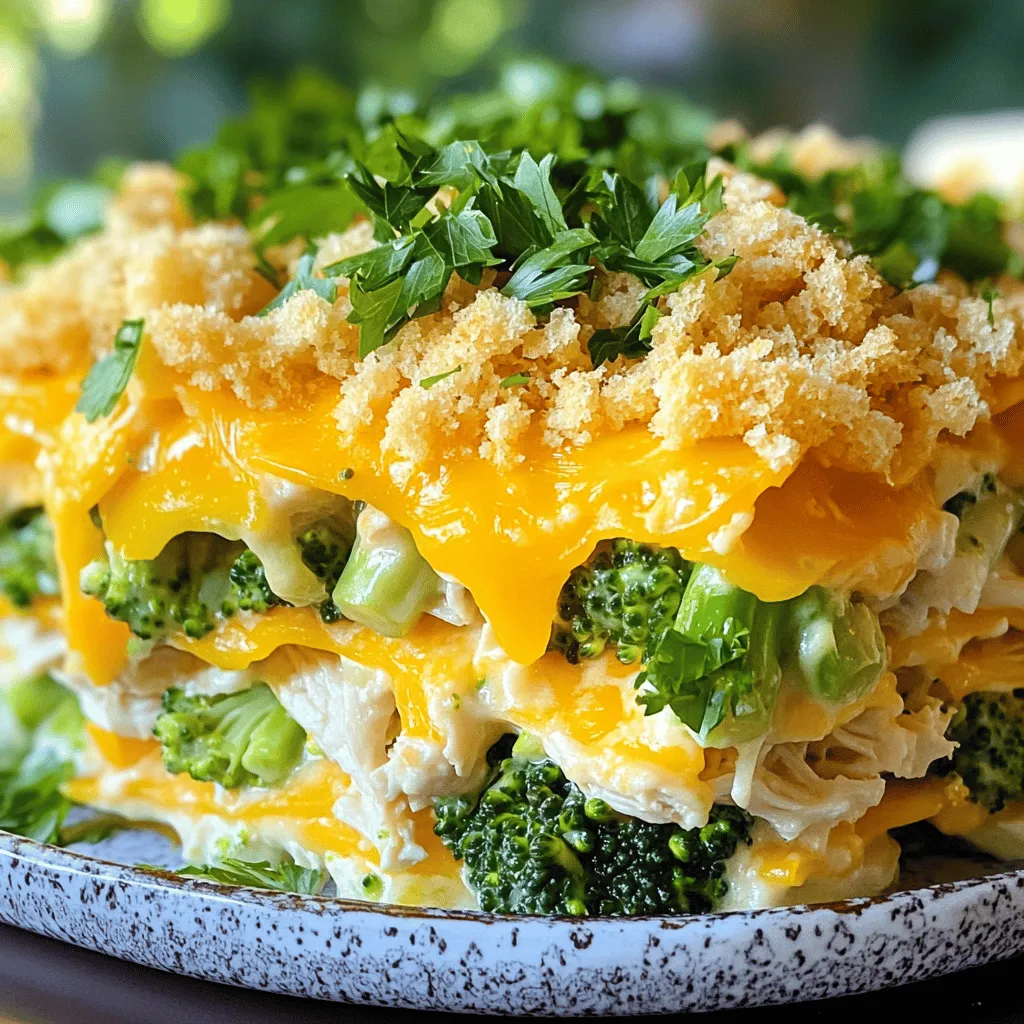
Looking for a dish that melts in your mouth and warms your heart? This Cheesy Chicken Broccoli Casserole Comfort Dish
