
Caramel Apple Nachos Irresistible Sweet Treat Recipe
Craving a sweet treat that’s both fun and delicious? Look no further than Caramel Apple Nachos! This easy recipe combines
Craving a sweet treat that’s both fun and delicious? Look no further than Caramel Apple Nachos! This easy recipe combines

If you love the sweet, cozy aroma of fresh-baked bread, you’re in for a treat! My Chocolate Chip Banana Bread
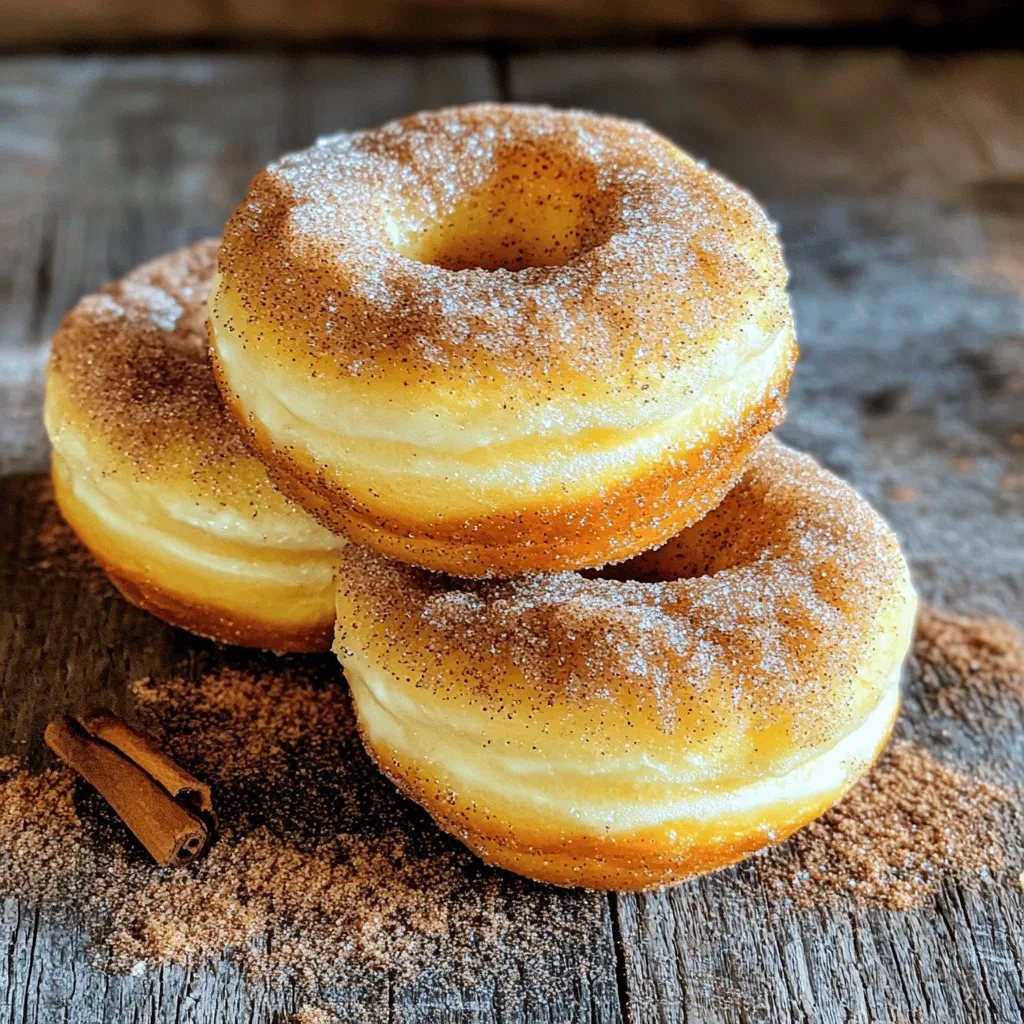
Are you ready for a treat that’s soft, sweet, and packed with cinnamon goodness? These Cinnamon Sugar Donut Muffins are

Are you ready for a sweet treat that combines two of your favorites? Chocolate chip cookie dough brownies are the
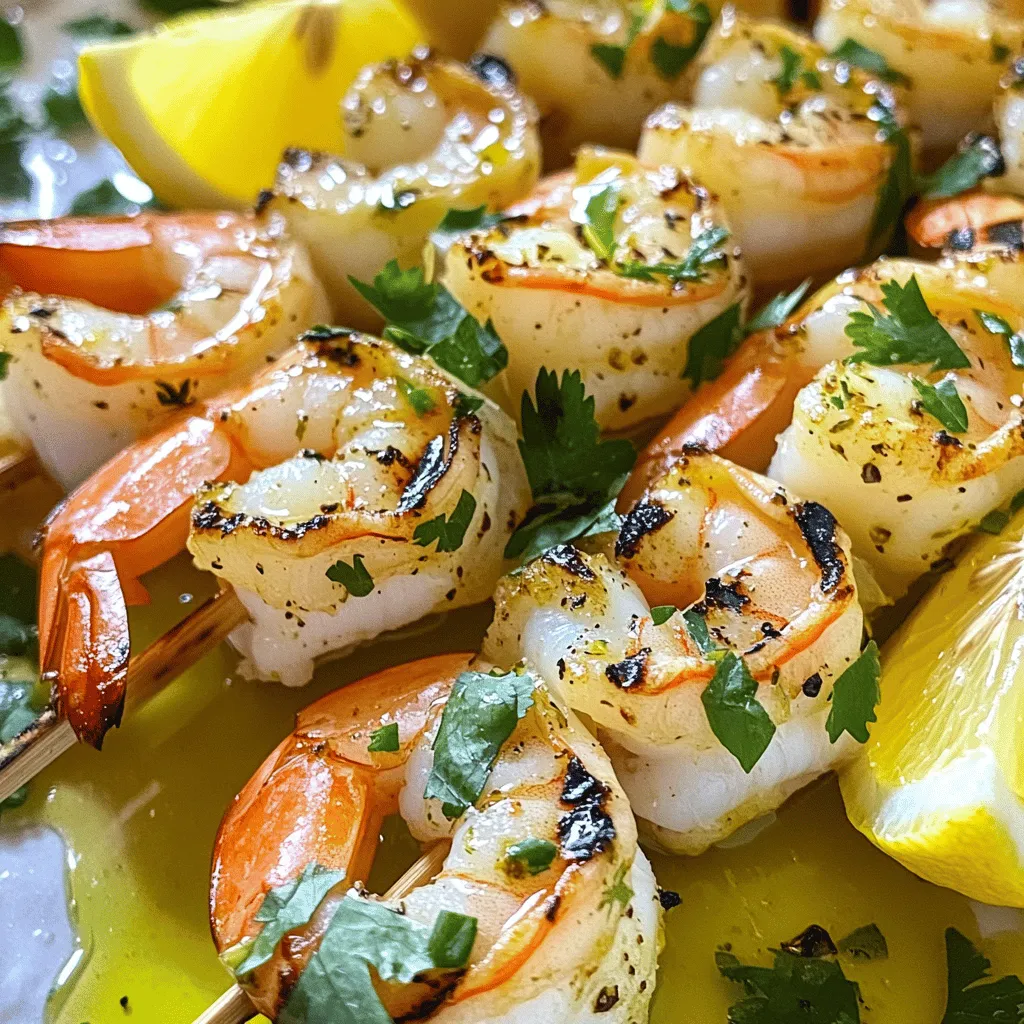
Get ready to impress your taste buds with Lemon Garlic Herb Grilled Shrimp! This simple yet tasty dish combines fresh
![Here is what you need for these tasty banana oatmeal cookies: - 2 ripe bananas, thoroughly mashed - 1 cup rolled oats - 1/2 cup almond flour - 1/4 cup honey or pure maple syrup - 1/4 cup unsweetened peanut butter or almond butter - 1 teaspoon pure vanilla extract - 1/2 teaspoon baking powder - 1/2 teaspoon ground cinnamon - 1/4 cup dark chocolate chips (optional for added indulgence) - Pinch of sea salt Having these simple ingredients ready makes the cooking fun and easy. Ripe bananas give the cookies great taste and natural sweetness. The rolled oats add a nice chewy texture. Almond flour keeps the cookies moist and gluten-free. Honey or maple syrup brings a sweet touch, while nut butter adds creaminess. Vanilla and cinnamon give flavor depth, and chocolate chips are a sweet bonus. This combination makes for a delightful treat. Check out the Full Recipe for all the steps to create these amazing cookies. - Preheat your oven to 350°F (175°C). - Line a baking sheet with parchment paper. - Combine mashed bananas with almond butter. - Add honey (or maple syrup), vanilla extract, and a pinch of sea salt. - Mix rolled oats, almond flour, baking powder, and ground cinnamon in a separate bowl. - Gradually add dry ingredients into the wet mixture. - Fold in the optional dark chocolate chips. - Drop dough mounds onto the baking sheet. - Flatten the dough with the back of a spoon. - Bake for 12-15 minutes. - Let cookies cool on the baking sheet for 5 minutes. - Transfer to a wire rack to cool completely. Feel free to check out the Full Recipe for more details. Enjoy making these tasty Banana Oatmeal Cookies! - Use ripe bananas for better flavor. The sweeter, the better! - Don’t overmix the dough. This keeps your cookies soft and chewy. - Ensure consistent cookie size for even baking. Use a cookie scoop if you have one. - Keep an eye on baking time to avoid overbaking. Cookies should be golden but soft. - Explore using different nut butters. Almond butter gives a unique taste. - Consider adding nuts or raisins for variation. These add texture and extra flavor. For the full recipe, check out the Banana Oatmeal Bliss Cookies section. Enjoy experimenting with these tips! {{image_4}} You can make these cookies gluten-free. Just substitute the almond flour with a gluten-free flour blend. This keeps the texture light while ensuring no gluten sneaks in. If you want a vegan treat, use maple syrup instead of honey. This swap adds a nice flavor and keeps the cookies plant-based. To enhance flavor, add vanilla or almond extract. Just a teaspoon will make a big difference. You can also try spices like nutmeg or ginger for a warm twist. These additions make your cookies unique and fun! For the full recipe, check out [Full Recipe]. To keep your banana oatmeal cookies fresh, place them in an airtight container. This will help lock in moisture and flavor. You can store them at room temperature for up to 3 days. If you want to enjoy them longer, freezing is a great option. To freeze your cookies, start by arranging them in a single layer on a baking sheet. This helps prevent them from sticking together. After a few hours, transfer the cookies to a freezer bag. Enjoy them within 2 months for the best taste and texture. You can take them out anytime for a tasty snack! - Yes, but the texture may differ slightly. Quick oats may make your cookies softer. - Look for golden brown edges and a set center. They should not be too soft. - Yes, but it will change the flavor and texture. Almond flour adds a nice nutty taste. - No, they are optional and can be omitted based on preference. You could use nuts instead. - Yes, just ensure you have enough baking sheets for even spacing. This helps cookies bake evenly. For the complete recipe, check out the [Full Recipe]. Enjoy baking! In this blog post, we covered a simple recipe for tasty banana oatmeal cookies. You learned about key ingredients, step-by-step baking methods, and ways to customize the cookies. Perfect ripe bananas add flavor, while oats provide a healthy base. Think about using different nut butters or spices for delicious twists. Store your cookies properly to enjoy them longer. With these tips, you can bake a batch yourself and share them with friends. Enjoy making and tasting these easy cookies!](https://spoonfulsavory.com/wp-content/uploads/2025/05/018d1d4e-7195-4d46-90cb-e389bf50d6dc.webp)
If you’re looking for a tasty and easy treat, you’ve found it! These Banana Oatmeal Cookies are soft, chewy, and
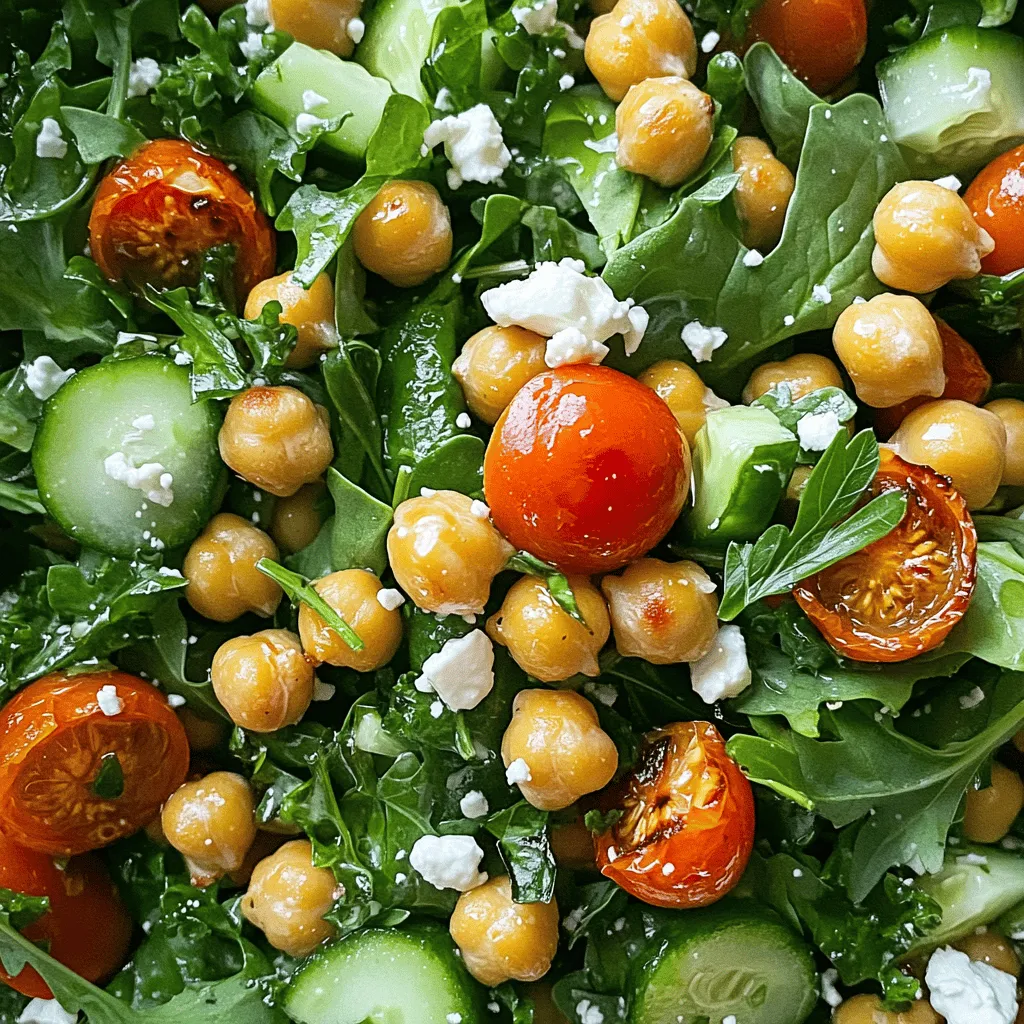
Looking for a fresh and tasty salad? Let me introduce you to my Crispy Chickpea Salad! This dish combines crunchy
![- 1 cup rolled oats - 1/2 cup almond butter (or substitute with peanut butter) - 1/2 cup canned pumpkin puree - 1/4 cup honey or maple syrup - 1/2 teaspoon vanilla extract - 1 teaspoon pumpkin spice blend - 1/4 cup chia seeds - 1/4 cup mini chocolate chips (optional) - A pinch of salt These ingredients come together to create a tasty and nutritious snack. Each one plays a key role in flavor and texture. Rolled oats give a hearty base, making the energy balls filling. They provide fiber and energy. Almond butter adds creaminess and healthy fats. You can swap it with peanut butter if you prefer. Canned pumpkin puree brings warmth and a hint of sweetness. It's packed with vitamins and minerals too. Using honey or maple syrup adds natural sweetness. Choose based on your taste. Vanilla extract enhances the overall flavor. The pumpkin spice blend gives that cozy seasonal taste. You can even make your own mix of cinnamon, nutmeg, and ginger! Chia seeds add crunch and omega-3 fatty acids. The mini chocolate chips are optional but bring a fun twist. Finally, a pinch of salt balances all the flavors. To create these delicious Pumpkin Spice Energy Balls, follow the [Full Recipe]. Enjoy making this easy, nutritious snack! 1. In a large bowl, start with rolled oats, almond butter, and pumpkin puree. 2. Add honey or maple syrup for sweetness. 3. Mix these ingredients well until the mixture is thick and sticky. 4. Make sure there are no dry oats left. 5. Next, stir in the vanilla extract and pumpkin spice blend. 6. Add chia seeds and a pinch of salt. 7. For a sweet touch, fold in mini chocolate chips if you like. 1. Take about a tablespoon of the mixture. 2. Roll it between your palms to form a ball. 3. Repeat until you shape all the mixture into about 15 energy balls. 4. For a nice touch, arrange the balls in a clear jar. 5. Sprinkle some pumpkin spice on top for extra flair. 1. Line a baking sheet with parchment paper. 2. Place the energy balls in a single layer on the sheet. 3. Chill them in the fridge for about 30 minutes. This helps them firm up. 4. Once they are set, move the energy balls to an airtight container. 5. Store them in the fridge for up to a week. 6. For longer storage, freeze them individually. Enjoy them as a quick snack later! You can find the full recipe for these tasty and nutritious snacks above. To get the right consistency for your energy balls, aim for a thick and sticky mix. If the mixture is too dry, add a bit more almond butter or pumpkin puree. Make sure there are no dry oats left. You want each bite to be soft and chewy. When it comes to sweetness, adjust to your taste. If you like it sweeter, add more honey or maple syrup. Start with the amount in the recipe and taste as you go. This way, you can find your perfect balance. You can change up the flavor with different nut butters. Try peanut butter for a stronger taste or cashew butter for a creamier texture. You can also mix in spices, like extra cinnamon or a dash of nutmeg, to make them your own. For extra texture, consider adding in nuts or dried fruits. Chopped walnuts or almonds add a nice crunch. Dried cranberries or raisins can give a burst of sweetness. This makes each energy ball unique and exciting. To serve your energy balls, try placing them in a clear glass jar. This shows off their lovely colors. You can also arrange them on a rustic wooden board for a homey feel. For special occasions, sprinkle some pumpkin spice on top. This adds a festive touch. You can even use mini cupcake liners to make them look like treats. Small details can make your energy balls stand out and be more fun to eat. {{image_4}} You can mix up your pumpkin spice energy balls with fun flavors. One great option is chocolate chip pumpkin spice energy balls. Just fold in some mini chocolate chips when you mix your ingredients. This adds a sweet touch that pairs well with the spice. Another tasty choice is spiced apple energy balls. For this, swap the pumpkin puree with applesauce and add a pinch of cinnamon. This brings a fresh twist to your snack while keeping it healthy. If you have dietary needs, don't worry! You can make gluten-free options easily. Use gluten-free oats instead of regular rolled oats. This small change keeps the energy balls safe for your gluten-sensitive friends. For nut-free alternatives, use sunflower seed butter in place of almond butter. This keeps the creamy texture while making it safe for those with nut allergies. Always check labels to ensure your ingredients fit your needs. You can also add seasonal flavors to your energy balls. For a holiday touch, consider adding dried cranberries and chopped pecans. These ingredients bring a festive flavor, making your energy balls perfect for gatherings. Just mix them in when you combine your other ingredients. To keep your pumpkin spice energy balls fresh, use an airtight container. Glass jars or plastic containers with secure lids work well. This helps prevent any air or moisture from getting in. In the refrigerator, these energy balls last up to a week. They taste best when cold and firm. For long-term storage, you can freeze your energy balls. Lay them in a single layer on a baking sheet. Place the sheet in the freezer for about an hour. This makes them firm. Once frozen, transfer them to a freezer-safe bag. Remove as much air as you can. These energy balls can last for up to three months in the freezer. When you want to eat one, simply take it out and let it sit at room temperature for about 15 minutes. You can also microwave it for about 10 seconds if you prefer a warm snack. Each energy ball is about one tablespoon. This is a great size for a quick snack. I usually recommend having two or three energy balls at a time. That keeps your energy up without overdoing it. Each energy ball has around 100 calories. They are packed with nutrients! You get fiber from the oats and chia seeds, protein from the almond butter, and vitamins from the pumpkin. Enjoy these tasty bites without guilt! For the full recipe, check out the previous section. Yes, you can make these energy balls vegan. Simply replace honey with maple syrup. Maple syrup adds sweetness and keeps the recipe plant-based. This swap maintains the energy ball's taste and texture. Pumpkin spice energy balls last up to a week in the fridge. Store them in an airtight container to keep them fresh. If you want them to last longer, freeze them. They can stay frozen for up to three months. You can get creative with flavors! Here are some tips: - Use different nut butters like cashew or sunflower seed butter. - Add different spices like cinnamon or ginger for a twist. - Toss in dried fruits like cranberries or raisins for extra sweetness. - Experiment with different seeds or nuts for crunch. You can use fresh pumpkin, but it requires more work. Fresh pumpkin needs to be cooked and pureed first. The taste can be richer, but canned pumpkin is convenient. Canned pumpkin is already smooth and ready to use, saving you time. We discussed how to make tasty pumpkin spice energy balls. You learned about the key ingredients and how to blend them. I shared steps for forming, chilling, and storing these snacks. We also explored tips for perfecting your energy balls and customizing flavors. Remember, these treats are flexible and fun; you can mix and match ingredients to fit your taste. Enjoy creating and snacking on your homemade energy balls, perfect for any occasion!](https://spoonfulsavory.com/wp-content/uploads/2025/05/c77c697e-881b-4963-9fef-f271492b515f.webp)
Are you looking for a snack that packs flavor and nutrition? Look no further! These Pumpkin Spice Energy Balls are

Looking for a delicious snack that’s both crispy and packed with flavor? Buffalo cauliflower bites are the perfect answer! They
![- 1 cup red lentils, rinsed and drained - 1 can (13.5 oz) creamy coconut milk - 1 medium yellow onion, diced - 2 cloves garlic, finely minced - 1 tablespoon fresh ginger, finely grated - 2 tablespoons curry powder - 1 teaspoon ground turmeric - 4 cups vegetable broth - 1 cup diced tomatoes (fresh or canned) - 1 medium carrot, peeled and diced - 1 medium bell pepper (any color), diced - 2 cups fresh spinach or kale, roughly chopped - 2 tablespoons extra virgin olive oil - Salt and freshly ground black pepper, to taste - Fresh cilantro, chopped, for garnish (optional) These ingredients create a rich and hearty soup. The red lentils are the star. They cook quickly and add protein. Coconut milk gives the soup a creamy texture and sweet flavor. Onions, garlic, and ginger provide a wonderful base. The spices, curry powder and turmeric, bring warmth and depth. Fresh veggies like carrots and bell peppers add color and crunch. You can add greens, like spinach or kale, for nutrition. Olive oil adds healthy fat and flavor. Finally, season with salt and pepper to taste for balance. Each serving of this soup offers: - Calories: 350 - Protein: 15g - Fat: 10g - Carbohydrates: 50g This soup is not just tasty; it's also good for you. With lentils and vegetables, you get plenty of nutrients in each bowl. - For coconut milk, use almond or oat milk for a lighter soup. - You can swap red lentils for green or brown lentils, but cooking times may vary. - If you want a different flavor, try vegetable stock instead of broth. Feel free to mix and match these ingredients to suit your taste and needs. You can find the full recipe for Coconut Curry Lentil Soup [Full Recipe]. To start, gather your cooking tools. You will need: - A large pot or Dutch oven - A cutting board - A sharp knife - Measuring cups and spoons - A wooden spoon for stirring Next, prepare your workspace. Clear the counter and wash your hands. Chop all your vegetables first. This will make cooking smooth and fun. First, let's sauté the aromatics. Heat your olive oil in the large pot over medium heat. Add the diced onion. Sauté it for about 4-5 minutes until it turns soft and fragrant. Then, introduce the minced garlic and grated ginger. Cook for another 1-2 minutes. This brings out their lovely flavors. Now, it’s time to add spices and vegetables. Sprinkle in the curry powder and turmeric. Stir well to coat the onions. Let these cook for about a minute. Next, add the diced carrot and bell pepper. Stir everything together and cook for 3-4 minutes. The veggies should start to soften. Now we incorporate lentils, tomatoes, and liquids. Pour in the rinsed lentils, diced tomatoes, creamy coconut milk, and vegetable broth. Increase the heat to bring this mixture to a boil. Once it boils, lower the heat to let it simmer uncovered for 20-25 minutes. The lentils will soften, and the soup will thicken. For the final cooking steps, stir in the leafy greens. Add your chopped spinach or kale, letting it simmer for an extra 5 minutes. This will allow the greens to wilt and mix into the soup. Taste your soup now. Season with salt and black pepper to your liking. This is key to enhancing the flavors. Ladle the hot soup into bowls. You can garnish with fresh cilantro if you want a bit of color. For the full recipe, check out the details above. Enjoy your Coconut Curry Lentil Soup! To make Coconut Curry Lentil Soup even better, focus on spices and herbs. Add a pinch of cumin for warmth. A dash of chili powder brings a nice kick. Fresh herbs, like cilantro or basil, can brighten the soup. Cooking techniques matter too. Sauté your onions, garlic, and ginger until they are fragrant. This step builds a strong flavor base. For a creamy texture, ensure the coconut milk is well mixed. Let it simmer gently to blend all the tastes. One common mistake is overcooking lentils. You want them soft, but not mushy. They should hold their shape. Also, avoid seasoning too late. Taste as you cook and adjust early. Balancing flavors is key. A bit of salt can enhance sweetness while acidity brightens the dish. For a hearty meal, serve this soup with crusty bread or steamed rice. The bread soaks up flavors, while rice adds a nice base. Presentation is important, too. Use deep bowls and top the soup with fresh cilantro. This makes it look inviting and fresh. {{image_4}} You can easily adapt this soup to fit your needs. For a vegan option, this recipe is already plant-based. It uses coconut milk and lentils, which means it's great for everyone. If you need gluten-free, you can enjoy this soup without worry. Just check your broth for any hidden gluten. If you want lower sodium, use low-sodium vegetable broth. This choice helps keep the soup healthy and flavorful. You can also reduce the amount of salt you add. Taste as you go to find your perfect balance. Feel free to get creative with your veggies. Instead of carrots and bell peppers, try zucchini or sweet potatoes. These swaps can change the flavor and texture of the soup. You can also add or replace spices. If you like heat, add more curry powder or some chili flakes. For a milder taste, skip the extra spice. You can change the soup based on what’s in season. In fall or winter, root vegetables work well. Think about adding parsnips or butternut squash. For spring and summer, fresh greens and lighter veggies shine. You might want to use asparagus or peas. This flexibility makes the soup perfect for any time of year. You can even adjust it for special events or holidays. Each season brings new tastes to explore. For the full recipe, you can check out the details above. To keep your Coconut Curry Lentil Soup fresh, store it in an airtight container. Let it cool before sealing. You can place it in the fridge for up to five days. If you want to save it for longer, freeze it. Use freezer-safe containers for best results. Make sure to leave some space at the top, as soup expands when frozen. When you want to enjoy your soup again, you can reheat it easily. The microwave is quick. Just cover the bowl and heat for two to three minutes. Stir halfway through. If you prefer the stovetop, pour the soup into a pot. Heat it over medium-low heat for about five to seven minutes. Stir often to prevent sticking. In the fridge, Coconut Curry Lentil Soup lasts about five days. In the freezer, it can stay good for about three months. Just remember to label your container with the date, so you know when you made it. Enjoying this soup later can be just as tasty as the first time! You can make your soup thicker by using a few methods. - Blend some of the soup: Take out a cup and blend it until smooth. Then stir it back into the pot. - Add more lentils: You can add an extra half cup of lentils. They will soak up the liquid and make it thicker. - Use a starch: Mix a tablespoon of cornstarch with water. Stir it into the soup to thicken it. - Cook longer: Let the soup simmer for a longer time. This will help the lentils break down and create a thicker texture. These tips will help you enjoy a rich and creamy soup. Yes, you can use other lentils, but they will change the texture and cooking time. - Green lentils: They hold their shape better. Cook them for about 30-40 minutes. - Brown lentils: These are similar to green lentils but cook faster, taking about 20-30 minutes. - Black lentils: They add a unique flavor but take longer to cook, around 30-35 minutes. Remember to rinse and drain any lentils you use, just like the red lentils in the full recipe. Coconut Curry Lentil Soup pairs well with many sides. Here are some great options: - Crusty bread: A slice of fresh bread is perfect for dipping. - Rice: Serve the soup over a bed of rice for a heartier meal. - Salad: A light salad with greens adds freshness. - Naan: This Indian bread is great for scooping up the soup. These sides will make your meal complete and satisfying. You can easily change the spice level to suit your taste. Here are some tips: - For a milder soup: Use less curry powder and turmeric. Start with one tablespoon each, then taste. - To add heat: Stir in red pepper flakes or fresh chili peppers. Start with a little, then add more to taste. - Adjust at the end: Always taste the soup before serving. You can add more spices then for a final touch. These steps let you customize the soup to your liking. Enjoy your cooking adventure! In this post, we explored a delicious coconut curry lentil soup. We covered ingredients, preparation steps, and tips for flavor. Remember to savor the aromatics and spices for a tasty dish. Don't forget the options for making it suit your dietary needs. As you try this recipe, leave room for creativity and adjustments. Happy cooking! Enjoy your warm bowl of soup, and share your favorite twists.](https://spoonfulsavory.com/wp-content/uploads/2025/05/217361c6-845e-440b-ab37-4f1cfa5d5b10.webp)
Are you ready to warm up with a bowl of comfort? This Coconut Curry Lentil Soup is not just tasty;
