![To make the best lemon blueberry muffins, gather these simple ingredients: - 1 ½ cups all-purpose flour - ½ cup granulated sugar - 2 teaspoons baking powder - ½ teaspoon baking soda - ½ teaspoon salt - 1 large lemon, zested and juiced - 1/3 cup vegetable oil - 1 large egg - ½ cup buttermilk - 1 cup fresh blueberries - 1 teaspoon pure vanilla extract - Optional: Powdered sugar These ingredients work together to create muffins that burst with flavor. The lemon zest adds a bright note. The blueberries provide sweetness and juiciness. When you combine these, you get a delightful treat. Using fresh blueberries is best, but frozen will work too. Just remember to adjust the baking time slightly if using frozen ones. Your muffins will be light and fluffy, perfect for breakfast or a snack. For a touch of sweetness, consider the optional powdered sugar. It makes your muffins look fancy and adds a nice finish. You can find the full recipe with all the steps to make these muffins a success. Enjoy! Set the temperature to 375°F (190°C). This step is key to getting your muffins just right. Line the tin with paper liners or grease it with cooking spray. This helps the muffins come out easily. Combine flour, sugar, baking powder, baking soda, and salt. Make sure to whisk them well for a uniform mix. Blend lemon juice, zest, oil, egg, buttermilk, and vanilla. Whisk until smooth. This mix brings a bright flavor to your muffins. Fold the dry and wet mixtures together gently. Mix just until no dry flour is visible. Remember, a few lumps are okay! Gently fold in fresh or frozen blueberries. This adds bursts of sweet flavor in each muffin. Fill muffin cups about two-thirds full and bake for 18-20 minutes. The muffins should rise nicely and turn golden. Cool muffins in the tin for five minutes. Then, transfer them to a wire rack. This keeps them fluffy and perfect for eating. For the full recipe, check out the complete guide on making luscious lemon blueberry muffins. To get the best texture in your muffins, avoid overmixing the batter. When you mix too much, you make the muffins dense and tough. Instead, mix just until the dry ingredients disappear. A few lumps in the batter is fine. This ensures your muffins stay light and fluffy. You can make your muffins even tastier by adding spices or more zest. A pinch of cinnamon or nutmeg can add warmth. If you love lemon, try adding more lemon zest. This extra zest will boost the fresh lemon flavor, making your muffins pop with citrus goodness. Baking at the right temperature is key to maximum rise. Preheat your oven to 375°F (190°C) to create the perfect environment. Also, fill the muffin cups about two-thirds full; this helps them rise well. Using a good-quality muffin tin can also make a big difference in how they bake. For the full recipe, check the details above. {{image_4}} You can swap buttermilk for Greek yogurt in your muffins. Greek yogurt adds creaminess and tang. It also makes the muffins moist and fluffy. Use the same amount of Greek yogurt as buttermilk. This change boosts protein and lowers fat. It’s a tasty twist worth trying! If you need a gluten-free version, use almond flour or a gluten-free blend. Almond flour gives a nice nutty flavor. It also keeps the muffins moist and tender. If you use a gluten-free blend, check the package for a 1:1 ratio. This option allows everyone to enjoy these muffins. You can add nuts or other fruits for extra flavor. Chopped walnuts or pecans add a delightful crunch. You can also mix in raspberries or strawberries for a fruity twist. Each option changes the taste while keeping the lemon and blueberry base. Experimenting can lead to your new favorite muffin! For the complete recipe, visit the [Full Recipe]. To store your lemon blueberry muffins at room temperature, place them in an airtight container. This keeps them soft and moist. You can also use a zip-top bag. Make sure the muffins are completely cool before you store them. They will stay fresh for up to three days. If you want to save muffins for later, freezing is a great option. Wrap each muffin in plastic wrap tightly. Then, place them in a freezer bag or an airtight container. This helps prevent freezer burn. You can freeze muffins for up to three months. When you are ready to eat them, just take out what you need. To warm muffins and keep them fresh, preheat your oven to 350°F (175°C). Place the muffins on a baking sheet. Heat them for about 10-15 minutes. You can also use a microwave. Just put a muffin on a plate and heat it for about 15-20 seconds. This makes them warm and soft, just like fresh-baked! Yes, you can use frozen blueberries. They work well in this recipe. Frozen berries keep their shape during baking. If you use frozen blueberries, do not thaw them first. This helps avoid a soggy muffin. Fresh blueberries are great too, but frozen are handy when fresh ones are not available. To check if your muffins are done, use a toothpick. Insert it into the center of a muffin. If it comes out clean or with a few moist crumbs, they are ready. If the toothpick has wet batter, bake a few more minutes. Keep an eye on them to avoid overbaking. You can easily swap buttermilk. Use regular milk with a splash of lemon juice or vinegar. Let it sit for 5 minutes to thicken. Another option is plain yogurt, thinned with a bit of milk. Both options keep your muffins tender and moist. To reduce sugar in the muffins, cut back on the granulated sugar. Try using only 1/3 cup instead of 1/2 cup. You can also add more lemon zest for flavor. This helps balance the sweetness without losing taste. We explored how to make tasty lemon blueberry muffins. We covered each ingredient, then shared step-by-step instructions. Tips helped you create perfect muffins with great texture. We also shared fun variations for different diets. Lastly, storage methods keep your muffins fresh longer. Now you have the knowledge to bake and enjoy delicious muffins. Happy baking!](https://spoonfulsavory.com/wp-content/uploads/2025/05/775b0048-5d5c-426e-a983-916605c46dc3.webp)
Lemon Blueberry Muffins Simple and Flavorful Treat
If you’re craving a simple yet delicious treat, look no further than lemon blueberry muffins! Bursting with fresh flavors and
If you’re craving a simple yet delicious treat, look no further than lemon blueberry muffins! Bursting with fresh flavors and
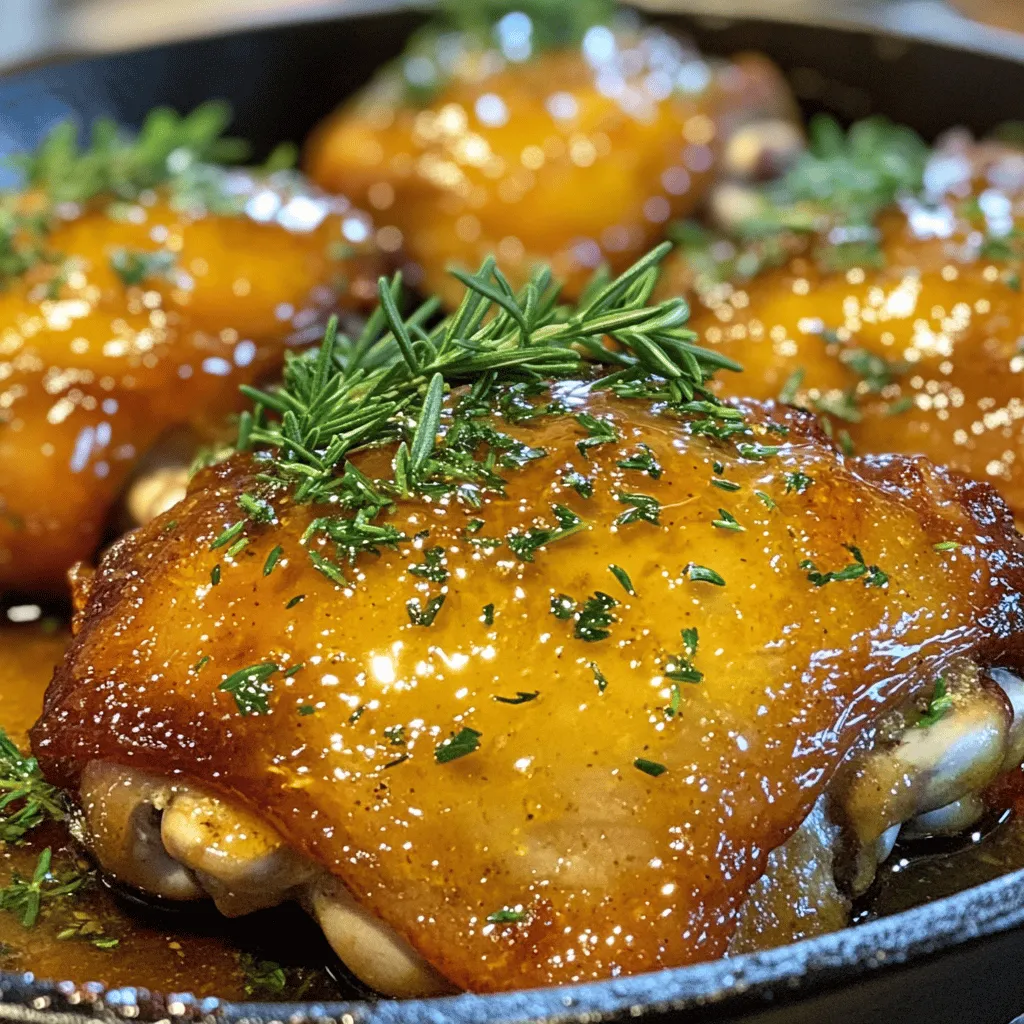
. You will love how easy it is to prepare and how delicious it tastes! - Preheat the Oven Start by preheating your oven to 375°F (190°C). This step is key for cooking the chicken evenly. - Prepare the Sauce In a medium bowl, mix together the honey, minced garlic, low-sodium soy sauce, grated ginger, apple cider vinegar, and sesame oil. Add a pinch of salt and pepper. Whisk until smooth. This sauce will give your chicken a sweet and savory flavor. - Season the Chicken Pat the chicken thighs dry with paper towels. This helps the skin get crispy. Season both sides with salt and pepper. Don’t be shy with the seasoning; it makes a big difference! - Sear the Chicken Heat a drizzle of olive oil in a large, oven-safe skillet over medium-high heat. Once the oil is hot, place the chicken thighs skin-side down. Sear for about 5-7 minutes until the skin turns golden brown. This step adds great flavor! - Add the Sauce After searing, flip the chicken thighs skin-side up. Pour the honey garlic sauce over the chicken, coating each thigh well. This sauce will caramelize as it cooks, creating a rich glaze. - Bake the Chicken Carefully move the skillet to the preheated oven. Bake for 25-30 minutes until the chicken reaches 165°F (74°C). This ensures the chicken is safe to eat and juicy. - Rest the Chicken Once done, take the skillet from the oven. Let the chicken rest in the sauce for a few minutes. This allows the flavors to soak in and keeps the chicken moist. - Garnish and Serve Just before serving, sprinkle chopped green onions and toasted sesame seeds over the chicken. This adds a nice crunch and fresh flavor. Arrange the chicken on a platter, drizzling the sauce on top for a beautiful presentation. You can serve it with rice or veggies for a complete meal. For the full recipe, check out the details above! - Achieving Crispy Skin: Pat the chicken thighs dry. This helps the skin crisp up. Sear them skin-side down in a hot skillet. This step adds flavor and texture. - Ensuring Chicken is Fully Cooked: Use a meat thermometer. Insert it into the thickest part of the thigh. The chicken should reach 165°F (74°C) to be safe to eat. - Alternatives for Honey: If you need a substitute, try maple syrup or agave nectar. Both will add sweetness. - Soy Sauce Options: You can use tamari for a gluten-free choice. Coconut aminos also work if you want a lighter taste. - Meal Pairing Ideas: Serve with fluffy rice or roasted vegetables. This will balance the sweet and savory flavors. - Presentation Tips: Use a large platter for a nice display. Drizzle extra sauce over the chicken. Top with green onions and sesame seeds for a pop of color. {{image_4}} You can change the taste of honey garlic chicken thighs with a few easy tweaks. Adding spicy elements like chili flakes can bring heat and excitement. If you crave a citrus twist, try orange juice or zest. The sweet honey pairs well with a little zing from citrus. You don’t have to bake the chicken to enjoy it! A slow cooker version works well too. Just blend the sauce and chicken, then let it cook on low for hours. For a smoky flavor, consider grilling the chicken. The grill adds a nice char and deep flavor. If you need gluten-free options, use tamari instead of soy sauce. This keeps the dish tasty while meeting dietary needs. For those watching carbs, try a low-carb alternative with cauliflower rice. It's a great way to enjoy your meal without extra carbs. Check out the Full Recipe for more details! After enjoying Honey Garlic Chicken Thighs, let them cool down to room temperature. Place the chicken thighs in an airtight container. Store them in the fridge for up to three days. This keeps them fresh and tasty for your next meal. If you want to save some for later, freezing is a great option. Wrap each chicken thigh tightly in plastic wrap. Then, place them in a freezer-safe bag. They can stay in the freezer for up to three months. When you’re ready to eat, just thaw them in the fridge overnight. To enjoy your leftovers, you can reheat them in two ways. The oven method gives the best results. Preheat your oven to 350°F (175°C). Place the chicken on a baking sheet and cover it with foil. Bake for about 15-20 minutes until heated through. If you're short on time, the microwave works too. Place the chicken on a microwave-safe plate. Cover it with a damp paper towel to keep it moist. Heat for 1-2 minutes, checking halfway through. Enjoy the same great flavor, even when reheating! You can serve Honey Garlic Chicken Thighs with many sides. I love pairing them with fluffy rice. Steamed vegetables also work great. Roasted potatoes add a nice touch too. You can even try a fresh salad for a crunchy contrast. Cooking chicken thighs in the oven takes about 25 to 30 minutes. This time ensures they cook through and stay juicy. Always check the internal temperature to be sure. Yes, you can make these chicken thighs ahead of time. Cook them as usual and let them cool. Then, store them in the fridge for a few days. You can reheat them when you're ready to eat. Chicken thighs should reach an internal temperature of 165°F (74°C). This temperature ensures they are safe to eat. Use a meat thermometer for the best results. You can use skinless chicken thighs, but the skin adds flavor and crispiness. If you use skinless thighs, adjust the cooking time to avoid drying them out. Enjoy the dish with the same great honey garlic sauce! Honey garlic chicken thighs use simple ingredients to create delicious meals. We explored key components like chicken, honey, and garlic. I shared steps for preparing, cooking, and enhancing your dish. With tips on variations and storage, there's something for everyone. As you try this recipe, remember it’s all about flavor and fun. Enjoy making this dish your own!](https://spoonfulsavory.com/wp-content/uploads/2025/05/b24c464c-5f66-4c3f-951d-eeace5de8617.webp)
If you crave a quick and tasty dinner, try my Honey Garlic Chicken Thighs recipe! With just a few simple
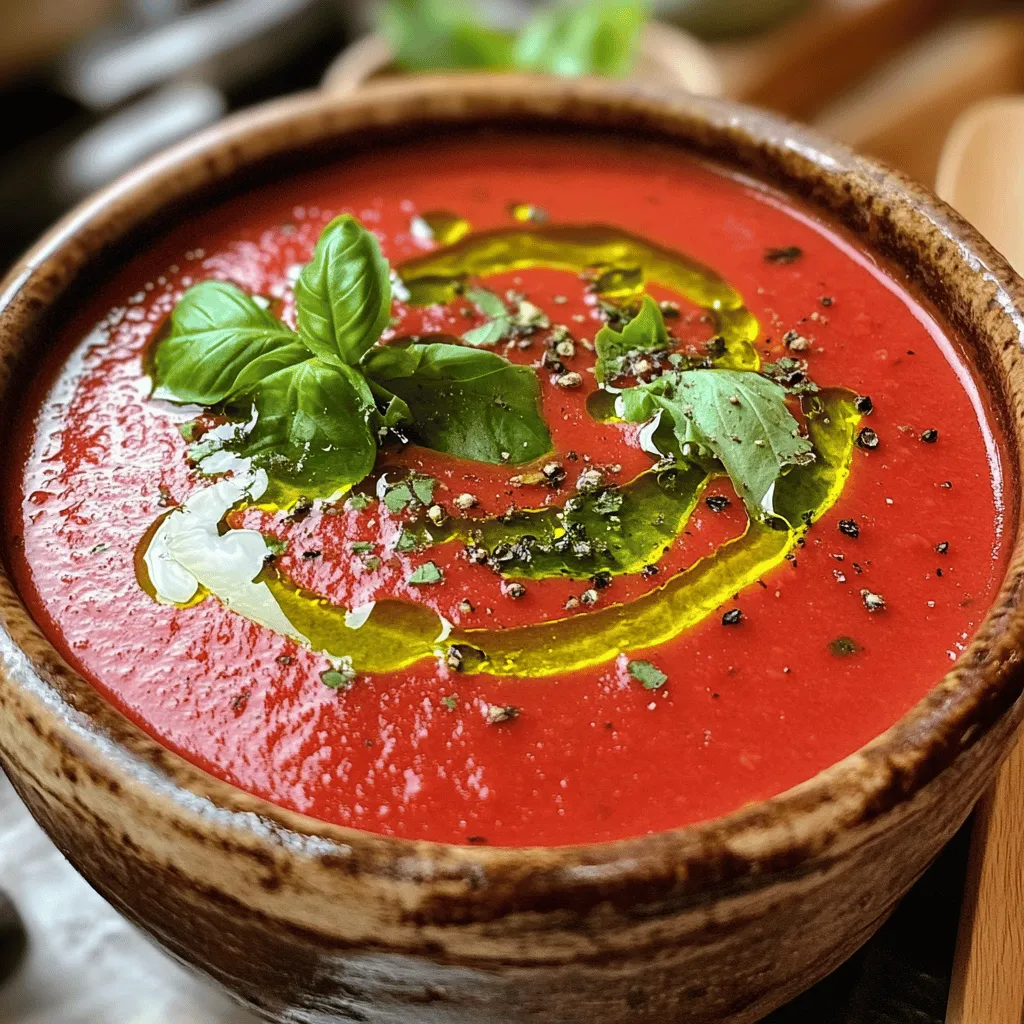
As the chill of autumn settles in, there’s nothing quite like a warm bowl of creamy tomato basil soup. This
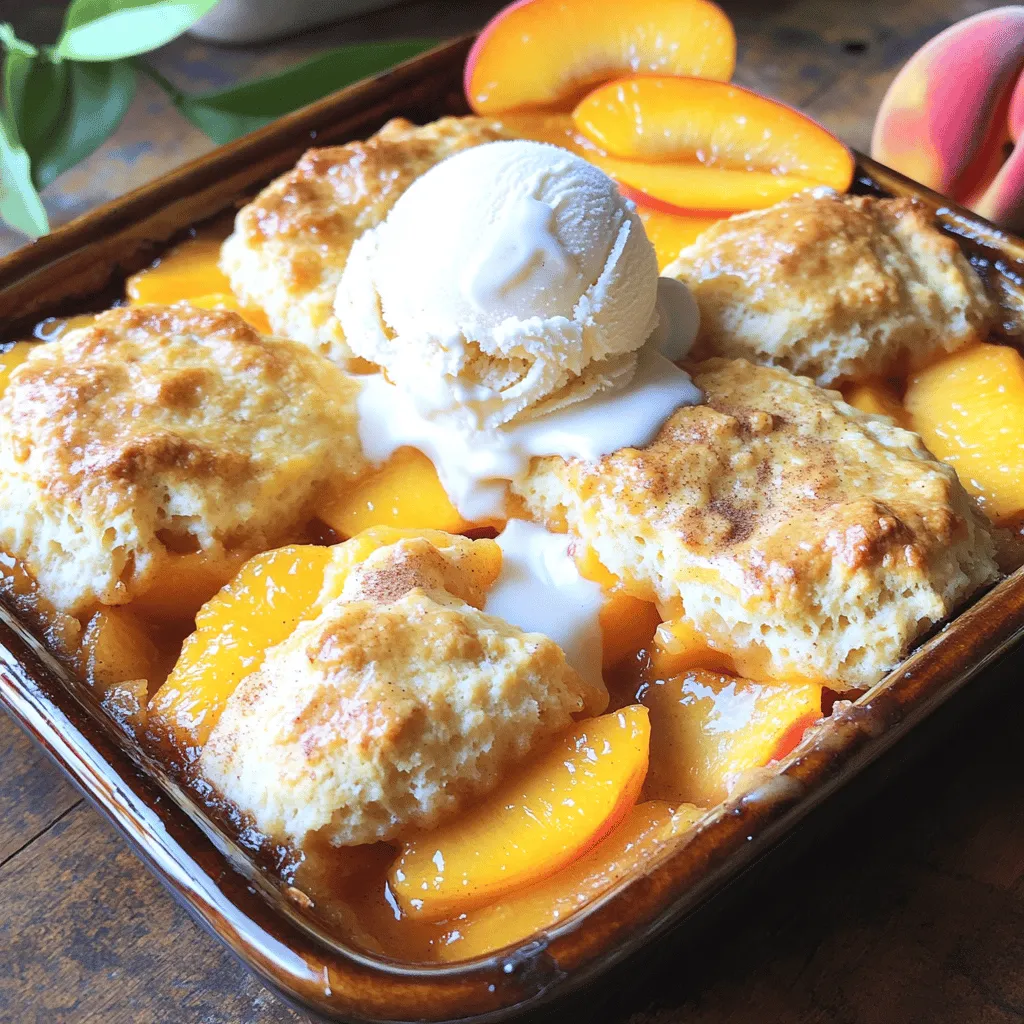
Craving a warm, sweet treat that can impress your friends? My Peach Cobbler with Biscuit Topping is both simple and
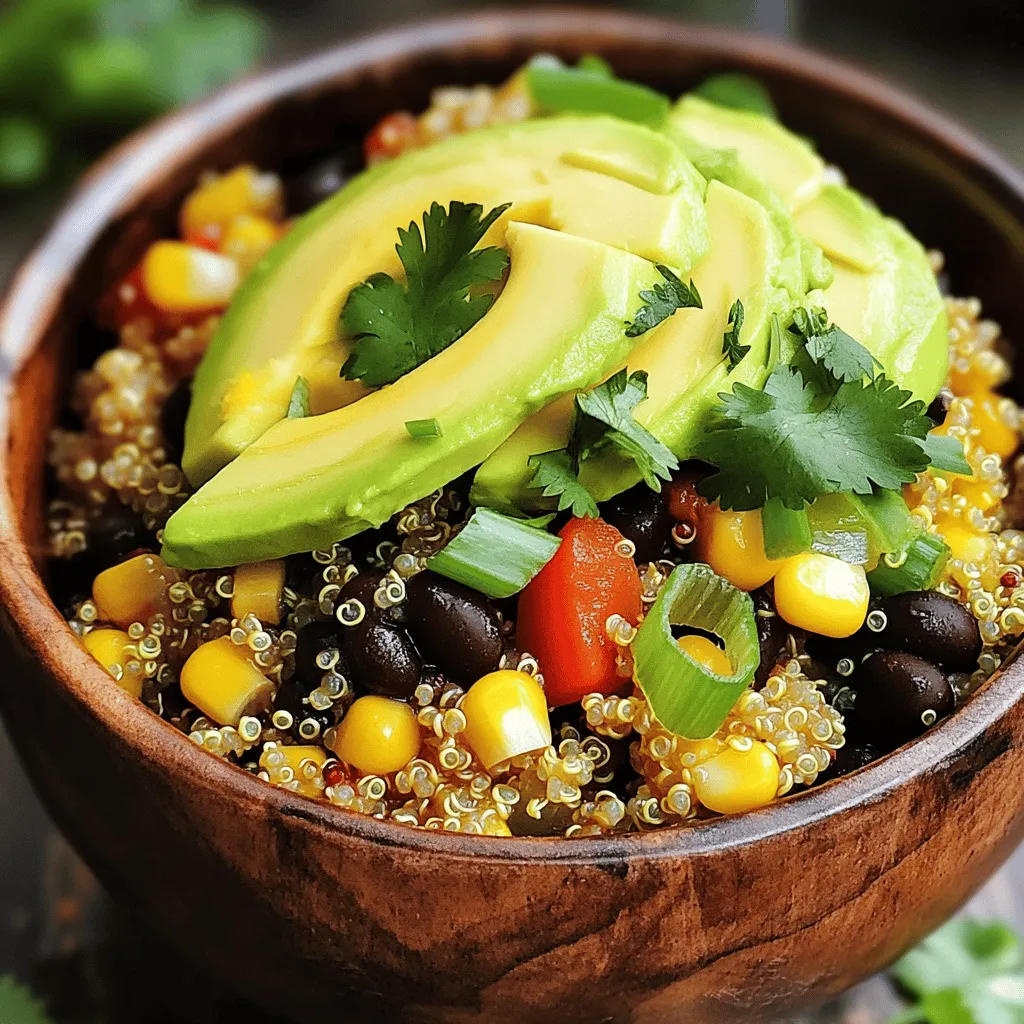
Looking for a tasty, healthy meal idea? The Savory Quinoa and Black Bean Bowl is simple and satisfying! This dish
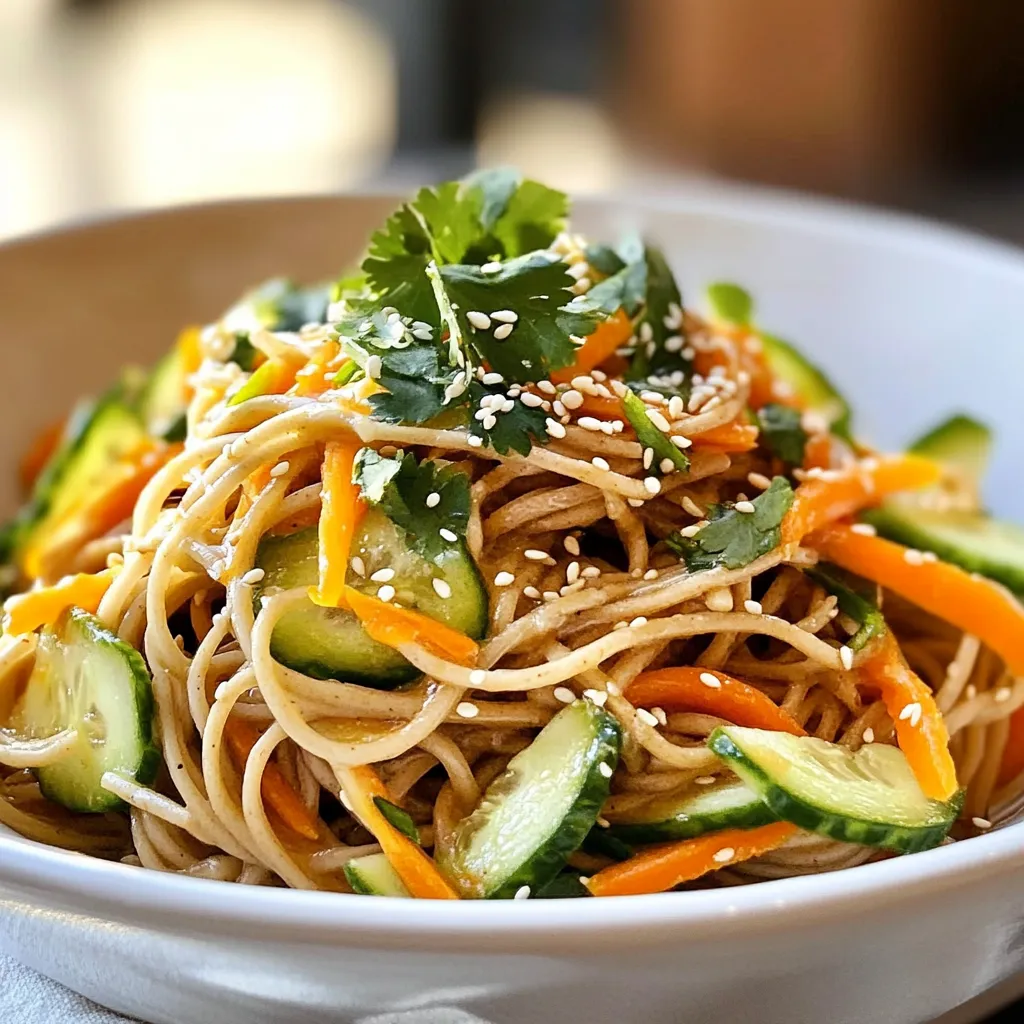
If you’re craving a refreshing dish with a spicy kick, you’re in the right place. These Spicy Sesame Cold Noodles

If you’re ready to spice up your grilling game, Caribbean Jerk Chicken Skewers are a must-try! This dish combines tender
![Cauliflower Mac and Cheese is a creamy and comforting dish. It combines tender cauliflower and rich cheese. This recipe is perfect for a family meal or a cozy night in. You can find the full recipe below. - 1 medium head of cauliflower, cut into bite-sized florets - 2 cups elbow macaroni (or gluten-free pasta of your choice) - 1 cup sharp cheddar cheese, freshly shredded - ½ cup mozzarella cheese, freshly shredded - ½ cup cream cheese, softened at room temperature - 1 cup milk (or your preferred non-dairy alternative) - 2 tablespoons unsalted butter - 2 cloves garlic, finely minced - ½ teaspoon onion powder - ½ teaspoon mustard powder - Salt and freshly cracked black pepper to taste - ½ cup breadcrumbs (optional, for a crunchy topping) - Fresh chives or parsley, finely chopped for garnish The sharp cheddar cheese gives a strong taste. The mozzarella adds creaminess. The cream cheese makes it extra smooth. Garlic and spices add depth to the dish. Using fresh ingredients enhances the flavor further. For gluten-free, use gluten-free pasta. For a dairy-free option, try plant-based cheese and non-dairy milk. You can still enjoy a rich and tasty dish without dairy. Just ensure to check the labels for any hidden gluten in processed items. 1. Preheating the oven: Start by preheating your oven to 350°F (175°C). This step is key for baking. A warm oven helps the dish cook evenly. 2. Cooking pasta and steaming cauliflower: In a big pot, bring salted water to a boil. Add 2 cups of elbow macaroni. Cook until al dente, which means it should be firm but not hard. After cooking, drain the pasta and set it aside. While pasta cooks, take a steamer basket and steam 1 medium head of cauliflower cut into florets. Steam for about 5-7 minutes. The florets should be tender but not mushy. 1. Melting butter and sautéing garlic: In a large saucepan, melt 2 tablespoons of unsalted butter over medium heat. Once it melts, add 2 cloves of finely minced garlic. Sauté for about 1 minute. This step adds great flavor to your sauce. 2. Incorporating cream cheese and other cheeses: Stir in ½ cup of softened cream cheese. Keep stirring until it melts into the butter. Gradually pour in 1 cup of milk, whisking until smooth. Now, add 1 cup of sharp cheddar cheese and ½ cup of mozzarella cheese. Stir constantly to blend everything well. Finally, mix in ½ teaspoon of onion powder and ½ teaspoon of mustard powder. Add salt and black pepper to taste. 1. Mixing pasta, cauliflower, and cheese sauce: In a large bowl, mix the cooked macaroni, steamed cauliflower, and cheese sauce. Make sure everything is well-coated in cheesy goodness. 2. Baking the dish to achieve perfect texture: Pour the mixture into a greased 9x13-inch baking dish. If you like, sprinkle ½ cup of breadcrumbs on top for a crunchy finish. Place the dish in the preheated oven and bake for 25-30 minutes. You want the dish to be bubbly and the top to be golden brown. For the full recipe, check the [Full Recipe]. To make a great cheese sauce, avoid common mistakes. Here are key points to keep in mind: - Use Fresh Cheese: Always shred cheese just before use. Pre-shredded cheese often has additives that can affect melting. - Control the Heat: Cook your sauce on low to medium heat. High heat can cause cheese to clump or separate. - Add Cheese Gradually: Stir in cheese a little at a time. This helps it melt smoothly into the sauce. To achieve a creamy and velvety sauce, follow these steps: - Start with a Roux: Melt butter and add flour to create a roux. This adds thickness and richness. - Whisk Constantly: When adding milk, whisk continuously. This helps prevent lumps. - Incorporate Cream Cheese: This ingredient adds creaminess. Mix it in early for a smooth texture. When you serve Cauliflower Mac and Cheese, think about sides and garnishes. Here are some great ideas: - Best Sides: Pair it with a fresh salad or roasted vegetables. These options balance the richness of the dish. - Garnishes: Top with fresh herbs like chives or parsley. They add color and a burst of flavor. - Crunchy Topping: For added texture, sprinkle breadcrumbs on top before baking. This gives a nice crunch. These tips will help you create a perfect dish every time. For the complete recipe, check out the Full Recipe. {{image_4}} For those who need gluten-free meals, you can still enjoy this dish. Use gluten-free pasta as your base. Many brands offer tasty options that mimic traditional pasta. Look for ones made from rice or quinoa. These choices cook well and provide a great texture. Next, adapt the cheese sauce. Most cheese sauces use flour for thickening. Instead, try cornstarch or arrowroot powder. Mix one tablespoon with a little cold water before adding it to the sauce. This keeps it creamy and rich without gluten. If you want a vegan version, plant-based cheese substitutes work great. Look for brands that melt well. Nutritional yeast also adds a cheesy flavor. You can mix it right into the cheese sauce for a tasty boost. For the milk, use non-dairy options. Almond, soy, or oat milk are all good choices. Just make sure to pick unsweetened versions. This way, you keep the dish savory and rich. Enjoy experimenting with these variations! For more details, check the Full Recipe. To keep your Cauliflower Mac and Cheese fresh, store it in an airtight container. This helps prevent moisture loss and keeps flavors intact. Place the dish in the fridge within two hours of cooking. It will last for about 3 to 5 days in the refrigerator. If you want to enjoy it later, consider freezing it. When reheating, the goal is to maintain that creamy texture. I recommend using the oven for the best results. Preheat your oven to 350°F (175°C) and place the dish in for about 20 minutes. Cover it with foil to trap moisture. You can also use the microwave, but heat it in short bursts. Stir in between to keep it creamy. If you decide to freeze it, wrap the dish tightly in plastic wrap and foil. This prevents freezer burn. It can last up to three months in the freezer. When you're ready to eat, thaw it in the fridge overnight before reheating. Enjoy every cheesy bite! For the complete recipe, check out the Full Recipe section. How do I prevent the cheese from separating? To stop cheese from separating, use low heat when making the sauce. Stir it gently and add cheese slowly. If you notice separation, try adding a bit more milk to help it blend. This method keeps the sauce creamy and smooth. Can I use different types of cheese? Absolutely! You can mix and match cheeses. Try gouda, fontina, or pepper jack for a twist. Each cheese adds a unique flavor. Just remember to use some cheese that melts well for the best results. Is Cauliflower Mac and Cheese healthier than traditional mac and cheese? Yes, it is generally healthier. Cauliflower adds fiber and vitamins while reducing carbs. Traditional mac and cheese is often high in calories and fat. Cauliflower helps make a lighter version that still tastes great. What are the nutritional benefits of using cauliflower? Cauliflower is low in calories and high in nutrients. It's rich in vitamin C, K, and folate. It also provides antioxidants that help fight disease. Using cauliflower boosts the dish's health profile while keeping it tasty. Can I add vegetables to the dish? Yes, you can add many vegetables! Spinach, broccoli, or peas work well. Just cook them before mixing in. This extra step ensures they soften and blend well with the mac and cheese. How can I make it spicier or more flavorful? Add spices like cayenne pepper or red pepper flakes for heat. You can also mix in mustard or hot sauce for extra flavor. Experiment with herbs like thyme or rosemary for a fresh taste. These tweaks make your dish unique and exciting! [Full Recipe] This blog post covered a simple way to make delicious Cauliflower Mac and Cheese. We discussed key ingredients, cooking steps, and tips for great cheese sauce. You learned about gluten-free and vegan options, plus how to store and reheat leftovers. Experiment with this recipe to make it your own. Enjoy pairing it with tasty sides or adding your favorite ingredients. Cooking is all about fun and creativity. Now, you have the tools to make your dish amazing. Enjoy your cooking journey!](https://spoonfulsavory.com/wp-content/uploads/2025/05/b55c52ff-1945-4c43-a65a-dafe5af56a2b.webp)
Looking for a comforting dish that’s both creamy and healthier? You’re in the right place! My Cauliflower Mac and Cheese
Looking for an easy and tasty dinner that’s sure to impress? Honey Mustard Chicken Thighs are the answer! This recipe
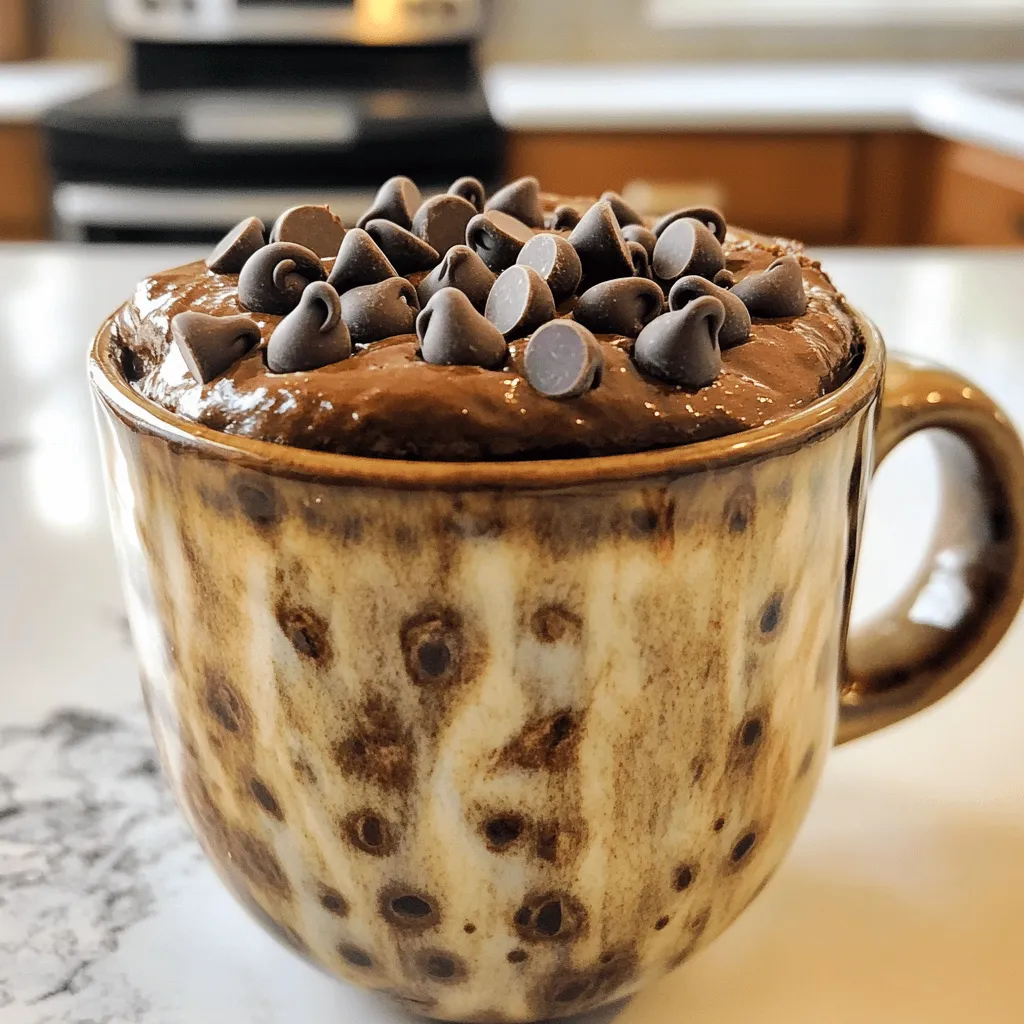
Craving something sweet but short on time? Then you’ll love my quick and easy vegan chocolate mug cake! This delicious
