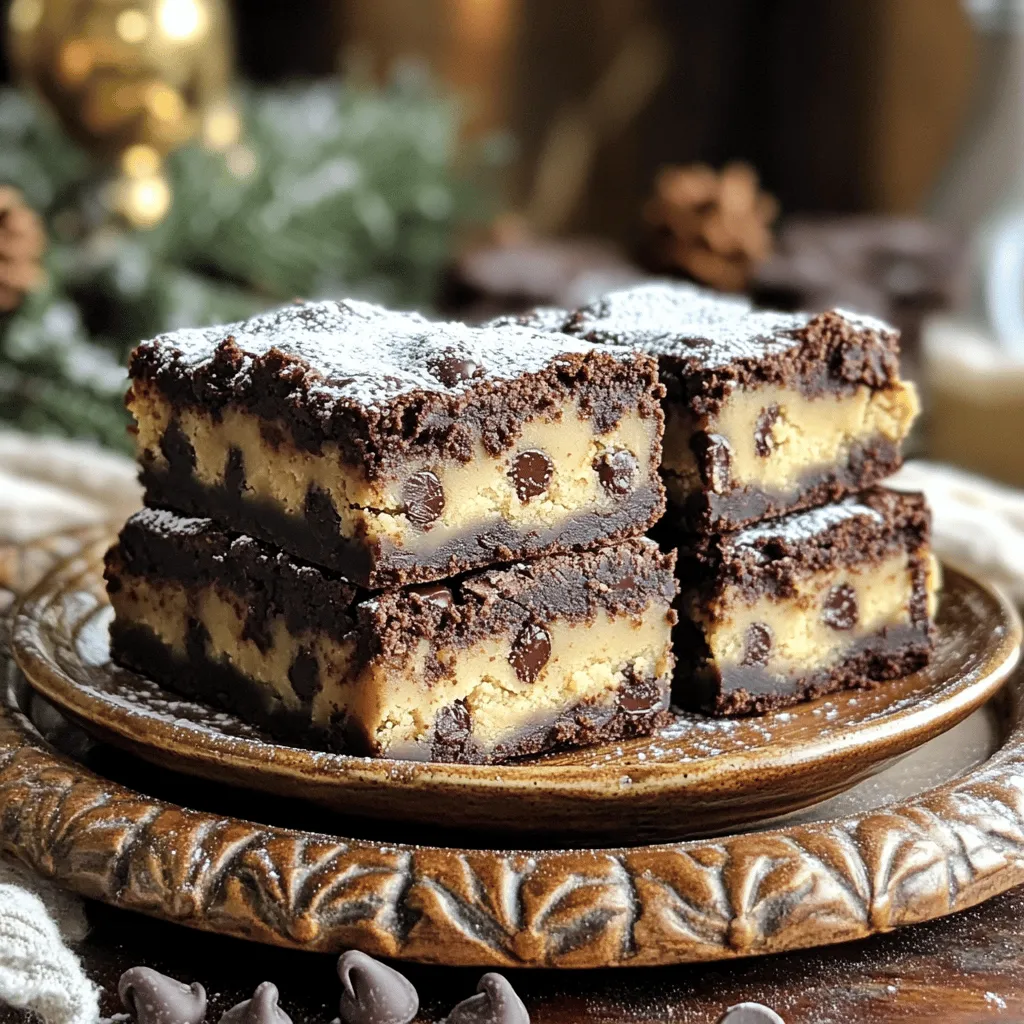
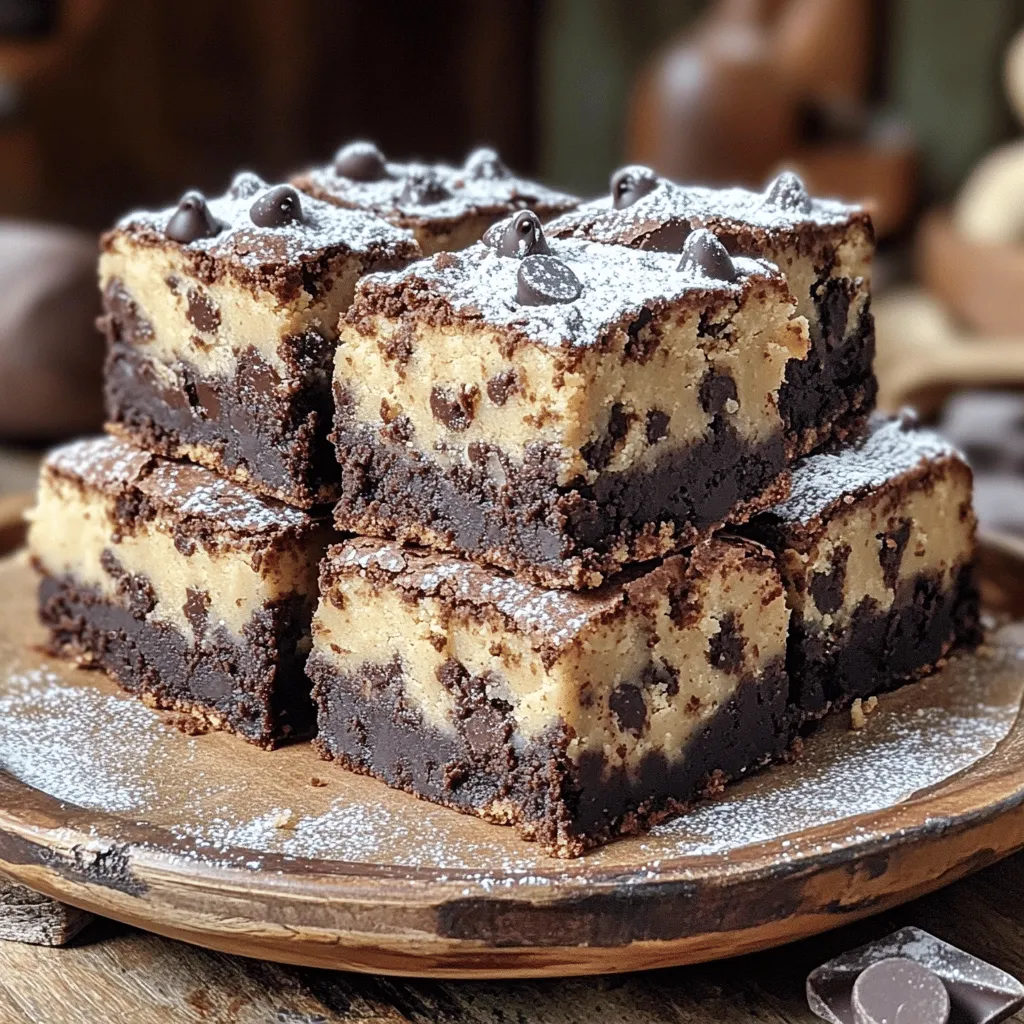
Get ready for a dessert that blends two favorites into one dreamy treat! These Chocolate Chip Cookie Dough Brownies are easy to make and oh-so-delicious. With a rich brownie base topped with creamy cookie dough, each bite is a sweet delight. Whether you’re baking for yourself or impressing friends, this recipe gives you the perfect mix of flavors and textures. Let’s dive into the ingredients and steps to create this irresistible treat!
Ingredients
For the Brownie Layer
– 1 cup unsalted butter, melted
– 2 cups granulated sugar
– 1 cup packed brown sugar
– 4 large eggs
– 2 teaspoons vanilla extract
– 1 cup all-purpose flour
– 1 cup unsweetened cocoa powder
– 1/2 teaspoon baking powder
– 1/4 teaspoon salt
– 1 cup semi-sweet chocolate chips
For the Cookie Dough Layer
– 1/2 cup unsalted butter, softened
– 3/4 cup granulated sugar
– 1/4 cup packed brown sugar
– 2 tablespoons milk
– 1 teaspoon vanilla extract
– 1 cup all-purpose flour
– 1/2 cup semi-sweet chocolate chips
When making Chocolate Chip Cookie Dough Brownies, you need quality ingredients. The brownie layer starts with melted butter, giving a rich base. Granulated and brown sugars add sweetness and depth. Eggs help bind the mixture, while vanilla adds flavor.
Next, all-purpose flour and cocoa powder create that fudgy texture. Baking powder helps the brownies rise, and salt enhances the flavor. Semi-sweet chocolate chips add bursts of chocolate goodness.
For the cookie dough layer, softened butter is key. It blends well with both sugars, creating a fluffy mix. Milk and vanilla add moisture and taste. All-purpose flour gives the dough structure, and more chocolate chips make it irresistible.
With these ingredients, you craft a dessert that layers rich brownie and sweet cookie dough.
Step-by-Step Instructions
Preparing the Pan
– Preheat the oven to 350°F (175°C).
– Grease a 9×13 inch baking pan and line it with parchment paper.
Making the Brownie Batter
– Combine melted butter, granulated sugar, and brown sugar in a bowl.
– Incorporate eggs, one at a time, and stir in vanilla extract.
– Gradually add the dry ingredients and fold in chocolate chips.
Preparing the Cookie Dough Layer
– Cream together softened butter, granulated sugar, and brown sugar until fluffy.
– Mix in milk and vanilla extract until smooth and creamy.
– Gradually incorporate flour and fold in chocolate chips.
Assembling the Layers
– Spread half of the brownie batter in the prepared pan.
– Drop spoonfuls of cookie dough evenly over the brownie layer.
– Pour the remaining brownie batter over the cookie dough layer.
Baking Instructions
– Bake for 30-35 minutes in the preheated oven.
– Use a toothpick to check for doneness; it should have moist crumbs attached.
Cooling Instructions
– Allow brownies to cool in the pan for 15 minutes after baking.
– Lift out using the parchment paper and cool completely on a wire rack.Enjoy these delicious treats!
Tips & Tricks
Achieving the Best Texture
To get the best texture in your brownies, avoid overmixing the batter. Overmixing can make the brownies tough. Mix just until the dry and wet ingredients blend. For the cookie dough, use room temperature ingredients. This helps the dough come together smoothly and makes it easier to scoop.
Presentation Tips
Serve your brownies on a decorative platter for a lovely look. You can dust the tops with powdered sugar for a sweet touch. Another option is to drizzle melted chocolate over the brownies. This adds style and makes them even more tempting.
Baking Tips
Always preheat your oven fully before baking. A hot oven ensures even baking. To check if your brownies are done, use a toothpick. Insert it into the center; it should come out with moist crumbs, not wet batter. This trick helps you achieve that perfect bake every time.
Variations
You can easily change the Chocolate Chip Cookie Dough Brownies to fit your needs. Here are some great options:
Gluten-Free Option
To make these brownies gluten-free, just swap the all-purpose flour for a gluten-free flour blend. Many blends work well. They will still taste amazing, and no one will know!
Vegan Version
If you want a vegan treat, you can use flax eggs instead of regular eggs. Just mix 1 tablespoon of ground flaxseed with 2.5 tablespoons of water for each egg. You can also use dairy-free butter alternatives to keep it vegan. This way, everyone can enjoy these delicious brownies.
Additional Flavorings
You can make your brownies even better by adding different flavors. Try mixing in nuts like walnuts or pecans for some crunch. You can also use white chocolate chips or dark chocolate chips instead of semi-sweet ones. This gives a fun twist to the classic recipe.
Storage Info
Short-Term Storage
Store your brownies in an airtight container at room temperature. They stay fresh for up to 5 days. This way, you can enjoy them daily without losing flavor or texture.
Long-Term Storage
If you have leftovers, freeze them in an airtight container. They can last for up to 3 months. Just make sure to wrap them well to avoid freezer burn. This method lets you enjoy these treats later without any fuss.
Reheating Instructions
To bring back the warm, gooey goodness, warm the brownies in the microwave. Just a few seconds will do the trick. You want them warm, not hot, to keep the texture just right.
FAQs
Can I make these brownies ahead of time?
Yes, you can prepare them a day in advance. Just store them in an airtight container. This helps keep them fresh and ready to enjoy when you are.
How do I know when the brownies are done?
Look for set edges and a toothpick test for moist crumbs. Insert a toothpick in the center. If it comes out with moist crumbs, they are ready!
Can I substitute ingredients in this recipe?
Yes, there are multiple variations for different dietary needs. You can use gluten-free flour or swap in dairy-free butter. Just make sure to use the same amounts.
What’s the best way to cut brownies?
Use a sharp knife and clean it between cuts for neat squares. This keeps them looking great and makes serving easier!
This blog post laid out a simple recipe for delicious brownie-cookie dough bars. You learned how to make both layers, assemble them, and bake them to perfection. I shared tips for the best texture and ways to customize your bars. Finally, I covered storage options and answered common questions. Enjoy baking these treats! You won’t just please your taste buds but also impress your friends and family. Happy baking!