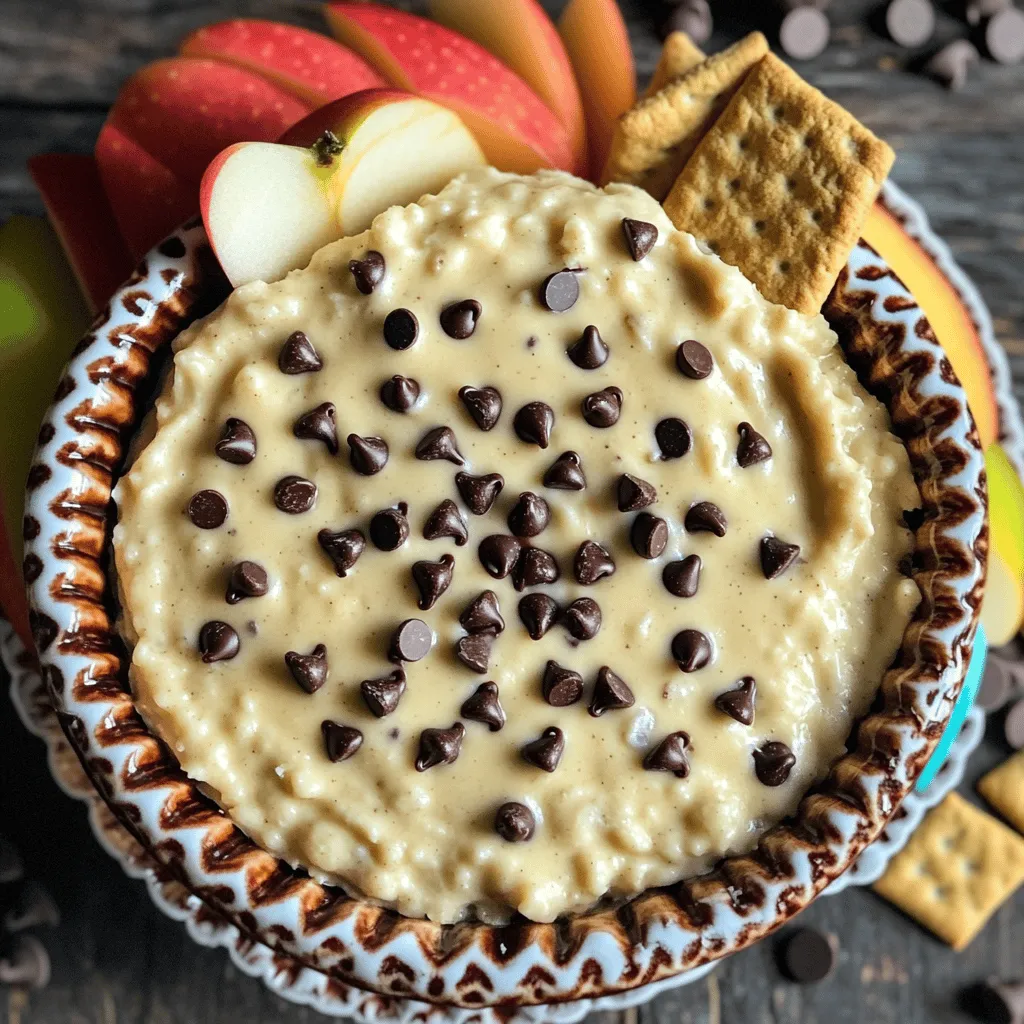
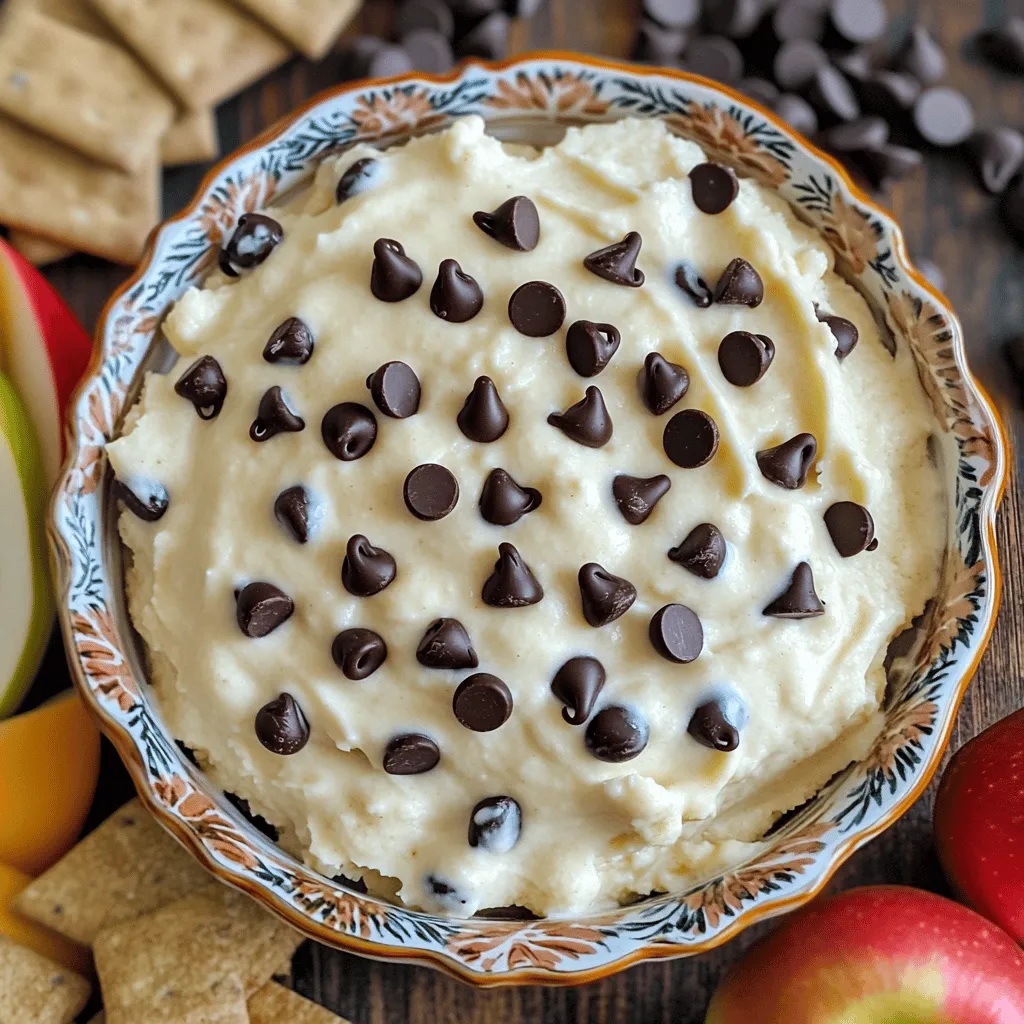
Are you ready to treat your taste buds? This Chocolate Chip Cookie Dough Dip is both delicious and easy to make! It’s perfect for parties, late-night snacks, or just indulging yourself. With safe, heat-treated flour and gooey chocolate chips, you’ll get all the joys of cookie dough without baking. Let me guide you through this fun recipe step-by-step, filled with tips to make it even better!
Ingredients
Complete List of Ingredients for Chocolate Chip Cookie Dough Dip
To make this delicious dip, gather these ingredients:
– 1 cup all-purpose flour (heat-treated for safety)
– 1/2 cup packed brown sugar
– 1/2 cup granulated sugar
– 1/2 cup unsalted butter, softened at room temperature
– 2 teaspoons pure vanilla extract
– 1/4 teaspoon fine sea salt
– 1/2 cup mini chocolate chips
– 1/2 cup cream cheese, softened, at room temperature
– 1/2 cup powdered sugar
– Optional: 1 cup whipped topping (for a light and airy texture)
Importance of Heat-Treated Flour for Safety
Using heat-treated flour is key for safety. Raw flour can have harmful germs. Heat-treating kills these germs, making it safe to eat. You can heat-treat flour by baking it. Spread flour on a baking sheet and bake at 350°F for 5-7 minutes. Let it cool before using. This step keeps your dip safe and tasty.
Optional Ingredients for Added Flavor and Texture
You can add a few optional ingredients to enhance your dip. Consider using:
– 1 cup whipped topping for a fluffy texture
– A pinch of cinnamon for warmth
– Chopped nuts like walnuts for crunch
These extras can make your dip even more delightful. You can mix and match based on what you like!
Step-by-Step Instructions
Detailed Instructions on Preparing the Dip
To make this dip, start with a large mixing bowl. Add the softened butter, brown sugar, granulated sugar, and cream cheese. Use a hand mixer to blend until smooth and creamy. It should be free of lumps. Next, pour in the vanilla extract and add the fine sea salt. Mix until both are well combined.
Now, it’s time for the flour. Gradually sift in the heat-treated flour. Use a spatula to stir gently. Keep mixing until you achieve a cookie dough-like texture. This step is key for getting the right consistency.
Finally, fold in the mini chocolate chips. This ensures they spread evenly throughout the dip. If you want a lighter texture, mix in whipped topping. Do this gently to keep the airiness intact.
Mixing Techniques for the Best Texture
For the best texture, always start with softened ingredients. This makes mixing easier and gives a smoother finish. When adding the flour, do it slowly. This prevents clumps and helps you control the texture better.
When folding in chocolate chips or whipped topping, use a spatula. This technique helps maintain the lightness of the mixture. Avoid over-mixing after adding these ingredients. You want to keep the dip fluffy and fun.
Chilling the Dip for Optimal Flavor
After mixing, transfer the dip to a serving bowl. Use a spatula to smooth the top and make it look nice. Cover the bowl with plastic wrap and refrigerate for at least 30 minutes. Chilling allows the flavors to blend and grow more delicious.
Serving this dip cold enhances its taste. It makes each bite more refreshing and enjoyable. So, do not skip this step! Enjoy your delightful creation with your favorite dippers.
Tips & Tricks
Tips for Achieving a Creamy Consistency
To get a creamy dip, start with room-temperature butter and cream cheese. This helps them blend smoothly. Use a hand mixer for best results. Mix until all the lumps are gone. If the dip seems too thick, add a bit of milk. This will help you achieve that dreamy texture.
Tricks for Flavor Enhancements and Substitutions
Want to kick up the flavor? Try adding a pinch of cinnamon or a splash of almond extract. If you like nuts, mix in chopped walnuts or pecans. You can also switch the mini chocolate chips for white chocolate or dark chocolate pieces. This gives a fun twist to the dip!
Presentation Ideas for Serving
For a great presentation, serve the dip in a pretty bowl. Add some fun dippers around it. Think graham crackers, pretzels, or fresh fruit slices. You can even use mini cookies for an extra treat. Before serving, sprinkle extra mini chocolate chips on top. This makes it look yummy and inviting!
Variations
Different Flavor Combinations to Try
You can easily change the flavor of your Chocolate Chip Cookie Dough Dip. Here are some fun ideas:
– Peanut Butter: Add 1/3 cup of creamy peanut butter to the mix. This gives a rich, nutty taste.
– Brownie Batter: Use cocoa powder instead of half of the flour. This will create a chocolatey twist.
– Mint Chocolate Chip: Stir in some peppermint extract and green food coloring. This adds a fresh flavor for mint lovers.
– S’mores: Mix in crushed graham crackers and mini marshmallows. It brings the campfire treat to your dip.
Healthier Alternatives for Ingredients
You can make this dip a bit healthier with simple swaps. Here are some options:
– Greek Yogurt: Replace cream cheese with Greek yogurt for a protein boost.
– Coconut Sugar: Use coconut sugar instead of brown and granulated sugar. It has a lower glycemic index.
– Nut Butters: Substitute butter with almond or cashew butter. This adds healthy fats and flavor.
– Stevia or Monk Fruit: For a low-calorie sweetener, try stevia or monk fruit instead of sugar.
Dietary Considerations and Modifications
This dip can fit different diets with some tweaks:
– Gluten-Free: Use gluten-free flour instead of all-purpose flour. Ensure all other ingredients are gluten-free.
– Vegan: Swap butter and cream cheese for plant-based alternatives. Use a vegan whipped topping too.
– Nut-Free: Choose seed butter instead of nut butter for those with nut allergies.
By mixing and matching these ideas, you can create a dip that suits your taste and dietary needs. Enjoy the endless possibilities!
Storage Info
Best Practices for Storing Leftover Dip
To keep your chocolate chip cookie dough dip fresh, store it in an airtight container. This helps prevent it from drying out. Make sure to press plastic wrap directly onto the dip’s surface before sealing the container. This extra step reduces air exposure and keeps the dip creamy. You can store it in the fridge for up to five days.
How to Freeze Chocolate Chip Cookie Dough Dip
Freezing the dip is an excellent option if you want to save some for later. First, scoop the dip into a freezer-safe container. Leave some space at the top, as the dip may expand when frozen. Seal the container tightly and label it with the date. You can freeze it for up to three months.
Tips for Thawing and Reusing
When you’re ready to enjoy your frozen dip, take it out of the freezer and move it to the fridge. Let it thaw overnight. If you need it sooner, you can thaw it at room temperature for about two hours. After thawing, mix it well to restore its creamy texture. If it seems too thick, add a touch of cream cheese or whipped topping to make it smooth again.
FAQs
Can I use regular flour instead of heat-treated flour?
No, you should not use regular flour. Regular flour may contain harmful bacteria. Heat-treated flour is safe to eat raw. You can heat it in the oven for five minutes at 350°F to make it safe. This step is very important for your health.
How long can I store the dip in the refrigerator?
You can store the dip for about five days. Just keep it in an airtight container. Make sure to cover it well so it stays fresh. If you notice any change in smell or color, it’s best to throw it out.
What are the best dippers for this Chocolate Chip Cookie Dough Dip?
Some great dippers include:
– Graham crackers
– Pretzels
– Crisp apple slices
– Mini cookies
– Vanilla wafers
These dippers pair well with the sweet and creamy dip. Feel free to mix and match your favorites! For a fun twist, try using different flavored dippers to create new tastes. Enjoy exploring different options!
You learned about the joy of making Chocolate Chip Cookie Dough Dip. We covered key ingredients, ensuring safety with heat-treated flour. I shared simple steps to create the dip with the best texture. You got tips for creaminess and flavor boosts. Variations let you try new flavors or healthier options. I also included storage advice to enjoy leftovers.
Now, you have everything needed to make this fun treat.