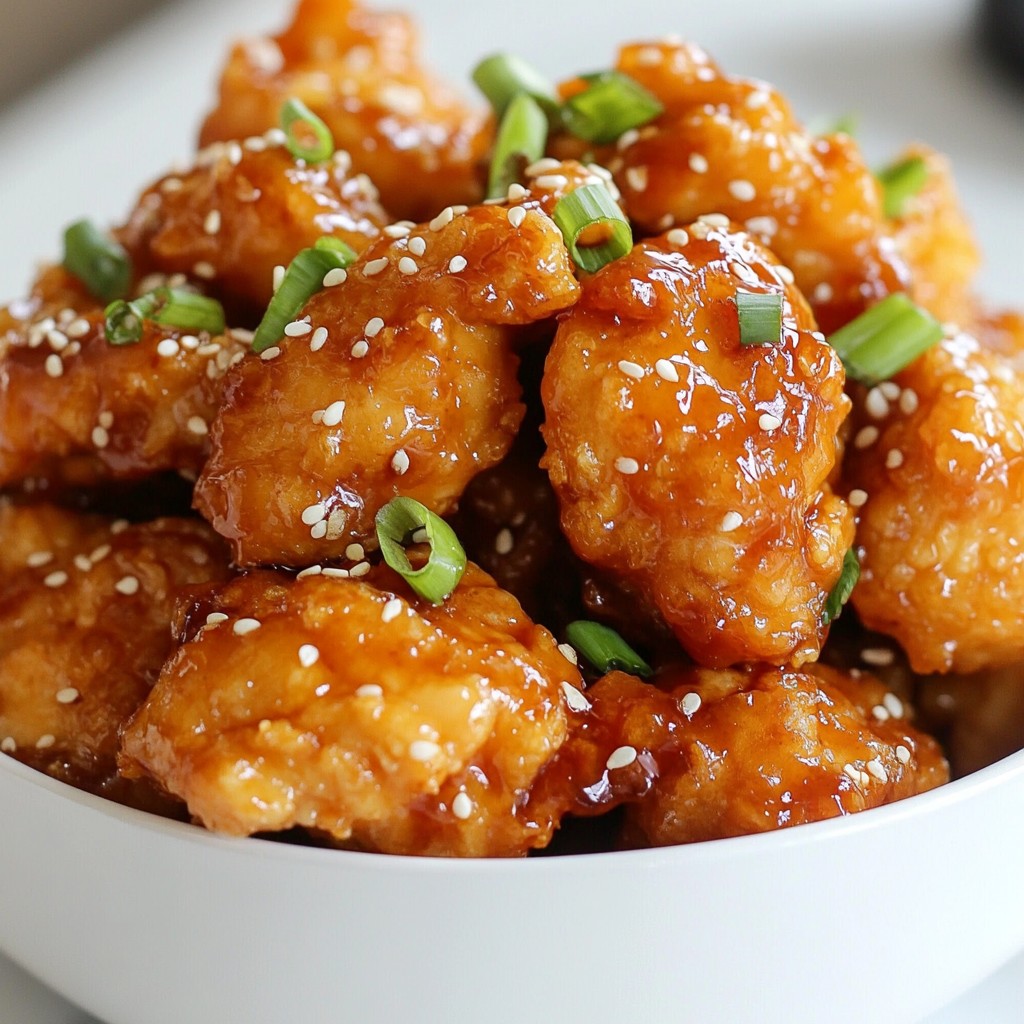
Do you crave something crispy, savory, and sweet? Look no further than this Crispy Honey Garlic Chicken recipe! It’s easy to make, and the steps are simple. With just a few ingredients, you can create a dish that’s bursting with flavor. Whether you're cooking for guests or treating yourself, this recipe will impress. Let's dive in and discover how to make this delicious meal together!
Why I Love This Recipe
- Crispy Texture: The chicken is perfectly crispy on the outside, making every bite satisfying and enjoyable.
- Sweet and Savory Balance: The honey garlic sauce adds a delightful sweetness combined with umami, creating an irresistible flavor profile.
- Quick and Easy: This recipe is simple to follow and can be made in just 30 minutes, perfect for busy weeknights.
- Customizable: You can easily adjust the sauce ingredients to your taste or add your favorite spices to the batter for a unique twist.
Ingredients
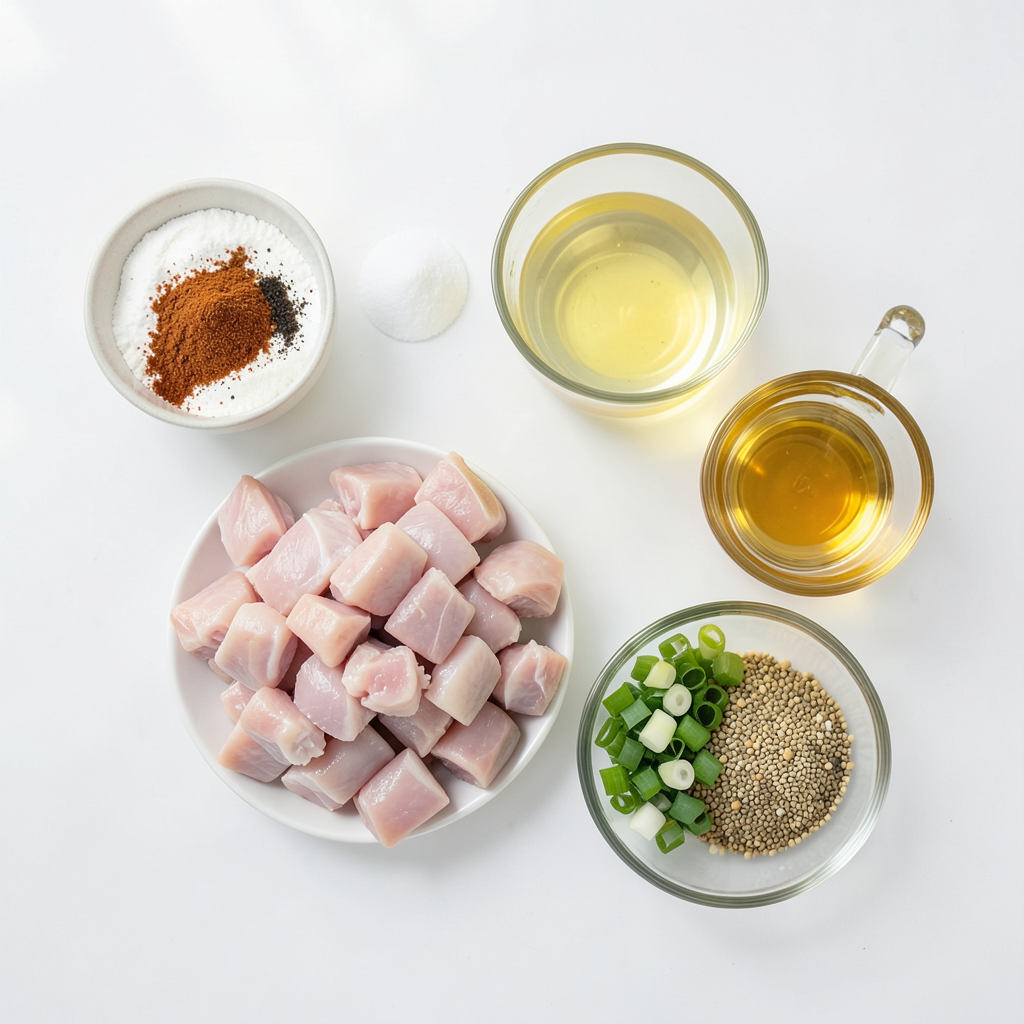
List of Ingredients with Measurements
- 1 lb (450g) boneless, skinless chicken thighs, cut into bite-sized pieces
- 1 cup all-purpose flour
- 1 teaspoon baking powder
- 1 teaspoon garlic powder
- 1/2 teaspoon paprika
- 1/2 teaspoon salt
- 1/4 teaspoon black pepper
- 1/4 cup water (adjust for consistency)
- Vegetable oil, for frying
- 1/2 cup honey
- 3 cloves garlic, minced
- 1 tablespoon soy sauce
- 1 tablespoon rice vinegar
- 1 teaspoon sesame seeds, for garnish
- 2 green onions, finely chopped, for garnish
Optional Garnishes
You can make this dish pop with some fun garnishes. I love adding sesame seeds for crunch and green onions for a fresh taste. Both make the dish look pretty, too!
Substitutions for Key Ingredients
If you need to swap some items, here are easy options:
- Use chicken breast instead of thighs if you prefer leaner meat.
- Almond flour or coconut flour can replace all-purpose flour for a gluten-free dish.
- Maple syrup can work well instead of honey for a different sweet flavor.
- If you don’t have rice vinegar, use apple cider vinegar for a nice tang.
These simple changes keep the dish tasty while fitting your needs.
Step-by-Step Instructions
Preparation of the Chicken
Start by cutting the chicken thighs into small, bite-sized pieces. This helps them cook evenly. Place the cut chicken in a bowl and set it aside. You want to ensure the chicken is ready for the next steps.
Making the Breading
In a large bowl, mix together the flour, baking powder, garlic powder, paprika, salt, and black pepper. These spices add great flavor. Gradually pour in the water while stirring. Keep mixing until you have a thick batter. If it’s too thick, add a bit more water. You want it just right for coating the chicken.
Tips for Coating the Chicken
Take each piece of chicken and dip it into the batter. Make sure to coat it well, so every bit of chicken is covered. After dipping, shake off the extra batter. This will help prevent clumps in the hot oil. If you want extra crunch, you can double coat the chicken by dipping it again. This makes the chicken even crispier when you fry it!
Cooking Method
Heating the Oil: Ideal Temperature
Start by heating the oil in a deep skillet. Pour in enough vegetable oil to cover the bottom by half an inch. You want the oil at 350°F (175°C). To check if it’s hot enough, drop a small amount of batter into the oil. If it sizzles, the oil is ready. Using the right temperature makes your chicken crispy.
Frying Chicken to Perfection
Once the oil is hot, carefully add the coated chicken pieces in batches. Do not overcrowd the pan; this helps keep the heat steady. Fry each batch for about 5-7 minutes on each side. Look for a golden brown color for doneness. Use a slotted spoon to remove the chicken and let it drain on a plate lined with paper towels. This step keeps it crispy and not oily.
Draining and Preparing for Sauce
After frying, let the chicken cool slightly. The paper towels will absorb extra oil. While it cools, prepare the honey garlic sauce in a separate pan. This sauce adds flavor to the chicken. Toss the warm, crispy chicken in the sauce for a tasty finish.
Pro Tips
- Use Cornstarch for Extra Crispiness: For an even crispier coating, consider mixing a tablespoon of cornstarch into your flour mixture. This will enhance the crunch factor of your chicken.
- Let the Chicken Rest: After frying, allow the chicken to rest for a few minutes before tossing it in the sauce. This helps maintain the crispiness of the coating.
- Adjust Sauce Sweetness: If you prefer a less sweet sauce, reduce the amount of honey or balance it with a splash of lime juice for a tangy twist.
- Experiment with Garlic: For a more intense garlic flavor, sauté the minced garlic in a little oil before adding it to the sauce. This adds a depth of flavor and enhances the overall taste.
Honey Garlic Sauce Preparation
Ingredients for the Sauce
To make the honey garlic sauce, gather these simple ingredients:
- 1/2 cup honey
- 3 cloves garlic, minced
- 1 tablespoon soy sauce
- 1 tablespoon rice vinegar
Cooking the Sauce to Desired Consistency
Start by combining the honey, minced garlic, soy sauce, and rice vinegar in a saucepan. Place the saucepan over low heat. Stir the mixture until it blends well. Allow it to simmer gently. This process helps the flavors meld together and thicken the sauce. Keep an eye on it—too much heat will burn the garlic. You want a smooth, sticky sauce that coats the chicken perfectly.
Tips for Perfecting Flavor
To enhance your sauce, consider these tips:
- Use fresh garlic for a brighter taste.
- Adjust the honey for sweetness; more honey means a sweeter sauce.
- Add a pinch of red pepper flakes if you like some heat.
- Simmer the sauce longer for a thicker consistency.
These small changes can make a big difference in flavor, turning a good sauce into a great sauce. Enjoy experimenting with it!
Tips & Tricks
Achieving Extra Crispy Texture
To get that perfect crispy texture, start with cold batter. Cold batter sticks better. Use enough oil to fry the chicken. Oil should cover half the chicken pieces. This helps them fry evenly. When frying, do not overcrowd the pan. Fry in small batches to keep the heat steady. Let each piece cook for about 5-7 minutes. Flip them to get both sides golden brown. For added crunch, you can double coat the chicken. Dip each piece, let it sit, then dip again before frying.
Common Mistakes to Avoid
One common mistake is using hot batter. It can lead to soggy chicken. Another mistake is frying too many pieces at once. This cools the oil and ruins crispiness. Make sure to drain the chicken on paper towels. This removes excess oil, keeping it crispy. Also, don’t skip the resting time after cooking. Letting it rest for a few minutes helps keep the texture.
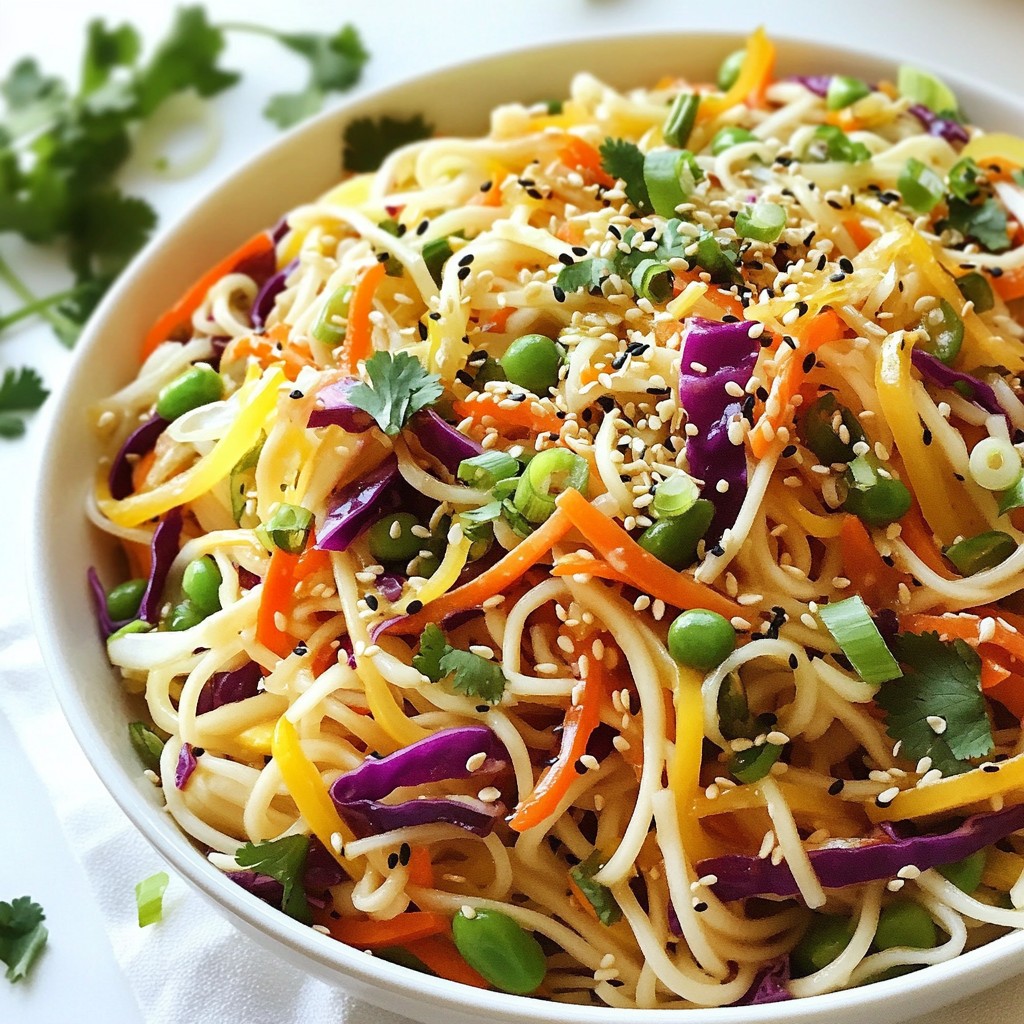
Serving Suggestions for Best Experience
Serve your crispy honey garlic chicken hot. A bed of steamed rice or noodles works great. Add some fresh veggies for color and crunch. You can also serve it with a side of coleslaw. The coolness of coleslaw balances the warm chicken. For extra flavor, drizzle more honey garlic sauce on top. Garnish with sesame seeds and green onions for a nice touch. Enjoy your meal with friends or family for a fun time!
FAQs
How can I make this recipe gluten-free?
To make crispy honey garlic chicken gluten-free, swap the all-purpose flour. Use a gluten-free flour blend. Brands like Bob's Red Mill or King Arthur Flour work well. Make sure the baking powder is also gluten-free. Check labels for soy sauce too. You can find gluten-free soy sauce options at most stores. Follow the same steps in the recipe, and your chicken will be just as tasty!
Can I bake the chicken instead of frying it?
Yes, you can bake the chicken for a healthier option. Preheat your oven to 400°F (200°C). After coating the chicken, place it on a lined baking sheet. Spray or brush the chicken with a little oil for crispiness. Bake for about 20-25 minutes, flipping halfway through. Check for golden brown color and ensure the chicken is cooked through. Baking gives a different texture but still retains great flavor!
What can I serve with crispy honey garlic chicken?
Crispy honey garlic chicken pairs well with many side dishes. Here are a few ideas:
- Steamed rice or fried rice
- Stir-fried vegetables
- A fresh salad with a light dressing
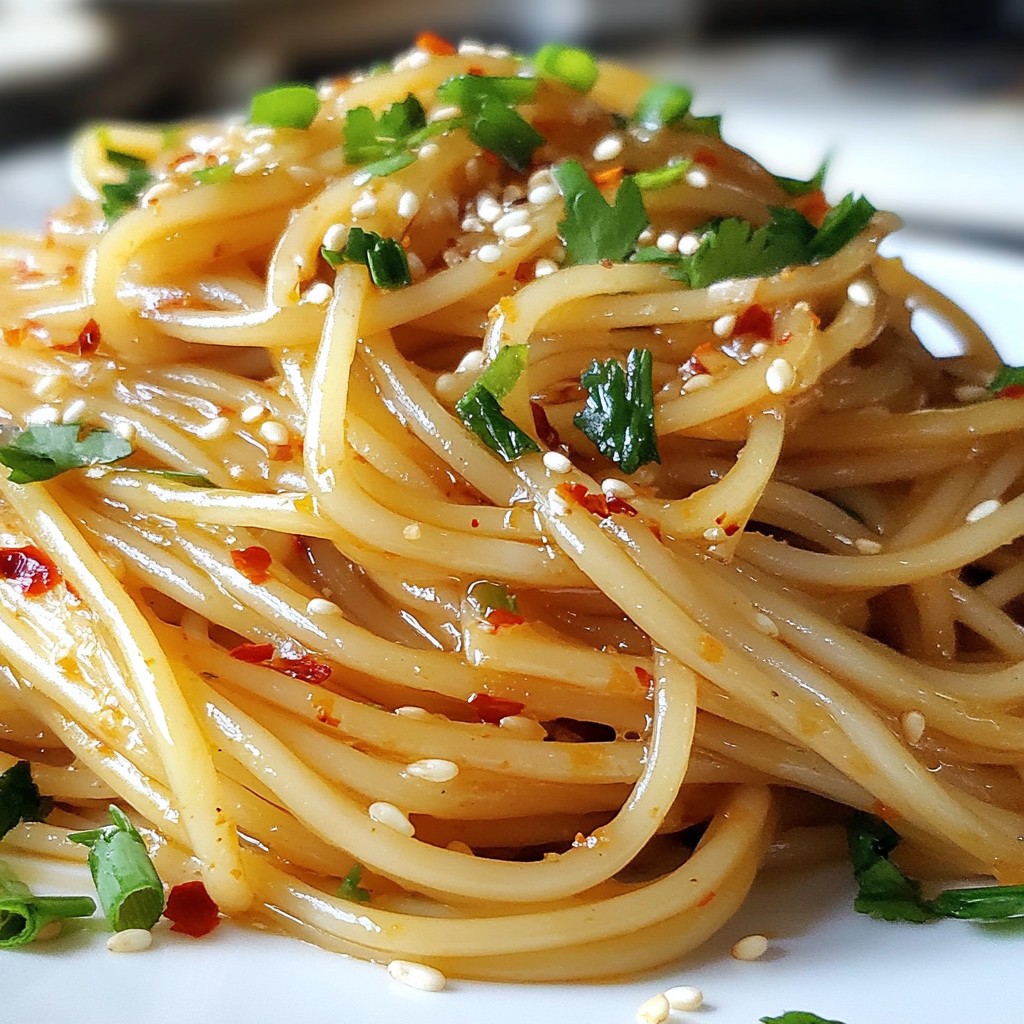
- Noodles tossed in soy sauce
- Roasted sweet potatoes or broccoli
These sides balance the sweet and savory notes of the chicken. Enjoy!
This blog post shared how to make crispy honey garlic chicken, covering all key steps. We talked about the ingredients, cooking method, and sauce preparation. I also shared tips for extra crispiness and common mistakes to avoid.
If you follow these instructions, you will create a tasty dish that impresses. Don’t forget to try different garnishes and serving ideas to match your taste. Happy cooking!