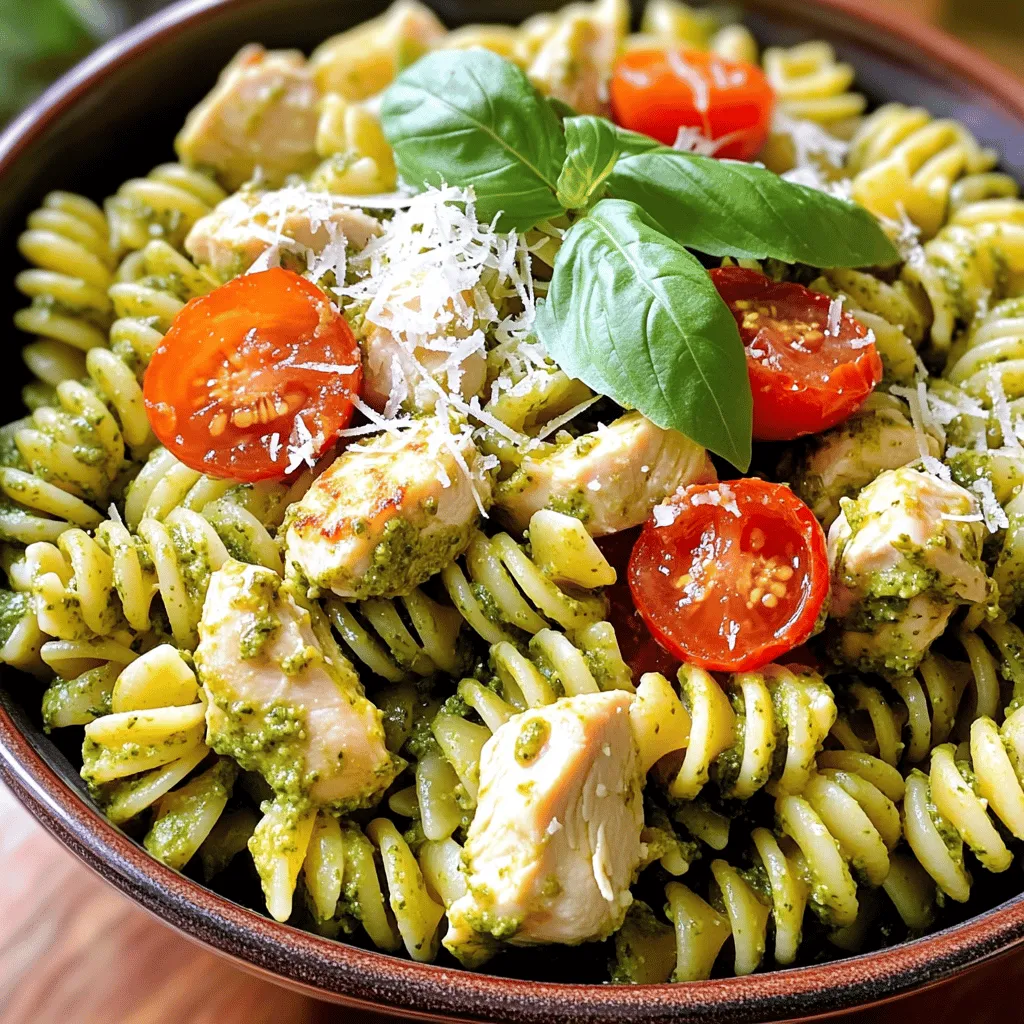
Are you craving a quick and tasty dinner? Try this Easy Chicken Pesto Pasta! With just a few ingredients, you can create a flavorful meal in no time. Picture tender chicken, zesty basil pesto, and a burst of cherry tomatoes all tossed with rotini pasta. In this guide, I’ll walk you through every step, share tips for perfecting your dish, and offer fun variations. Let’s dive in and get cooking!
Ingredients
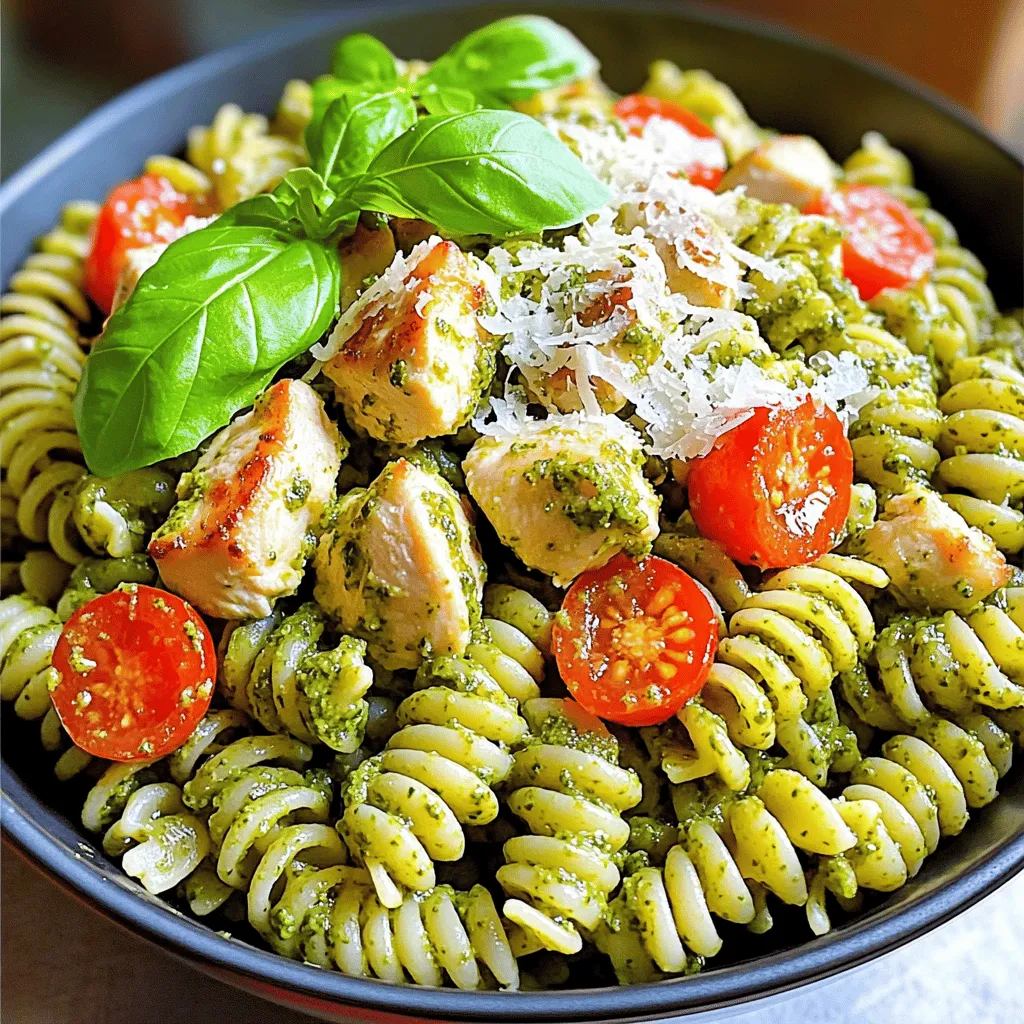
To make this easy chicken pesto pasta, you need a few simple ingredients. Each one adds flavor and texture to your dish. Here is the list of ingredients you’ll need:
– 2 cups rotini pasta
– 2 tablespoons extra virgin olive oil
– 2 boneless, skinless chicken breasts, diced into bite-sized pieces
– Salt and freshly cracked black pepper to taste
– 1 cup basil pesto (store-bought or homemade)
– 1 cup cherry tomatoes, halved
– ½ cup freshly grated Parmesan cheese
– A handful of fresh basil leaves for garnish
These ingredients come together to create a quick and delightful meal. The rotini pasta holds the sauce well, while the chicken adds protein. The basil pesto gives the dish its rich flavor, and the cherry tomatoes add a nice pop of color and freshness. Parmesan cheese melts beautifully over the warm pasta, making every bite delicious. Fresh basil leaves on top not only look good, but they also enhance the taste.
Step-by-Step Instructions
Cooking the Pasta
Bringing Water to a Boil
Start by filling a large pot with water. Add a good amount of salt. Bring the water to a full boil. This step helps flavor the pasta.
Cooking Time for Rotini
Once boiling, add 2 cups of rotini pasta. Cook it for 8 to 10 minutes. You want it to be al dente, which means firm but not hard. After cooking, drain the pasta. Save a cup of the pasta water for later.
Sautéing the Chicken
How to Cook Chicken Perfectly
In a large skillet, pour in 2 tablespoons of olive oil. Heat it over medium heat. Add the diced chicken breasts. Cook for 7 to 10 minutes. Make sure to stir often. The chicken should be golden brown and fully cooked.
Seasoning Tips
While cooking, season the chicken with salt and freshly cracked black pepper. This simple seasoning brings out the chicken’s flavor.
Combining Ingredients
Tossing Pasta with Pesto
Once the chicken is done, add the cooked rotini to the skillet. Pour in 1 cup of basil pesto. Use tongs or a spatula to toss everything together. Make sure the pasta is well coated.
Adjusting Texture with Pasta Water
If the dish seems dry, add a splash of the reserved pasta water. This will give the dish a creamier texture and help the pesto stick better.
Final Touches
Adding Tomatoes and Cheese
Gently fold in 1 cup of halved cherry tomatoes. Add ½ cup of freshly grated Parmesan cheese. Mix until everything is well combined. The heat will help the cheese melt a bit.
Plating and Garnishing
Serve the creamy chicken pesto rotini on plates. Garnish with fresh basil leaves. You can add more grated Parmesan cheese if you like. Enjoy your meal warm!
Tips & Tricks
Perfecting the Chicken
To make juicy chicken breasts, start with good quality meat. Cut chicken into even pieces. This helps them cook uniformly. Season the chicken well with salt and pepper. Heat your skillet over medium heat before adding the chicken. This keeps the meat from steaming. Cook until it turns golden brown, about 7-10 minutes. Use a meat thermometer if you want to check the internal temp. It should reach 165°F (75°C) for safety.
Overcooking can dry out your chicken. To avoid this, keep an eye on the time. If the edges look brown but the center is still pink, remove it from the heat. Let it rest for a few minutes before mixing it with the pasta. This helps the juices settle in.
Enhancing Flavor
Want to add more flavor? Try adding veggies like spinach or bell peppers. You can also toss in olives or artichokes for a twist. Mix in some roasted garlic for a richer taste. Fresh herbs like thyme or oregano can brighten the dish.
For extra seasoning, consider adding red pepper flakes for some heat. A squeeze of lemon juice can also brighten the flavor. Keep tasting as you go to find the balance that you like best.
Presentation Tips
Presentation makes a dish more appealing. Start by using a large bowl or a nice plate. Twirl the pasta into a nest shape for a fun look. Place the chicken pieces on top, so they are visible. Scatter the cherry tomatoes around for color.
Garnish with fresh basil leaves and a sprinkle of grated Parmesan. This adds a nice touch and some extra flavor. A drizzle of olive oil over the top can make it shine. Enjoy making your meal look as good as it tastes!
Variations
Alternative Proteins
You can switch the chicken for shrimp or tofu. If you use shrimp, cook them in the skillet until they turn pink. This takes about 3-4 minutes. For tofu, press it first to remove water. Cut it into cubes and sauté until golden. Both options add new flavors and textures to the dish.
Gluten-Free Options
If you need a gluten-free meal, choose gluten-free pasta. Many brands offer great alternatives made from rice or chickpeas. Cook it just like regular pasta. Follow the package instructions for the best results. This keeps your meal tasty without the gluten.
Vegetarian Versions
To make a meatless dish, simply skip the chicken. Add more veggies instead. Try bell peppers, zucchini, or spinach. You can also add chickpeas for protein. This variation keeps the dish filling while being kind to your diet. Each option adds color and flavor, making your pasta fun and healthy.
Storage Info
How to Store Leftovers
Store any leftover chicken pesto pasta in an airtight container. Make sure to put it in the fridge right after it cools. It stays good for about three to four days. Keep it away from strong-smelling foods to prevent it from absorbing odors.
Reheating Tips
When reheating, use low heat to keep the pasta moist. Add a little splash of water or olive oil to help it warm up evenly. Stir often to avoid burning. This will help keep the flavors fresh and vibrant.
Freezing Instructions
To freeze chicken pesto pasta, place it in a freezer-safe container. Make sure to leave some space at the top, as the pasta will expand. You can freeze it for up to three months. When ready to eat, thaw it in the fridge overnight and reheat as mentioned above. Enjoy your meal later with ease!
FAQs
Can I use store-bought pesto?
Yes, you can use store-bought pesto. It saves time and is easy to find. Some brands taste great and make cooking faster. However, homemade pesto can add a fresh touch. Making your own allows you to control flavors, like adding garlic or nuts. If you have the time, I suggest trying both to see what you like best.
How long does this dish last in the fridge?
Chicken pesto pasta lasts about three to four days in the fridge. Store it in an airtight container to keep it fresh. When you want to eat it again, just reheat it gently. You can add a splash of water or oil to keep it moist. This dish is perfect for meal prep, making it easy to enjoy later.
What can I serve with chicken pesto pasta?
You can serve chicken pesto pasta with many sides. A simple green salad pairs well. Garlic bread is also a favorite choice. You can add roasted vegetables for a colorful plate. These sides balance the meal and add more flavors. Feel free to mix and match to find your perfect combo.
Can I make this dish in advance?
Yes, you can make this dish in advance. Prepare it a day or two ahead for easy meals. Just cook everything and let it cool before storing. Keep it in the fridge until you’re ready to eat. Reheat it on the stove or in the microwave. This makes meal prep simple and helps you save time during busy weeks.
In this article, we explored how to make a delicious chicken pesto pasta with rotini. You learned about essential ingredients, from chicken breasts to fragrant basil. I shared step-by-step cooking instructions and tips for juicy chicken and vibrant presentation. Plus, you discovered variations for different diets and smart storage methods.
By following these steps, you’ll create a dish that looks great and tastes even better. Enjoy your cooking journey and share your tasty pasta experience!