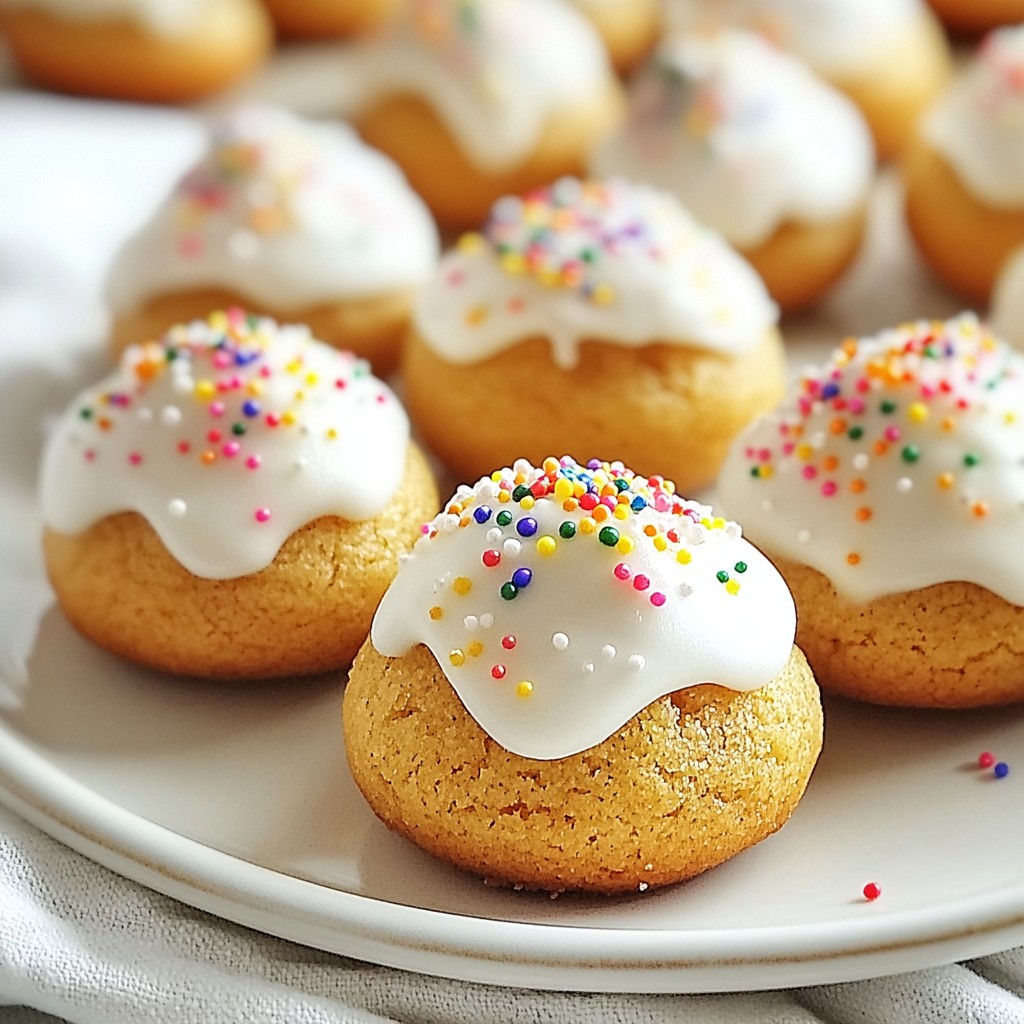
Are you ready to impress your friends and family with the perfect holiday treat? My Gingerbread Cookie Bites recipe is not only tasty but also easy to make! In this guide, I’ll share the essential ingredients, step-by-step instructions, and handy tips to ensure your cookies turn out just right. Let’s dive in and create some delightful bites that will fill your home with warm, festive scents. Your baking adventure starts here!
Why I Love This Recipe
- Festive Flavor: The warm spices of ginger, cinnamon, and cloves create a delightful holiday aroma and taste that fills your home with joy.
- Easy to Make: This recipe is straightforward, making it perfect for bakers of all levels. You can have a batch ready in no time!
- Customizable Decorations: With options for icing and festive sprinkles, you can personalize these cookie bites for any holiday celebration.
- Perfect for Sharing: These bite-sized treats are ideal for holiday gatherings, making them easy to share and enjoy with friends and family.
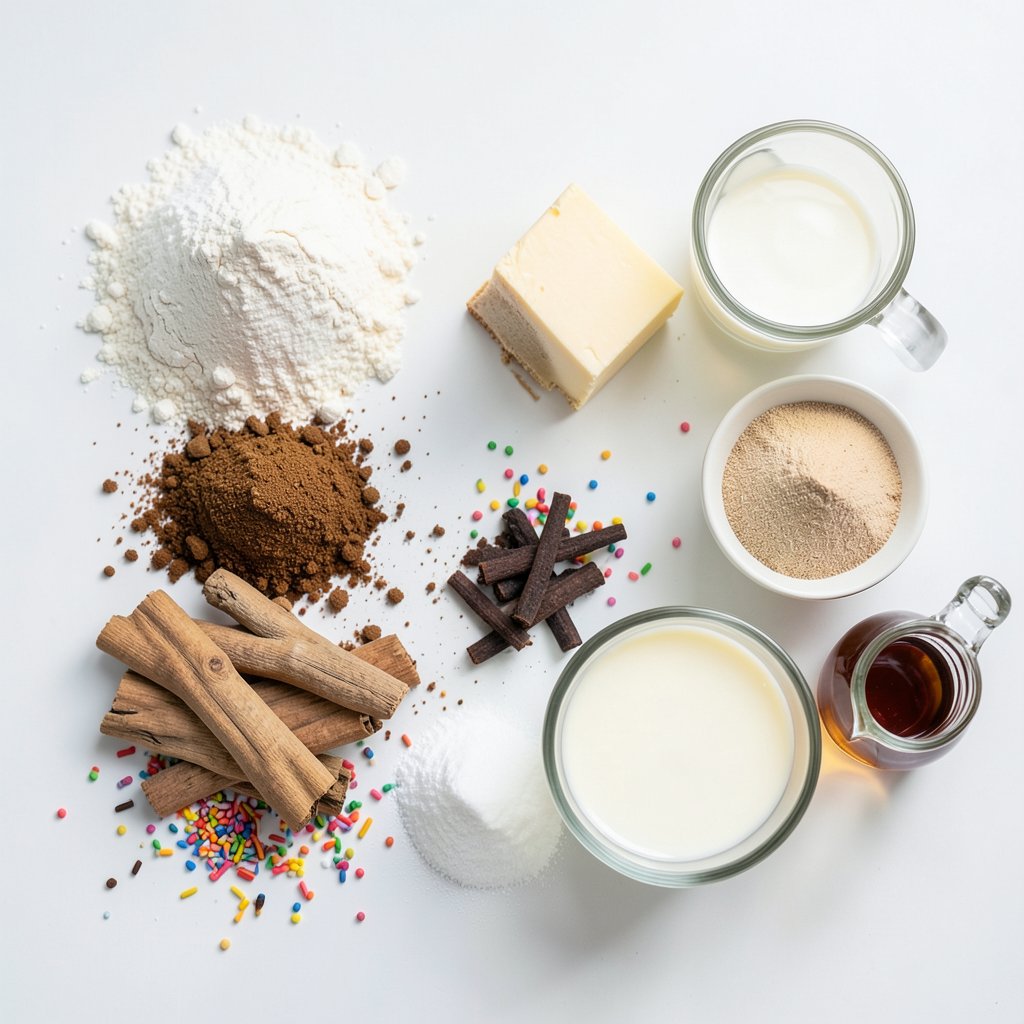
Ingredients
List of Ingredients
- 2 cups all-purpose flour: This is the base for our cookies. You can use whole wheat flour for a healthier option.
- 1 tablespoon ground ginger: This spice gives the cookies their warm flavor. You can swap it with fresh ginger if you prefer.
- 1 tablespoon ground cinnamon: Another warm spice that adds sweetness. No substitutes needed here, but you could use pumpkin spice for a twist.
- 1/2 teaspoon ground cloves: This spice adds depth. If you don't have it, nutmeg can work in a pinch.
- 1/4 teaspoon ground nutmeg: A little goes a long way. If you skip it, add more cinnamon.
- 1 teaspoon baking soda: This helps the cookies rise. Don't replace it with baking powder; it won't work the same.
- 1/2 teaspoon salt: Enhances the flavors. You can use sea salt or kosher salt.
- 3/4 cup unsalted butter, softened: This makes the cookies rich. If you want a dairy-free option, use coconut oil.
- 1/2 cup packed brown sugar: This adds moisture and sweetness. You can use white sugar, but the flavor changes.
- 1/4 cup molasses: A key ingredient that gives gingerbread its signature taste. Honey or maple syrup can be used, but flavor will differ.
- 1 large egg: Binds the ingredients together. For a vegan option, use flaxseed meal mixed with water.
- 1 teaspoon vanilla extract: Adds a lovely aroma. No substitute needed; it's a must.
- 1 cup powdered sugar (for icing): Sweetens our icing. You can make your own by blending sugar until fine.
- 1-2 tablespoons milk: Adjusts the icing's thickness. Almond milk works well if you're dairy-free.
- Rainbow sprinkles or edible glitter: These make the cookies festive. Feel free to skip them if you want a simpler look.
Measuring Tips
To get the best results, use the scoop and level method for flour. Scoop the flour into your measuring cup and level it off with a knife. Avoid packing it down. For brown sugar, pack it firmly into the cup. This ensures you get the right amount.
Special Ingredients
Molasses is a special ingredient in gingerbread cookies. It adds a deep, rich flavor and moisture. It also helps the cookies stay soft. If you're out of molasses, try using honey or agave syrup. But keep in mind, they will change the taste.
Step-by-Step Instructions
Preparation Steps
First, you need to preheat your oven to 350°F (175°C). This ensures even baking. Next, prepare your baking sheet. Line it with parchment paper. This will keep your cookies from sticking.
Mixing Wet and Dry Ingredients
Now, let's mix the ingredients. In a medium bowl, whisk together the following dry ingredients:
- 2 cups all-purpose flour
- 1 tablespoon ground ginger
- 1 tablespoon ground cinnamon
- 1/2 teaspoon ground cloves
- 1/4 teaspoon ground nutmeg
- 1 teaspoon baking soda
- 1/2 teaspoon salt
Make sure they are well combined.
In a large bowl, beat together:
- 3/4 cup unsalted butter, softened
- 1/2 cup packed brown sugar
Use an electric mixer on medium speed. Mix for about 2-3 minutes until creamy. Next, add:
- 1/4 cup molasses
- 1 large egg
- 1 teaspoon vanilla extract
Mix these at low speed until smooth. Gradually add the dry mixture to the wet mixture. Mix slowly until you form a soft dough. If the dough feels too sticky, add more flour, one tablespoon at a time.
Baking Instructions
Roll the dough into small balls, about 1 inch in size. Place them on the prepared baking sheet. Make sure to leave space between each ball. This allows them to spread while baking.
Now, put the baking sheet in the oven. Bake for 8-10 minutes. Keep an eye on them. The edges should be set, but the centers should be slightly soft. This gives your cookies a chewy texture.
Once baked, let the cookies cool on the sheet for a few minutes. Then, transfer them to a wire rack to cool completely. Enjoy the sweet aroma while they cool!
Tips & Tricks
Perfect Your Dough
To avoid stickiness, start with properly measured flour. Use a spoon to scoop flour into your measuring cup. Then level it off with a knife. If your dough feels too sticky, add flour slowly. Just one tablespoon at a time until it feels soft but not tacky.
Baking Tips
Your cookies are baked just right when the edges are set. The centers should still look slightly soft. This gives them a chewy texture. Keep an eye on the time; it usually takes about 8-10 minutes. If they look too dark, they may be overbaked.
Icing Tips
For smooth icing, mix powdered sugar with a little milk. Start with one tablespoon and stir well. If it's too thick, add more milk by the teaspoon. When icing the cookies, dip the tops in the bowl. Let the excess icing drip off before decorating. Add sprinkles right away for a festive look.
Pro Tips
- Chill the Dough: For easier handling, refrigerate the dough for about 30 minutes before rolling it into balls. This will prevent the cookies from spreading too much while baking.
- Adjusting Icing Consistency: When making the icing, start with less milk and add more as needed. This ensures you achieve the perfect consistency for dipping or drizzling.
- Storage Tips: Store the cooled cookie bites in an airtight container at room temperature for up to a week. You can also freeze them for longer storage; just thaw before serving.
- Experiment with Spices: Feel free to customize the spices in the recipe. Adding a hint of cardamom or allspice can elevate the flavor profile of your gingerbread bites.
Variations
Gluten-Free Gingerbread Cookie Bites
You can easily make gingerbread cookie bites gluten-free. Use a gluten-free flour blend instead of all-purpose flour. Look for blends that contain a mix of rice flour, tapioca starch, and potato starch. This mix gives a great texture. You may also want to add a bit of xanthan gum for better binding. If you use this blend, keep an eye on the dough. It may need a little more liquid to adjust for the different flour.
Vegan Gingerbread Cookie Bites
Making vegan gingerbread cookie bites is simple. Replace the butter with coconut oil or a vegan butter alternative. For the egg, use a flax egg. To make one, mix one tablespoon of ground flaxseed with three tablespoons of water. Let it sit for five minutes to thicken. This will help bind the ingredients together nicely. Check the dough to ensure it is not too dry; add a bit more molasses if needed.
Flavor Variations
You can add fun flavors to your gingerbread cookie bites. Try mixing in chocolate chips for a sweet twist. Chopped nuts like walnuts or pecans add a nice crunch. For extra spice, add a pinch of cayenne pepper or cardamom. This gives your cookies a unique kick. You can also swap out the vanilla extract for almond extract. Each change will make your cookie bites special!
Storage Info
Storing Cookie Bites
To keep your gingerbread cookie bites fresh, store them in an airtight container. This method helps prevent them from drying out. Place parchment paper between layers if stacking them. Keep the container in a cool, dry area away from sunlight. Avoid using plastic wrap, as it can trap moisture and make the cookies soggy.
Freezing Instructions
Freezing is a great way to extend the life of your cookie bites. Let them cool completely before freezing. Place them in a single layer on a baking sheet and freeze for 1-2 hours. Once frozen, transfer the cookie bites to a freezer-safe bag or container. Make sure to squeeze out as much air as possible. These bites can last for up to three months in the freezer.
Shelf Life
Gingerbread cookie bites will last about a week at room temperature. Store them in an airtight container to keep them fresh. If you keep them in the fridge, they can last up to two weeks. The cold helps maintain their soft texture. Just remember to bring them back to room temperature before serving for the best taste and texture.
FAQs
How do I prevent my gingerbread cookie bites from spreading too much?
To keep your gingerbread cookie bites from spreading, chill the dough for a bit. After mixing, wrap it in plastic wrap and place it in the fridge for 30 minutes. This helps the butter firm up. Make sure to space the balls of dough well on the baking sheet. A good rule is to leave about 2 inches between them. Avoid overmixing once you add the dry ingredients, as this can change the dough's texture.
Can I make the dough ahead of time?
Yes, you can make the dough ahead of time! Prepare the dough as directed, then wrap it tightly in plastic wrap. Store it in the fridge for up to 3 days. If you want to keep it longer, you can freeze it for up to 3 months. Just remember to let it thaw in the fridge before rolling it into balls for baking. This makes it easy to whip up fresh cookie bites when you need them.
What can I use instead of molasses?
If you don't have molasses, there are a few good substitutes. You can use honey, maple syrup, or agave nectar. Each of these will change the flavor a bit. Honey adds a floral note, while maple syrup gives a sweeter taste. Using these substitutes may also affect the cookie's color and texture, so keep an eye on your dough consistency. Adjust flour as needed if the dough feels too sticky.
This guide covered everything you need for the best gingerbread cookie bites. You learned about ingredients, measuring tips, and how to mix and bake. We shared ways to perfect your dough and tips for icing. You also explored gluten-free and vegan options. Don’t forget how to store and freeze them for freshness. Master these steps, and you’ll create tasty treats everyone loves. Enjoy baking and delight in sharing your delicious creations!