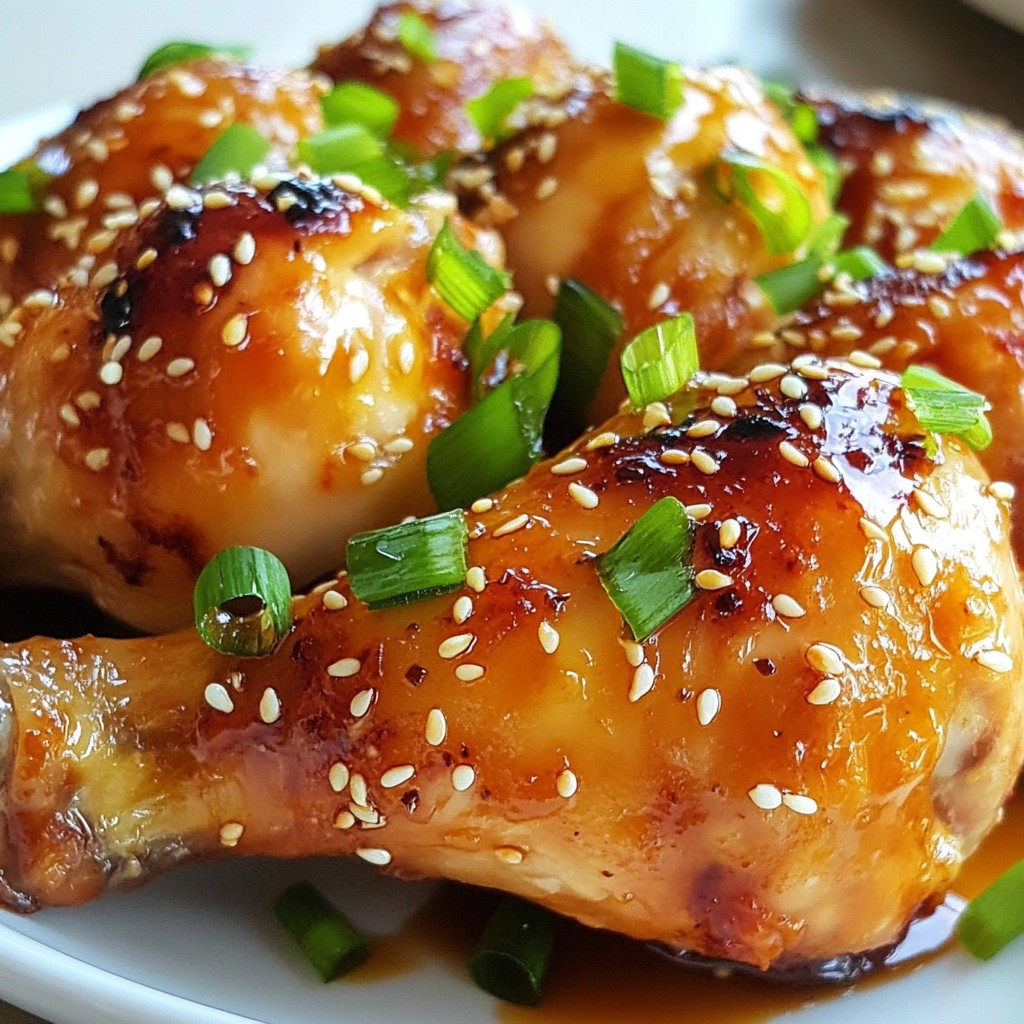
Looking for a simple yet tasty dinner idea? Honey Garlic Chicken Drumsticks are your answer! This dish combines sweet and savory flavors that will impress everyone at your table. With just a few easy steps and common ingredients, I’ll show you how to create a mouthwatering meal that your family will love. Let's dive into this tasty recipe that’s sure to become a weeknight favorite!
Why I Love This Recipe
- Easy Preparation: This recipe requires minimal effort, making it perfect for busy weeknights or casual gatherings.
- Flavor Packed: The combination of honey, garlic, and ginger creates a deliciously sweet and savory glaze that everyone will love.
- Versatile Serving: These drumsticks pair well with a variety of sides, from rice to steamed veggies, making it a versatile meal option.
- Impressive Presentation: The vibrant garnishes of sesame seeds and green onions add a beautiful touch, making it perfect for entertaining.
Ingredients
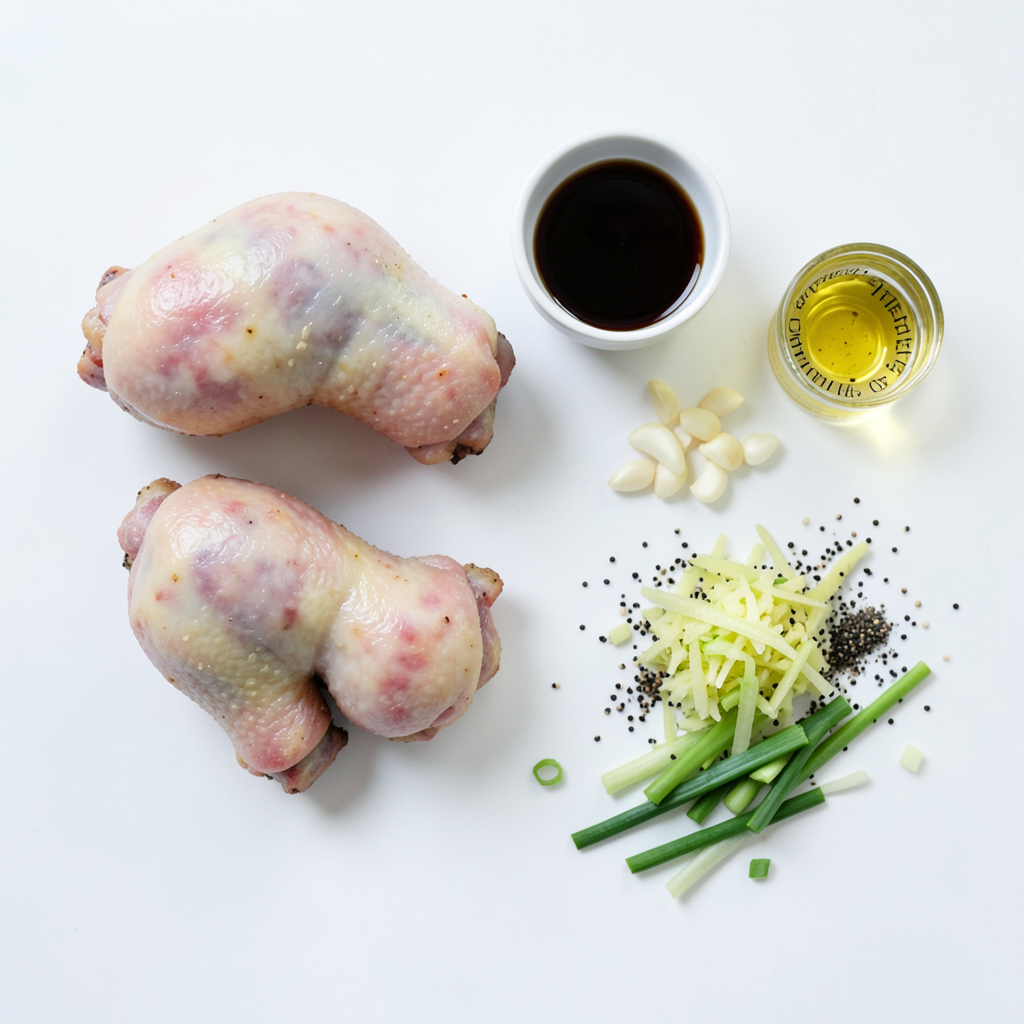
List of Ingredients
- 8 chicken drumsticks
- 1/2 cup honey
- 1/4 cup low-sodium soy sauce
- 4 cloves garlic, finely minced
- 1 tablespoon fresh ginger, grated
- 1 tablespoon apple cider vinegar
- 1 teaspoon sesame oil
- 1/4 teaspoon freshly ground black pepper
- 2 tablespoons sesame seeds (for garnish)
- 2 green onions, thinly sliced (for garnish)
Specific Measurements
The main flavor comes from the honey and soy sauce. For sweetness, use 1/2 cup of honey. The soy sauce should be low-sodium, using 1/4 cup. Garlic is crucial, so add 4 cloves, finely minced. Grate 1 tablespoon of fresh ginger for that zing. Add 1 tablespoon of apple cider vinegar for a touch of acidity. Use 1 teaspoon of sesame oil for a nutty flavor, and finish with 1/4 teaspoon of freshly ground black pepper. For garnish, sprinkle 2 tablespoons of sesame seeds and 2 thinly sliced green onions on top.
These ingredients come together to make a sauce that coats the chicken perfectly. You’ll get sticky, sweet, and savory notes in every bite.
Step-by-Step Instructions
Preparing the Marinade
To start, gather all your marinade ingredients. You will need honey, low-sodium soy sauce, minced garlic, grated ginger, apple cider vinegar, sesame oil, and black pepper. In a spacious bowl, combine them all. Use a whisk to blend these ingredients well. Whisking is key; it helps mix everything into a smooth sauce. This step ensures the flavors blend nicely.
Marinating the Chicken
Now, take your chicken drumsticks and submerge them in the marinade. Make sure each drumstick gets fully coated. This helps the chicken soak up the flavors. Cover the bowl with plastic wrap or a lid. Place it in the fridge. Marinate for at least 1 hour. If you have time, let it marinate overnight for even better taste.
Cooking the Chicken
Next, preheat your oven to 400°F (200°C). This step is important to get a nice cook on the chicken. Prepare your baking sheet by lining it with aluminum foil. This makes cleanup easier. Place a wire rack on top of the foil. This helps hot air circulate around the drumsticks as they cook. Lay the marinated drumsticks on the rack, leaving space between them. Keep the leftover marinade for basting later.
Once your oven is ready, place the chicken inside. Bake for about 30 minutes. After 30 minutes, carefully take the drumsticks out. Use a basting brush to generously coat them with the reserved marinade. Return the drumsticks to the oven for another 15 to 20 minutes.
Ensuring Proper Cooking
To make sure your chicken is safe to eat, check the internal temperature. It should reach at least 165°F (75°C). Look for a beautiful caramelized glaze on the chicken. This means it’s done. Once cooked, take the drumsticks out and let them rest for about 5 minutes. This helps the juices stay inside the meat. It keeps the drumsticks moist and tasty.
Tips & Tricks
Enhancing Flavor
Marinating the drumsticks overnight gives them a deeper flavor. The longer they sit in the marinade, the better they soak up the honey and garlic. If you like it sweeter, add more honey. To spice it up, toss in some red pepper flakes. This way, you control the taste.
Cooking Techniques
Broiling the drumsticks at the end adds a nice crispiness. It helps caramelize the glaze and gives a great look. If you want, you can also grill them. Grilling adds a smoky flavor that’s hard to beat. Just keep an eye on them so they don’t burn.
Pro Tips
- Marinate Longer for Best Flavor: Letting the chicken marinate overnight will enhance the flavor significantly, allowing the spices and sauces to penetrate the meat deeply.
- Use a Meat Thermometer: To ensure your chicken is perfectly cooked, use a meat thermometer to check that it has reached an internal temperature of 165°F (75°C).
- Broil for Extra Crispiness: For an extra crispy skin, switch your oven to broil for the last few minutes of cooking, but keep an eye on it to prevent burning.
- Pair with Fresh Sides: Serve your honey garlic chicken drumsticks with steamed vegetables or a refreshing salad to balance the sweetness of the dish.
Variations
Ingredient Substitutions
You can switch up proteins in this recipe. Chicken thighs or wings work great. They have more fat, which makes them juicy. If you prefer turkey, use turkey drumsticks for a twist.
For gluten-free options, choose tamari instead of soy sauce. This swap keeps the flavor while meeting gluten-free needs. Always check labels to ensure your sauces are certified gluten-free.
Flavor Modifications
Want to add more depth? Try spices like paprika or cayenne for heat. Fresh herbs like rosemary or thyme also bring a lovely taste. You can even add a bit of chili paste for a spicy kick.
If you're looking for a different sauce, consider hoisin sauce or teriyaki sauce. These options create unique flavor profiles. You can mix and match until you find a favorite!
Storage Info
Leftover Storage
After you finish your Honey Garlic Chicken Drumsticks, store any leftovers safely.
- Place the drumsticks in an airtight container.
- Refrigerate them within two hours of cooking.
- They can last up to three days in the fridge.
If you want to keep them longer, freeze the drumsticks.
- Wrap each piece in plastic wrap and then aluminum foil.
- This helps prevent freezer burn.
- They can stay frozen for up to three months.
Reheating Tips
When you reheat your drumsticks, you want them juicy and tasty.
- Use the oven for best results.
- Preheat it to 350°F (175°C).
- Place the drumsticks on a baking sheet.
- Cover them with foil to keep moisture in.
- Heat for about 15 to 20 minutes.
You can also use the microwave if you’re in a hurry.
- Place the drumsticks on a microwave-safe plate.
- Cover with a damp paper towel to keep them moist.
- Heat in 30-second intervals until warm.
By following these tips, you can enjoy your drumsticks again while keeping them delicious!
FAQs
How can I make Honey Garlic Chicken Drumsticks in an air fryer?
To make Honey Garlic Chicken Drumsticks in an air fryer, adjust the time and temperature. Preheat your air fryer to 375°F (190°C). Place the marinated drumsticks in a single layer in the basket. Cook for about 25-30 minutes. Flip them halfway through for even cooking. Ensure they reach an internal temperature of 165°F (75°C). This method gives you crispy skin and juicy meat.
What should I serve with Honey Garlic Chicken Drumsticks?
I love pairing Honey Garlic Chicken Drumsticks with simple sides. Here are some great options:
- Steamed broccoli
- Rice (white or brown)
- Mashed potatoes
- Coleslaw
- Green salad
These sides balance the sweet and savory flavors of the chicken. They also add color to your plate.
Can I use frozen chicken drumsticks?
Yes, you can use frozen chicken drumsticks. Just remember to adjust the cooking time. Thaw them in the fridge overnight for best results. If cooking from frozen, add about 10-15 minutes to the cooking time. Make sure to check that the internal temperature hits 165°F (75°C) for safety. This way, you can still enjoy this tasty dish with minimal fuss.
You now have a complete guide to making delicious Honey Garlic Chicken Drumsticks. We explored the right ingredients and measurements, and shared easy steps for marinating and cooking. You learned valuable tips for enhancing flavor and explored variations based on your tastes. Plus, we covered how to store and reheat leftovers effectively.
Remember, cooking should be fun and flexible. Adjust recipes to fit your needs and enjoy your meals! Happy cooking!