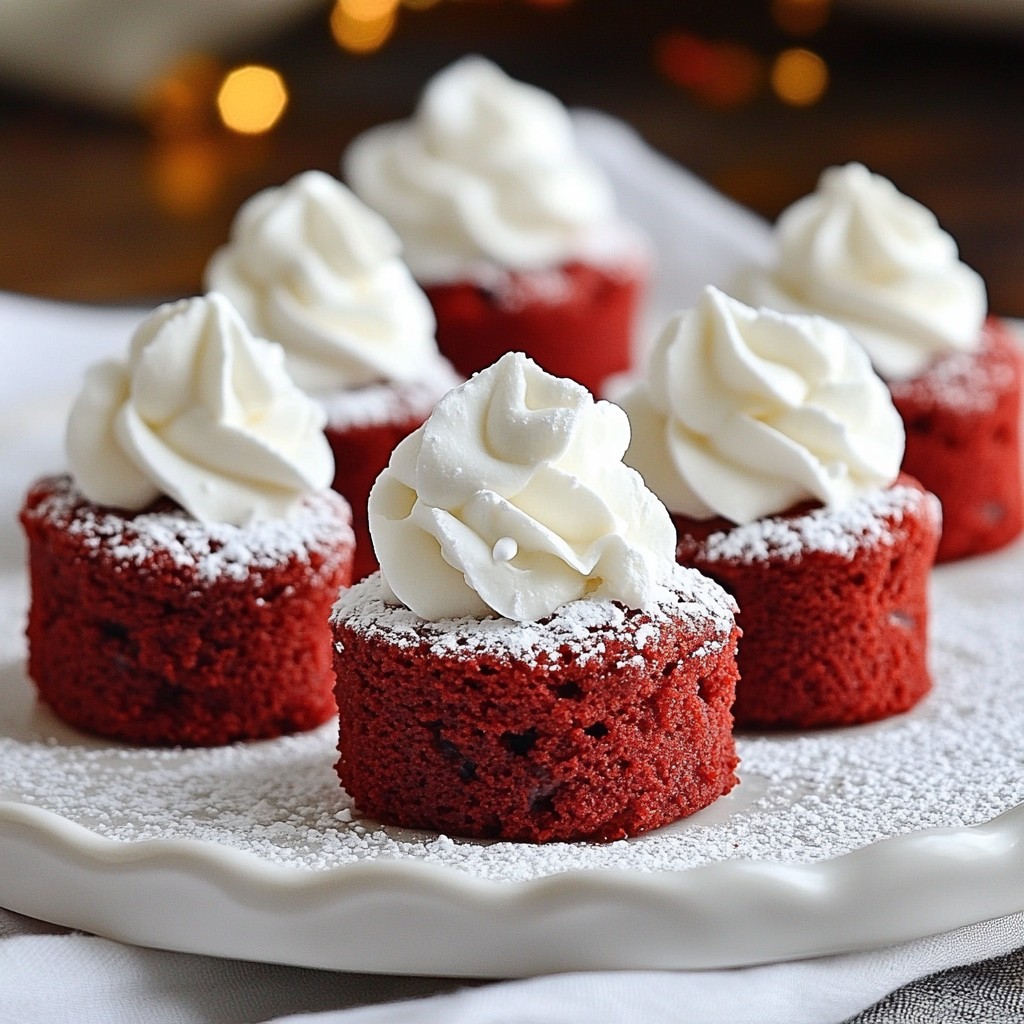
Want a sweet treat that’s sure to impress? These Red Velvet Brownie Bites are the perfect mix of rich chocolate and vibrant red color, all in a bite-sized form! Whether you’re throwing a party or just craving something special, these mini delights are easy to make and even harder to resist. Let’s dive into the ingredients and steps to create these irresistible goodies that will wow everyone. Get ready to bake magic!
Why I Love This Recipe
- Deliciously Unique Flavor: The combination of rich cocoa and creamy white chocolate creates an irresistible flavor profile that stands out from traditional brownies.
- Perfectly Bite-Sized: These brownie bites are just the right size for a quick indulgence, making them ideal for parties, gatherings, or an afternoon treat.
- Vibrant Color: The addition of red food coloring gives these brownies a stunning ruby hue that adds a festive touch to any dessert table.
- Easy to Make: With simple ingredients and straightforward instructions, these brownie bites can be whipped up in no time, perfect for bakers of all levels.
Ingredients
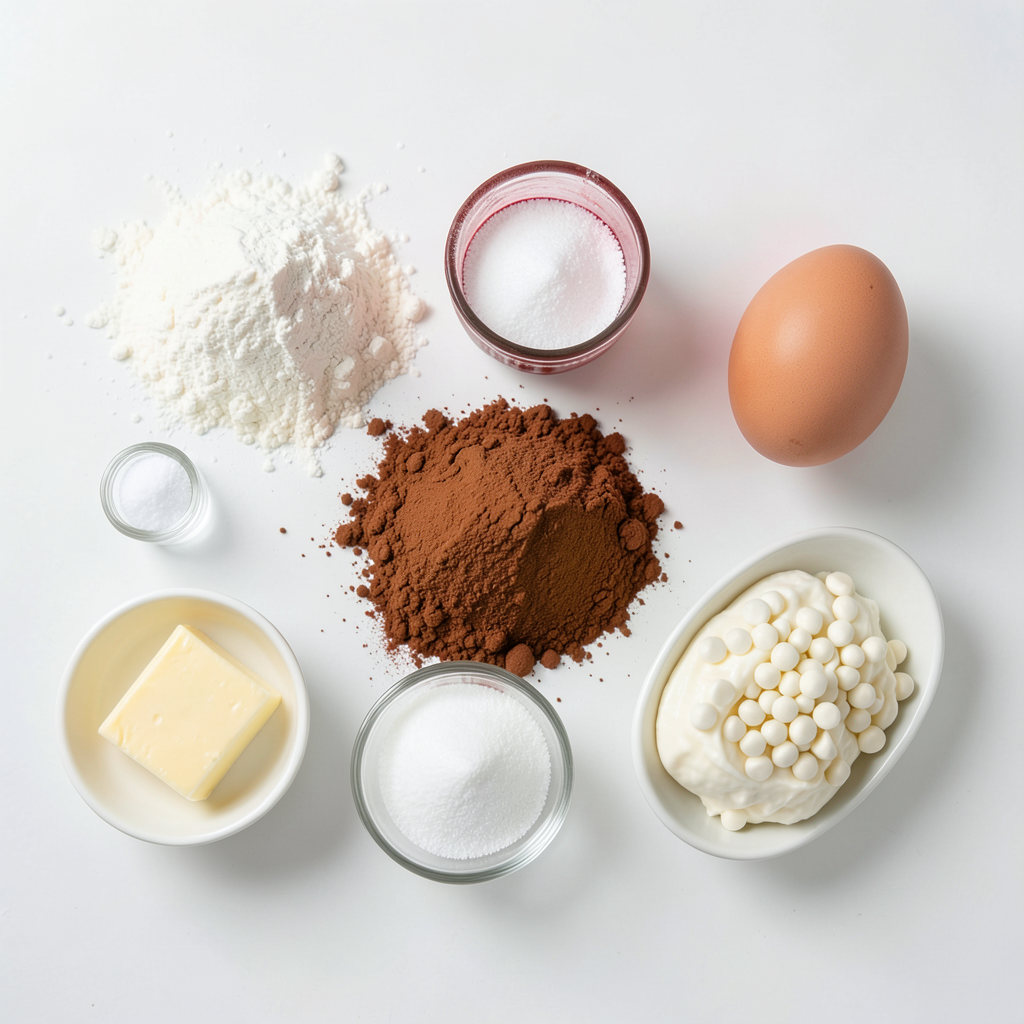
For these red velvet brownie bites, you need a mix of simple ingredients. Each one plays a vital role in creating that rich, tasty flavor. Here is the complete ingredient list:
- 1 cup all-purpose flour
- 1/2 cup unsweetened cocoa powder
- 1/2 teaspoon baking powder
- 1/4 teaspoon baking soda
- 1/4 teaspoon salt
- 1/2 cup unsalted butter, melted
- 1 cup granulated sugar
- 1 large egg
- 1 teaspoon vanilla extract
- 1 tablespoon red food coloring
- 1/4 cup cream cheese, softened to room temperature
- 1/2 cup white chocolate chips
Using high-quality ingredients makes a big difference. Fresh eggs and real vanilla enhance the flavor. Using a good brand of cocoa powder ensures rich chocolate taste. The red food coloring gives these bites their signature hue.
Cream cheese adds a nice creamy texture. White chocolate chips provide sweet bursts in every bite. Gather these ingredients to get started on your tasty treat!
Step-by-Step Instructions
Preparing the Oven and Muffin Tin
- Preheat your oven to 350°F (175°C).
- Line or spray the mini muffin tin with non-stick spray.
Mixing Dry Ingredients
- In a bowl, whisk together:
- 1 cup all-purpose flour
- 1/2 cup unsweetened cocoa powder
- 1/2 teaspoon baking powder
- 1/4 teaspoon baking soda
- 1/4 teaspoon salt
This mix helps give the brownies their great texture.
Combining Wet Ingredients
- In a large bowl, blend:
- 1/2 cup melted butter
- 1 cup granulated sugar
- Add in:
- 1 large egg
- 1 teaspoon vanilla extract
- 1 tablespoon red food coloring
Mix until smooth and the color is even. Next, gently combine the dry ingredients into the wet mix.
Adding Cream Cheese and Chocolate
- Carefully fold in:
- 1/4 cup cream cheese, softened
- 1/2 cup white chocolate chips
This adds creaminess and sweetness to your bites.
Filling the Muffin Tin
- Use a scoop or spoon to fill each muffin cup with batter.
- Fill each cup about two-thirds full.
This allows room for rising during baking.
Baking and Cooling
- Bake for 12 to 15 minutes.
- Check doneness with a toothpick. It should come out clean or with a few moist crumbs.
- Let the bites cool in the pan for 5 minutes before moving them to a wire rack.
This cooling step lets the flavors come together. Enjoy the process!
Tips & Tricks
Baking Tips
To ensure even mixing without overmixing, use a gentle folding motion. Mix until just combined. Overmixing makes the brownie bites tough.
To check doneness, use a toothpick. Insert it into the center of a brownie bite. If it comes out clean or with a few moist crumbs, they are ready!
Presentation Suggestions
Dust the brownie bites with powdered sugar for a charming look. It adds a sweet touch. You can also add a dollop of whipped cream.
Fresh berries make a great garnish, too. They add color and freshness to each bite.
Common Mistakes to Avoid
One common mistake is overbaking the brownie bites. Keep an eye on them towards the end of baking.
Another mistake is skipping the cooling period. Letting them cool lets the flavors blend well. It gives you a soft and rich treat.
Pro Tips
- Storage Tip: Keep your brownie bites in an airtight container at room temperature for up to 3 days to maintain their delicious texture.
- Mixing Tip: When adding the dry ingredients to the wet mixture, use a folding motion to avoid overmixing, which can result in denser brownies.
- Color Tip: For a more vibrant ruby color, consider using gel food coloring instead of liquid, as it provides a richer hue without altering the batter's consistency.
- Serving Tip: Enhance the flavor by serving with a scoop of vanilla ice cream or a drizzle of chocolate sauce for an indulgent dessert experience.
Variations
Frosting Options
You can top your red velvet brownie bites with different frostings.
- Cream cheese frosting is a classic choice. It adds a rich, tangy flavor. Just mix cream cheese, butter, and powdered sugar until smooth. Spread it on top of cooled brownie bites.
- Whipped cream topping gives a light and airy touch. Whip heavy cream with sugar until soft peaks form. Spoon it onto each bite for a sweet treat.
Flavor Add-ins
Mixing in flavors can make these brownie bites even better.
- Nuts or chocolate chunks add a nice crunch and extra chocolate. Try walnuts or pecans for a nutty twist.
- Spices like cinnamon or nutmeg can warm up the taste. A pinch of these spices can create a cozy fall flavor.
Dietary Modifications
You can enjoy these brownie bites even if you have dietary needs.
- For a gluten-free alternative, swap all-purpose flour with almond flour. This change keeps the texture soft and moist.
- If you want vegan options, use flax eggs instead of real eggs. Replace butter with coconut oil or vegan butter. Your brownie bites will still be delicious!
Storage Info
Storing Brownie Bites
To keep your brownie bites fresh, store them in an airtight container. Use a container that fits snugly to minimize air exposure. You can line the bottom with parchment paper for extra protection. This helps them stay moist and delicious. If you plan to share or gift them, a decorative box works well.
Freezing Instructions
If you want to save some brownie bites for later, freezing is a great option. First, let them cool completely. Then, place them in a single layer on a baking sheet. Freeze for about an hour until firm. After they are hard, transfer them to a freezer-safe bag or container. Make sure to remove excess air to avoid freezer burn.
When you're ready to enjoy them, thaw the brownie bites in the fridge overnight. For the best texture, allow them to reach room temperature before serving. You can also warm them in the microwave for a few seconds.
Shelf Life
At room temperature, your brownie bites can last up to three days. Keep them in a cool and dry place away from direct sunlight. If you refrigerate them, they can last about a week. Just remember to seal them well to keep them moist.
FAQs
What can I substitute for red food coloring?
You can use beet juice or pomegranate juice. These natural options give a nice color. They may change the taste a bit, but they work well. You can also use pink or burgundy food coloring if you prefer. Just remember, the shade may vary.
Can I make these brownie bites ahead of time?
Yes, you can prepare the batter a day ahead. Store it in the fridge until you are ready to bake. You can also bake them ahead of time. Just let them cool and store them in an airtight container. They stay fresh for a few days at room temperature.
How do I know when my brownie bites are done baking?
Check your brownie bites at 12 minutes. Insert a toothpick into the center. If it comes out clean, they are ready. A few moist crumbs are okay, but no wet batter. Overbaking can make them dry, so keep an eye on them.
Are these brownie bites suitable for freezing?
Yes, these brownie bites freeze well. Allow them to cool completely first. Place them in a freezer-safe bag or container. They can last for about three months in the freezer. Thaw them in the fridge before serving for the best taste.
Can I make these dairy-free?
Absolutely! Use dairy-free butter or coconut oil instead of unsalted butter. For the cream cheese, choose a dairy-free cream cheese alternative. Check that your chocolate chips are dairy-free too. This way, you can enjoy all the flavor without the dairy.
You now have all the steps to create delicious brownie bites. From gathering ingredients to baking, it's simple! Remember to blend well, avoid overbaking, and let them cool for the best flavors. Don’t forget to explore variations like frosting or add-ins to make them your own. Store them carefully to keep them fresh. Enjoy every bite, and share them with friends or family. Happy baking, and relish the joy these treats bring!